3D Printing
I recently got a personal 3D printer so that I could put more practice in CAD, additive manufacturing, and rapid prototyping outside of work and internships. It was also useful for various school and personal projects so that I didn't have to wait in line for the school ones anymore.
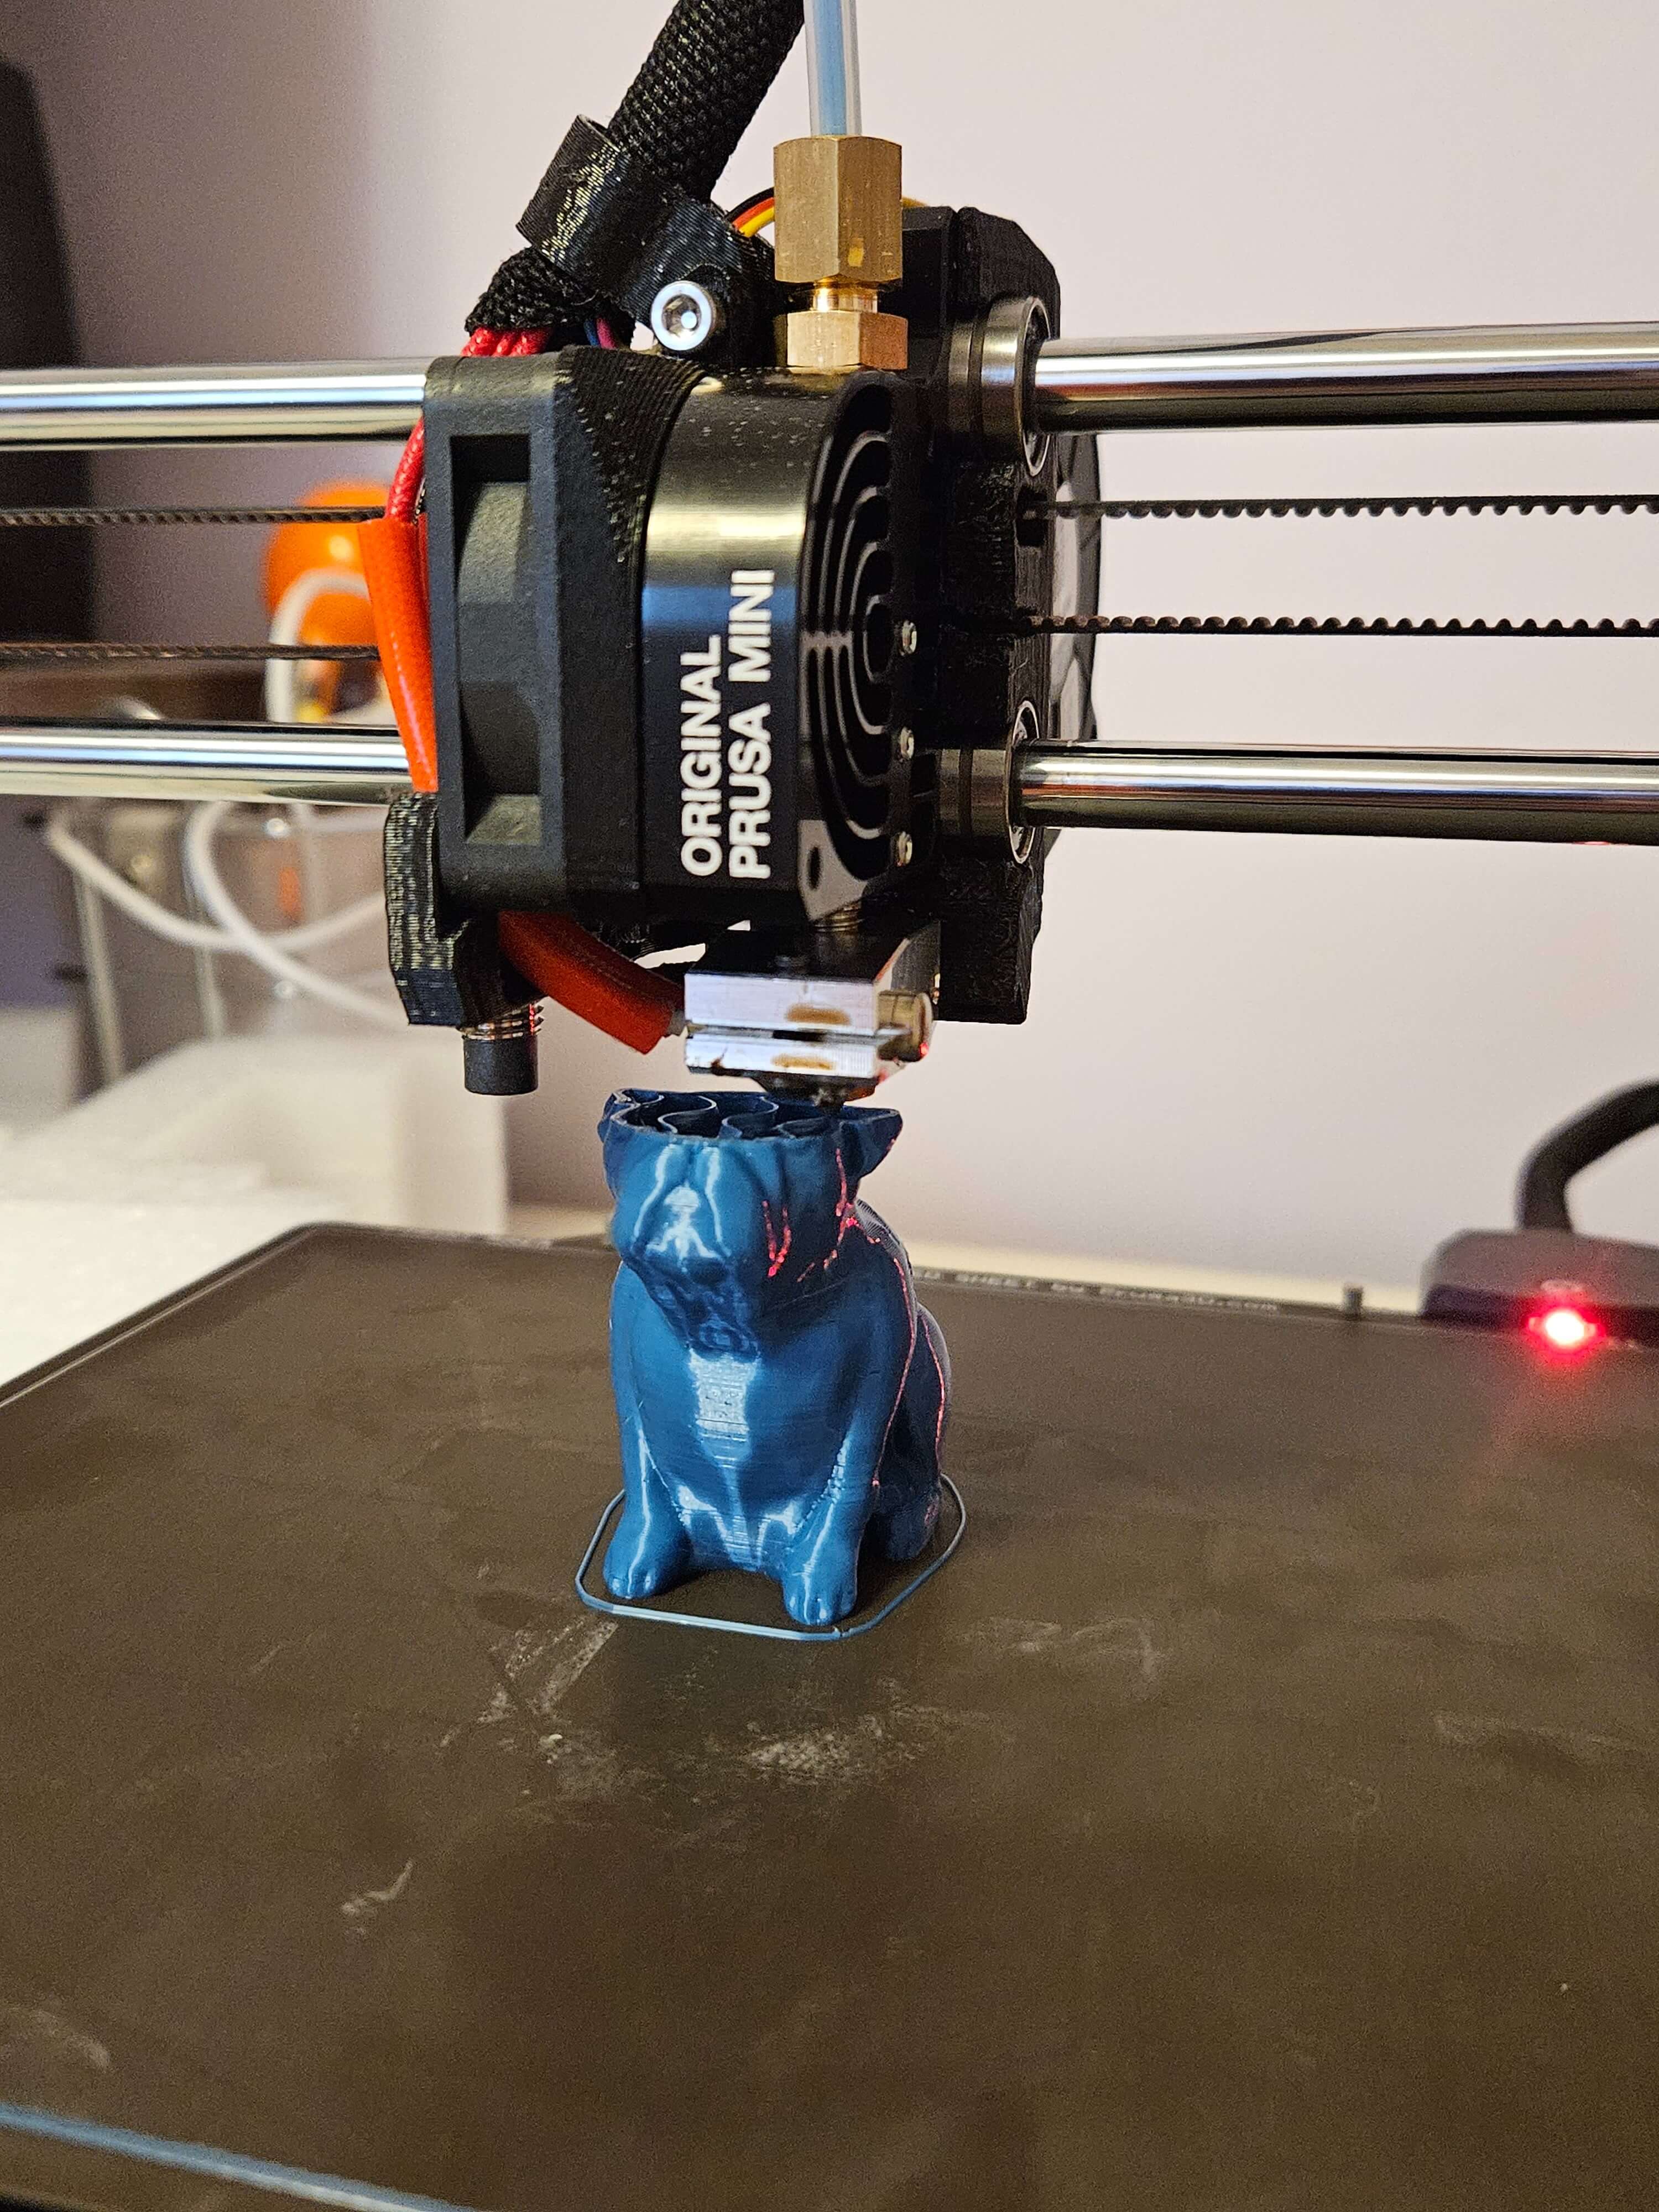
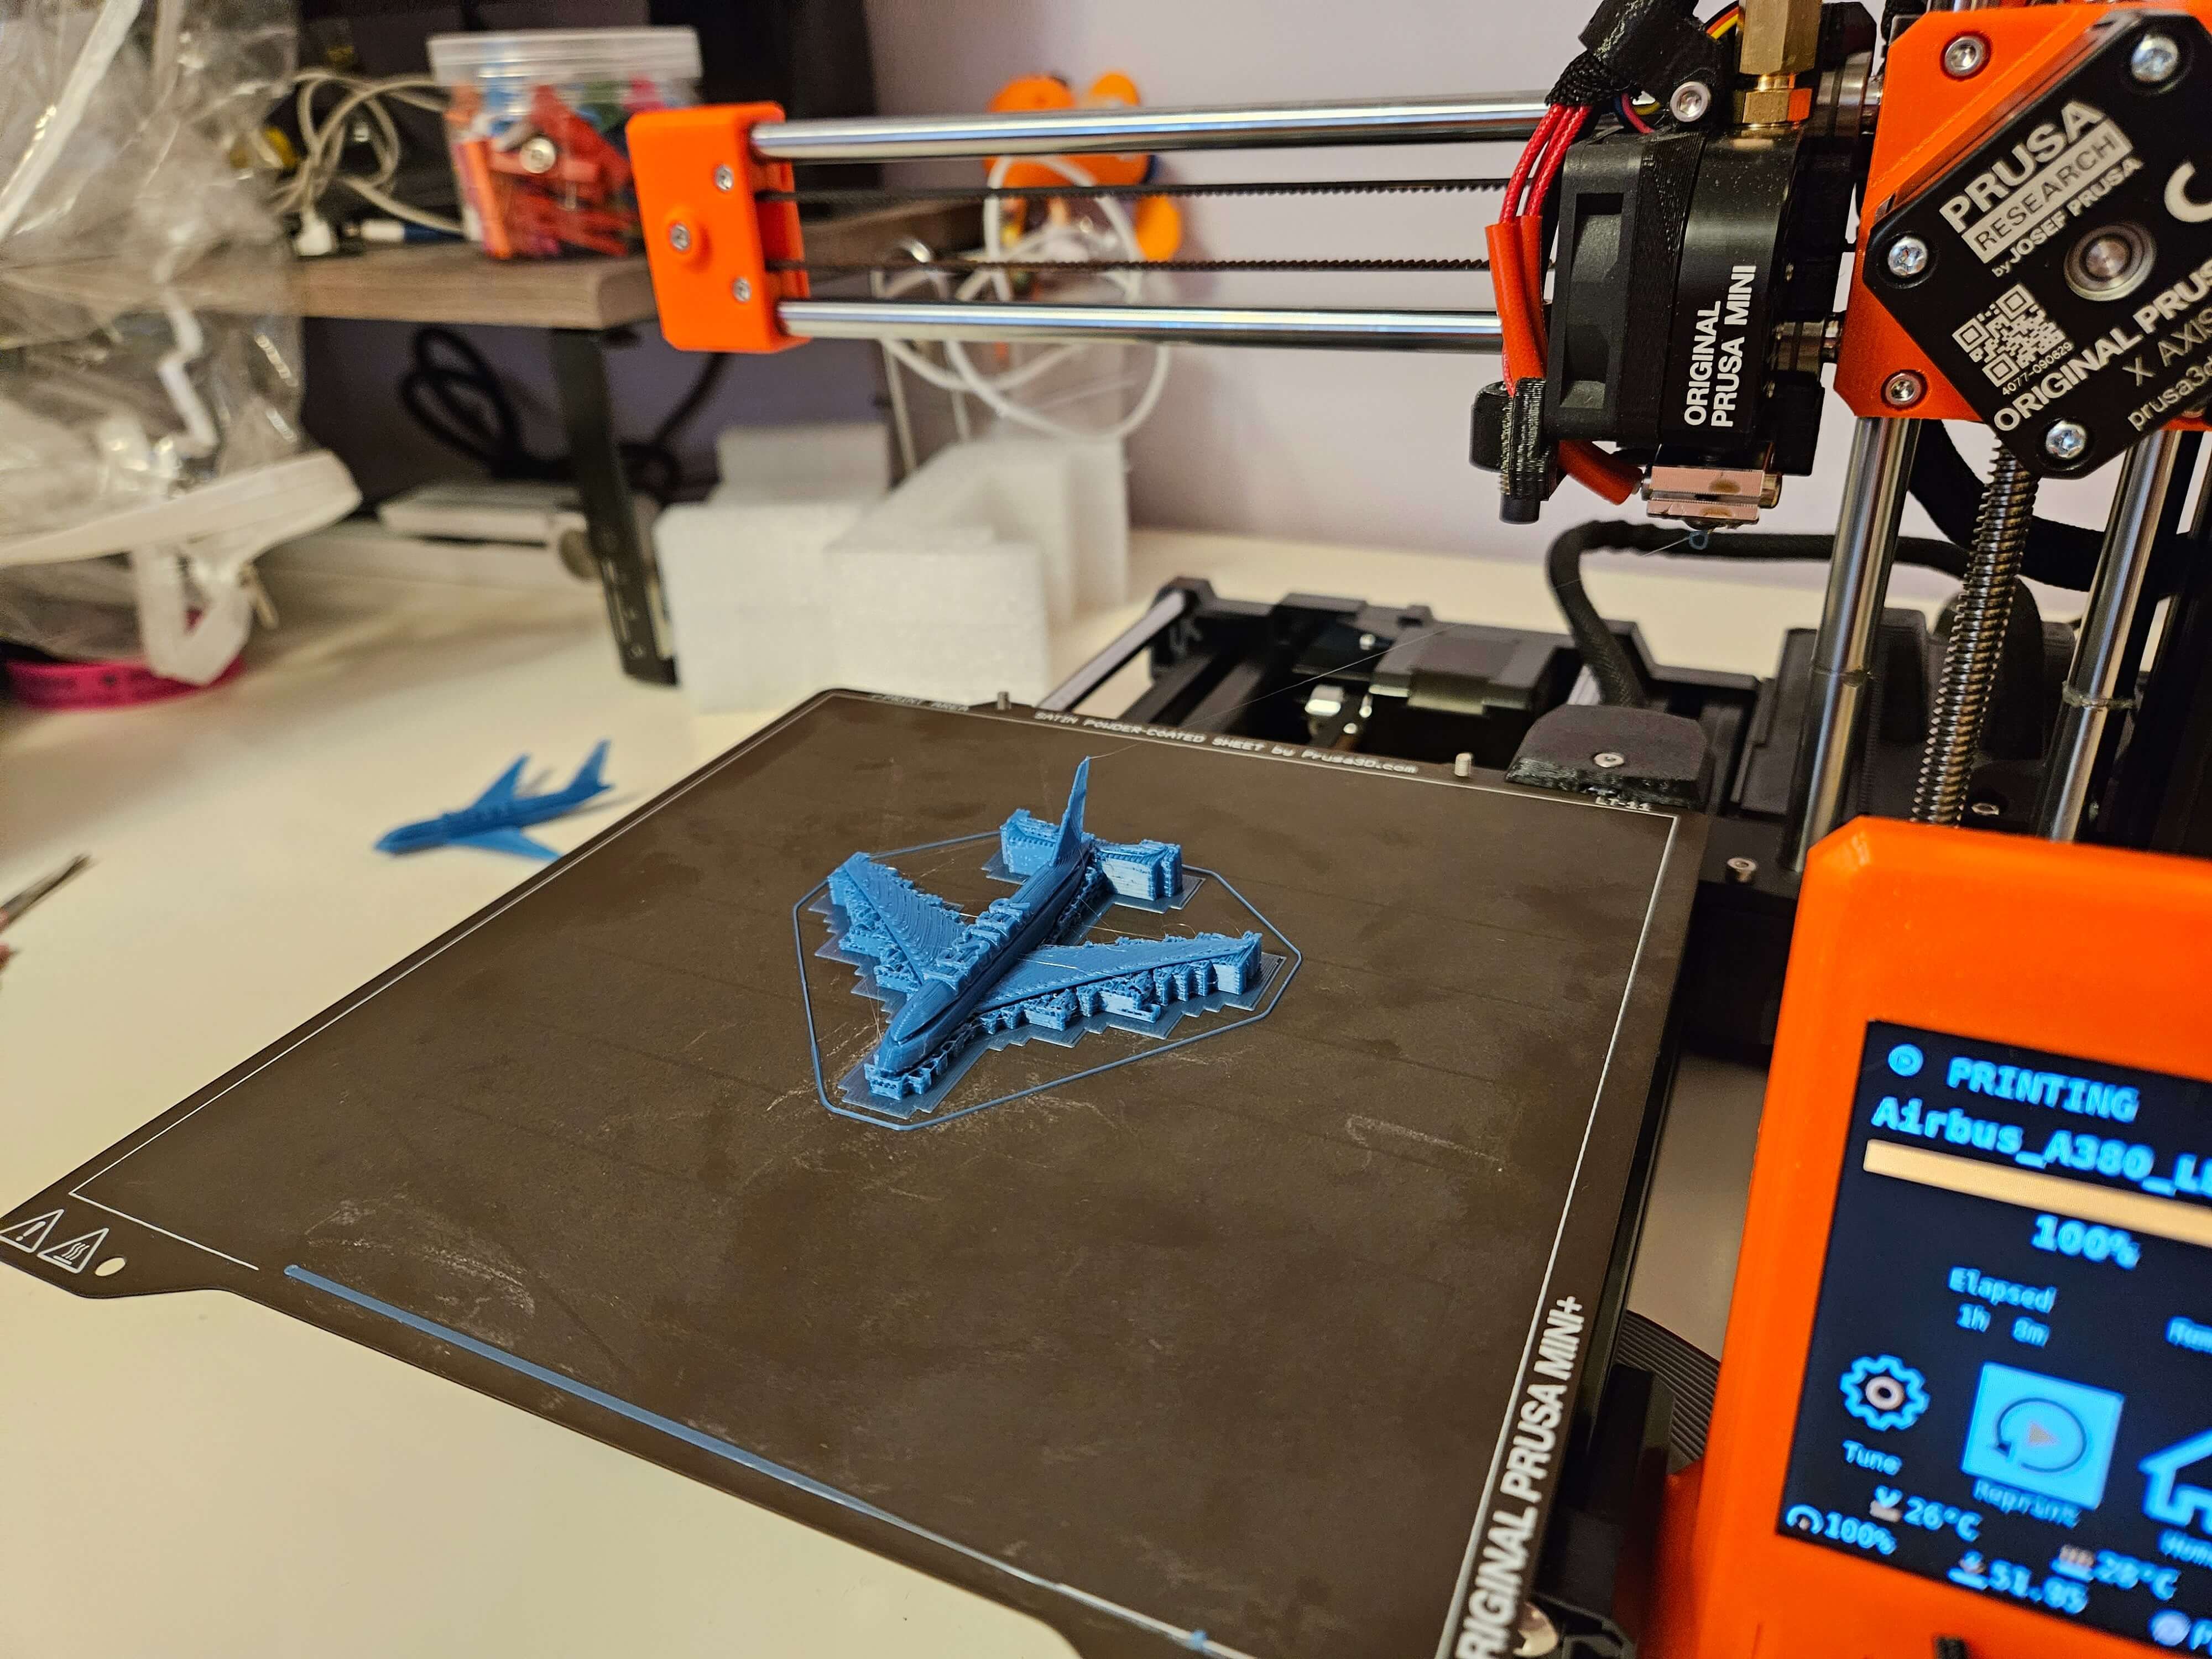
I have the Original Prusa Mini+ because it is efficient, compact, and most importantly, it was on sale. It has a build volume of 7"x7"x7" along with a default nozzle of 0.4 mm. I'm still experimenting with everything though.
Click through or explore below to witness my ever-expanding personal 3D print projects with my fancy schmancy new 3D printer!
Bedside Phone and Watch Charging Stand
CD Display Tray
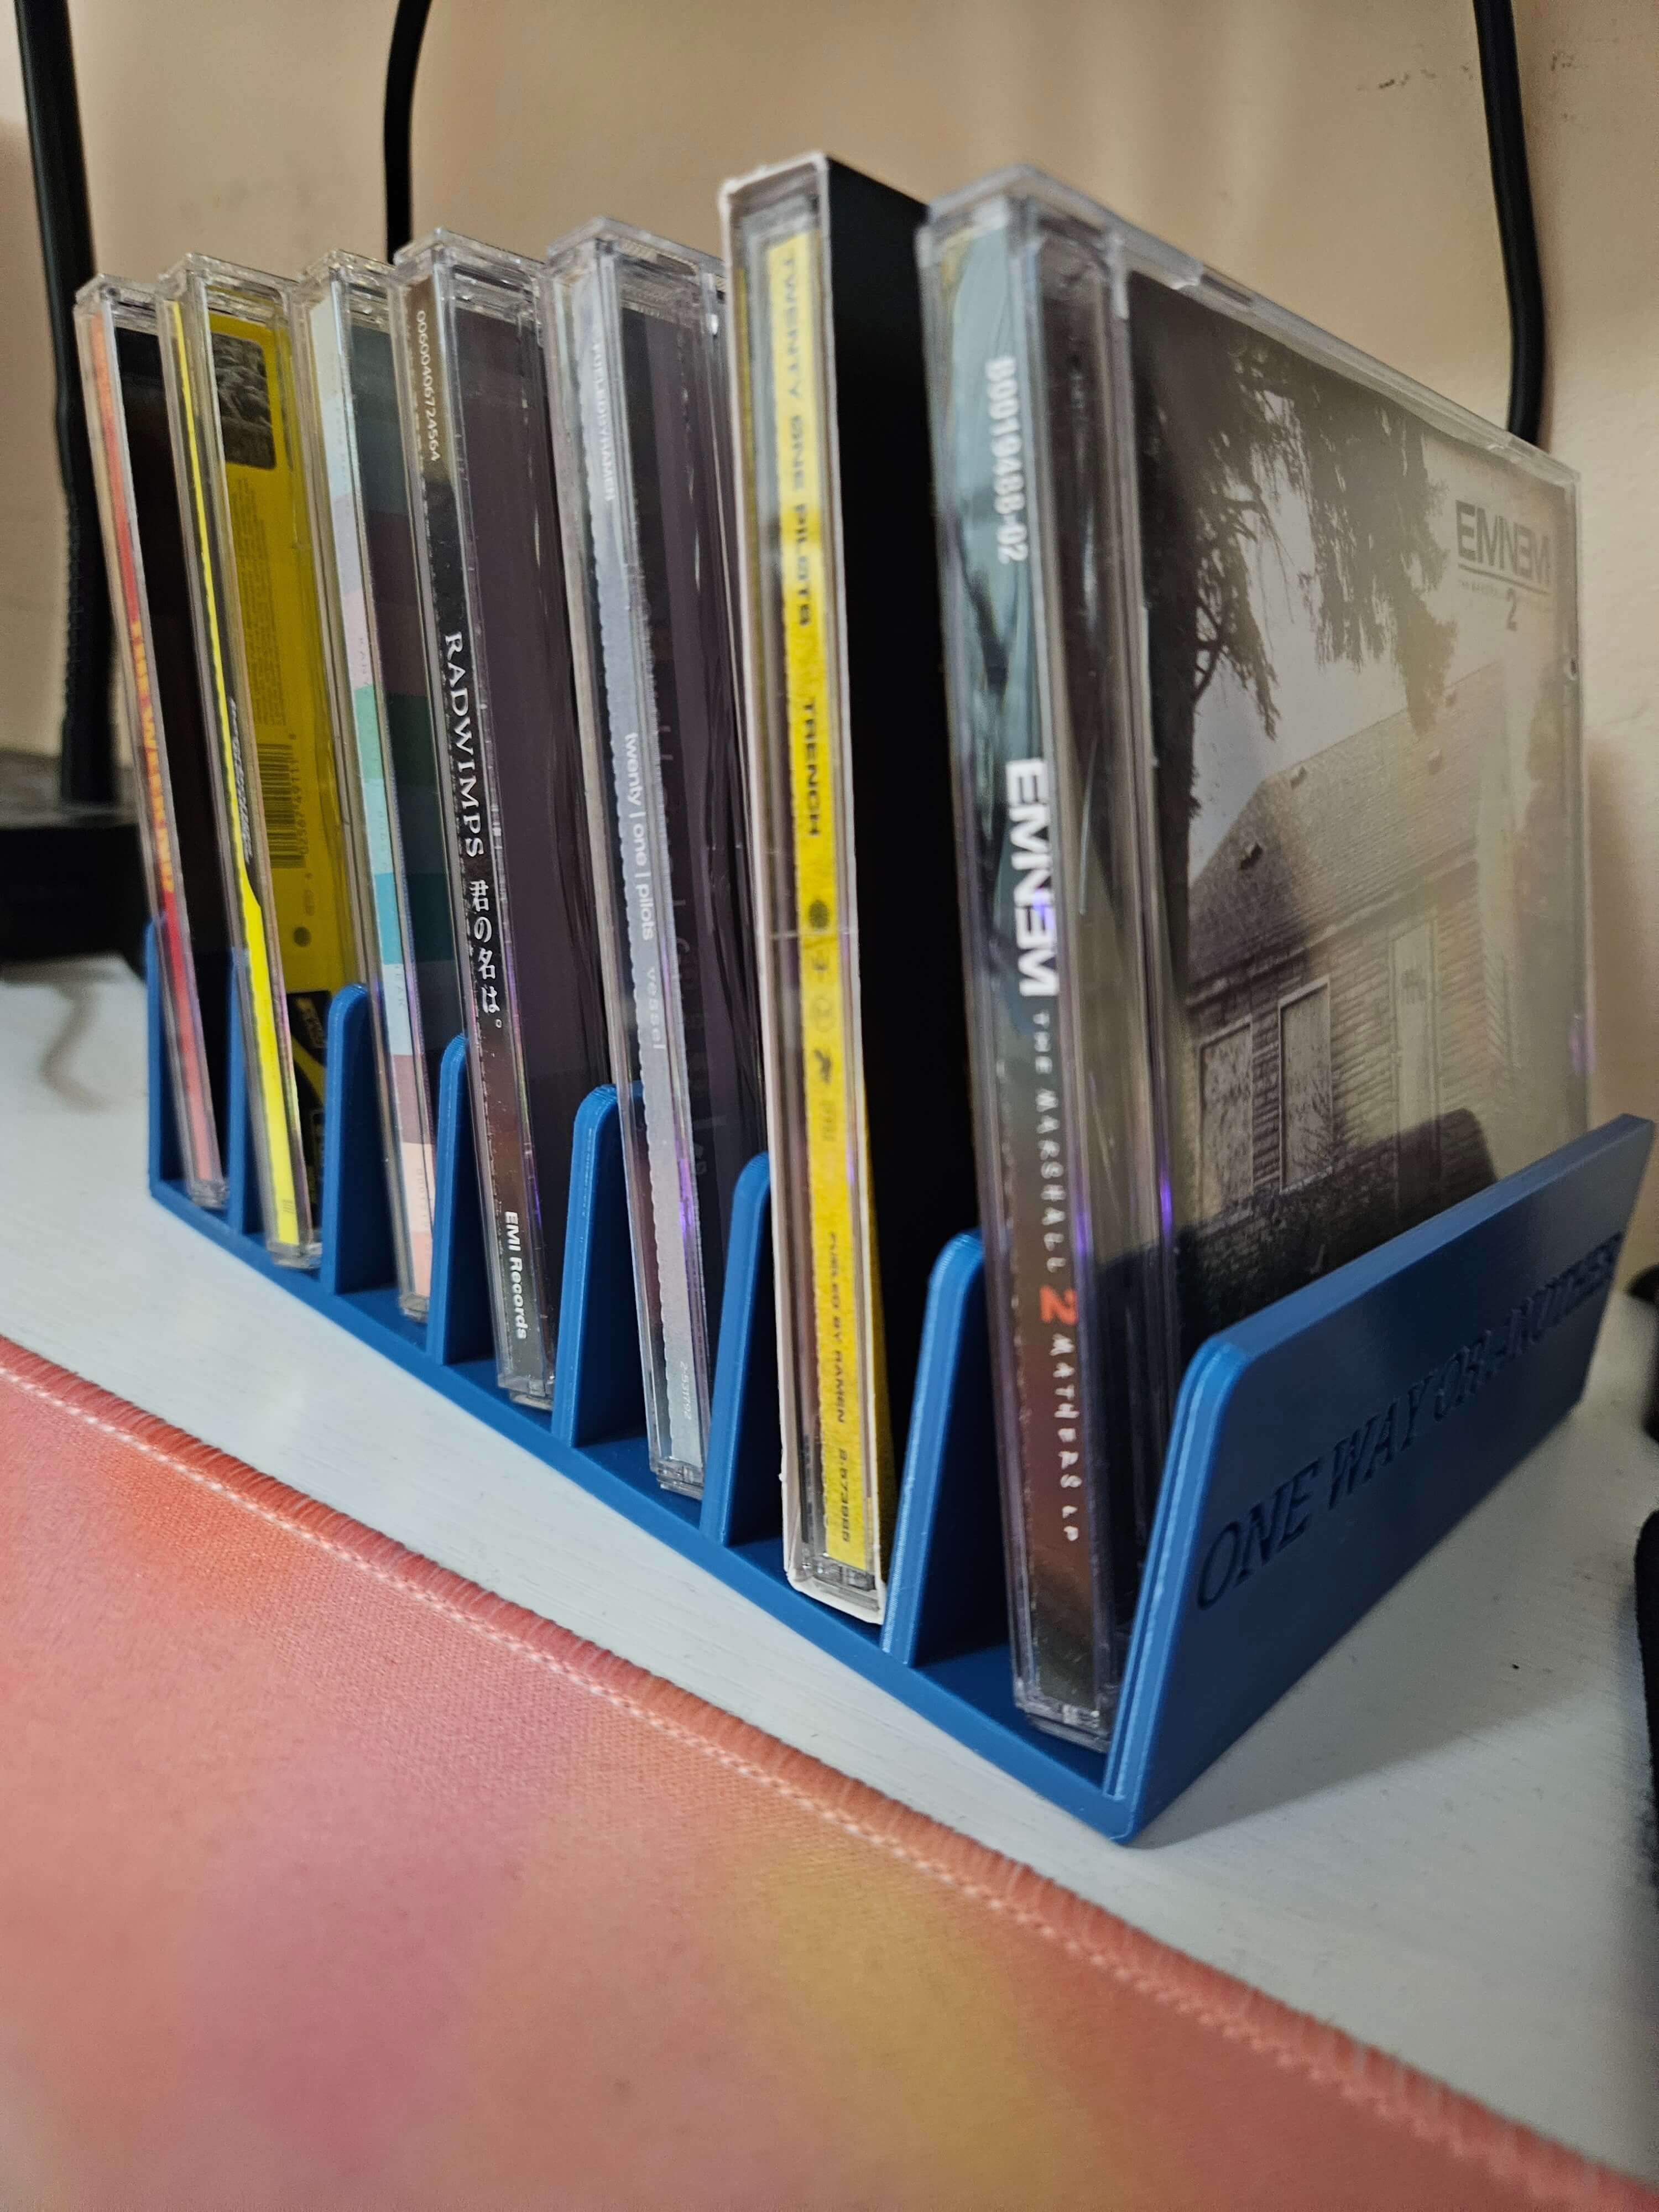
Simple and relatively small display tray that is able to stand up and show off 7 CD cases of various sizes and thicknesses. Customizable text on the end to personalize. Click here to explore the model on my GrabCAD profile!
Sliding Desk Organizer (First Prototype)
A desk organizer inspired by the design of fishing tackle boxes that open up and can close by folding in on itself to save space. In a similar way to save space and allow for more flexibility, multiple boxes can be printed and stacked on top of one another using the stands as support. Designed to be relatively small so it can fit under my desktop monitors. Also designed to have some space behind and under it so that wires can run around it cleanly. Click here to explore the model on my GrabCAD profile!
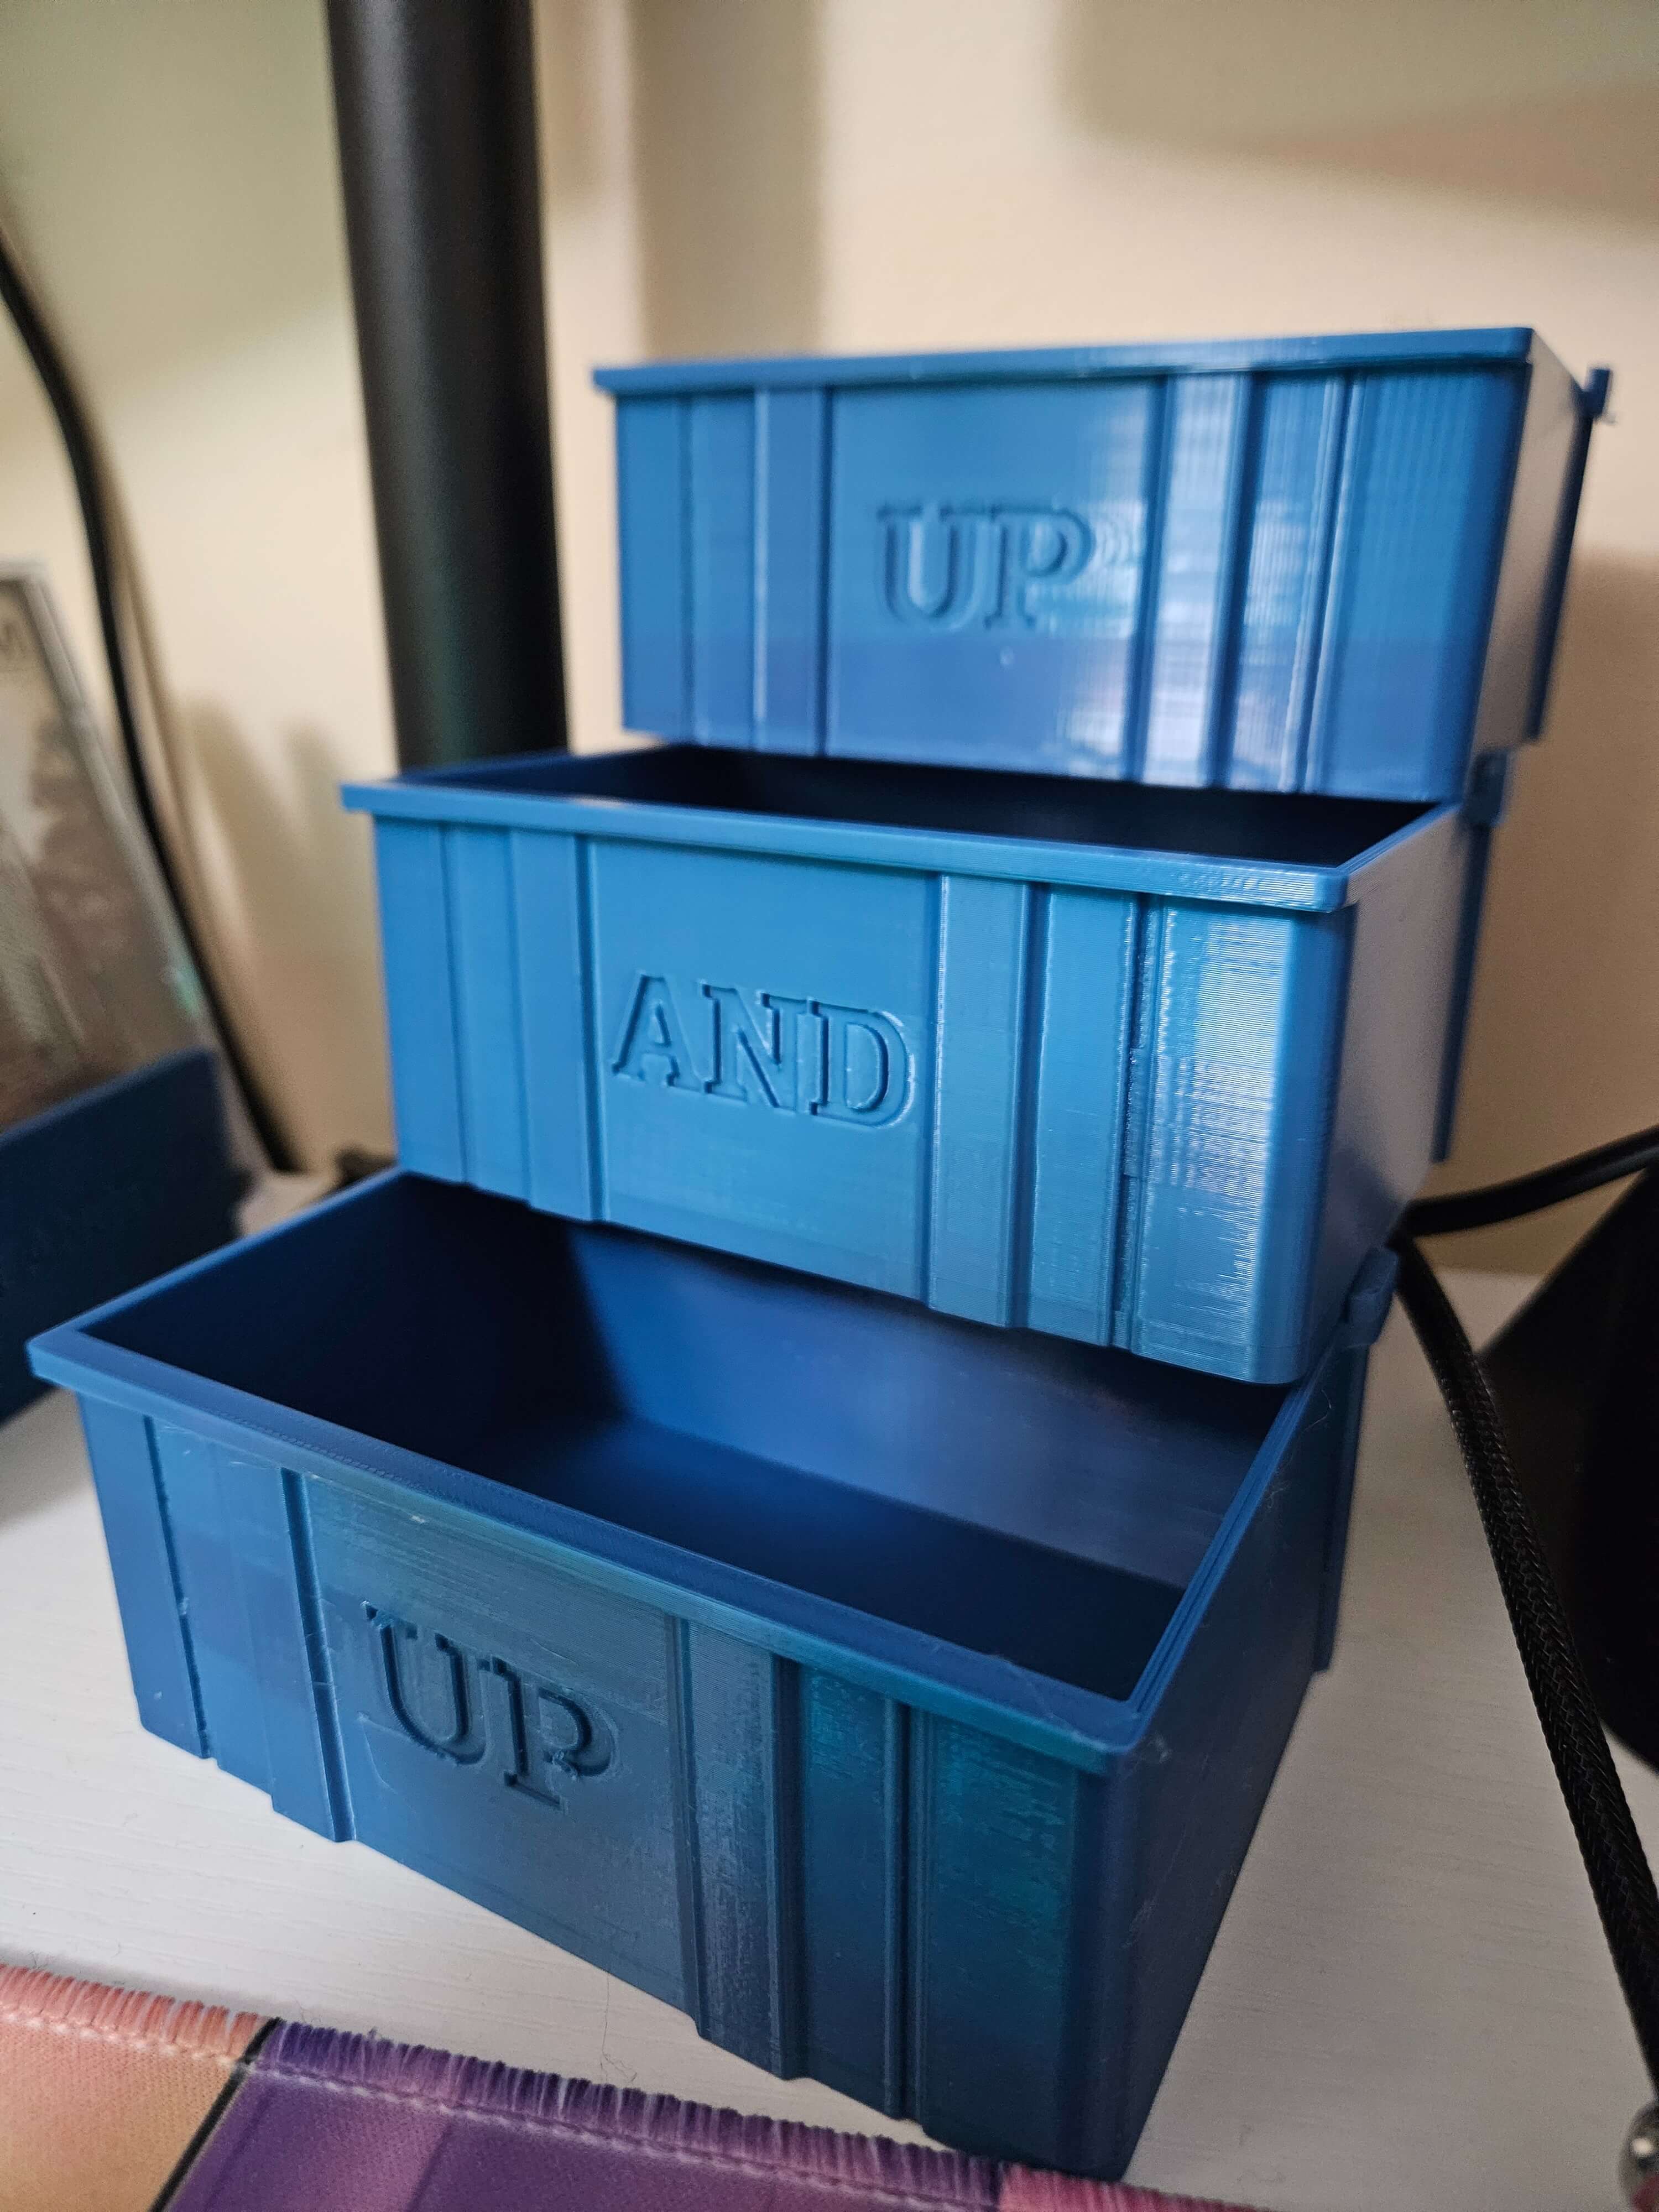
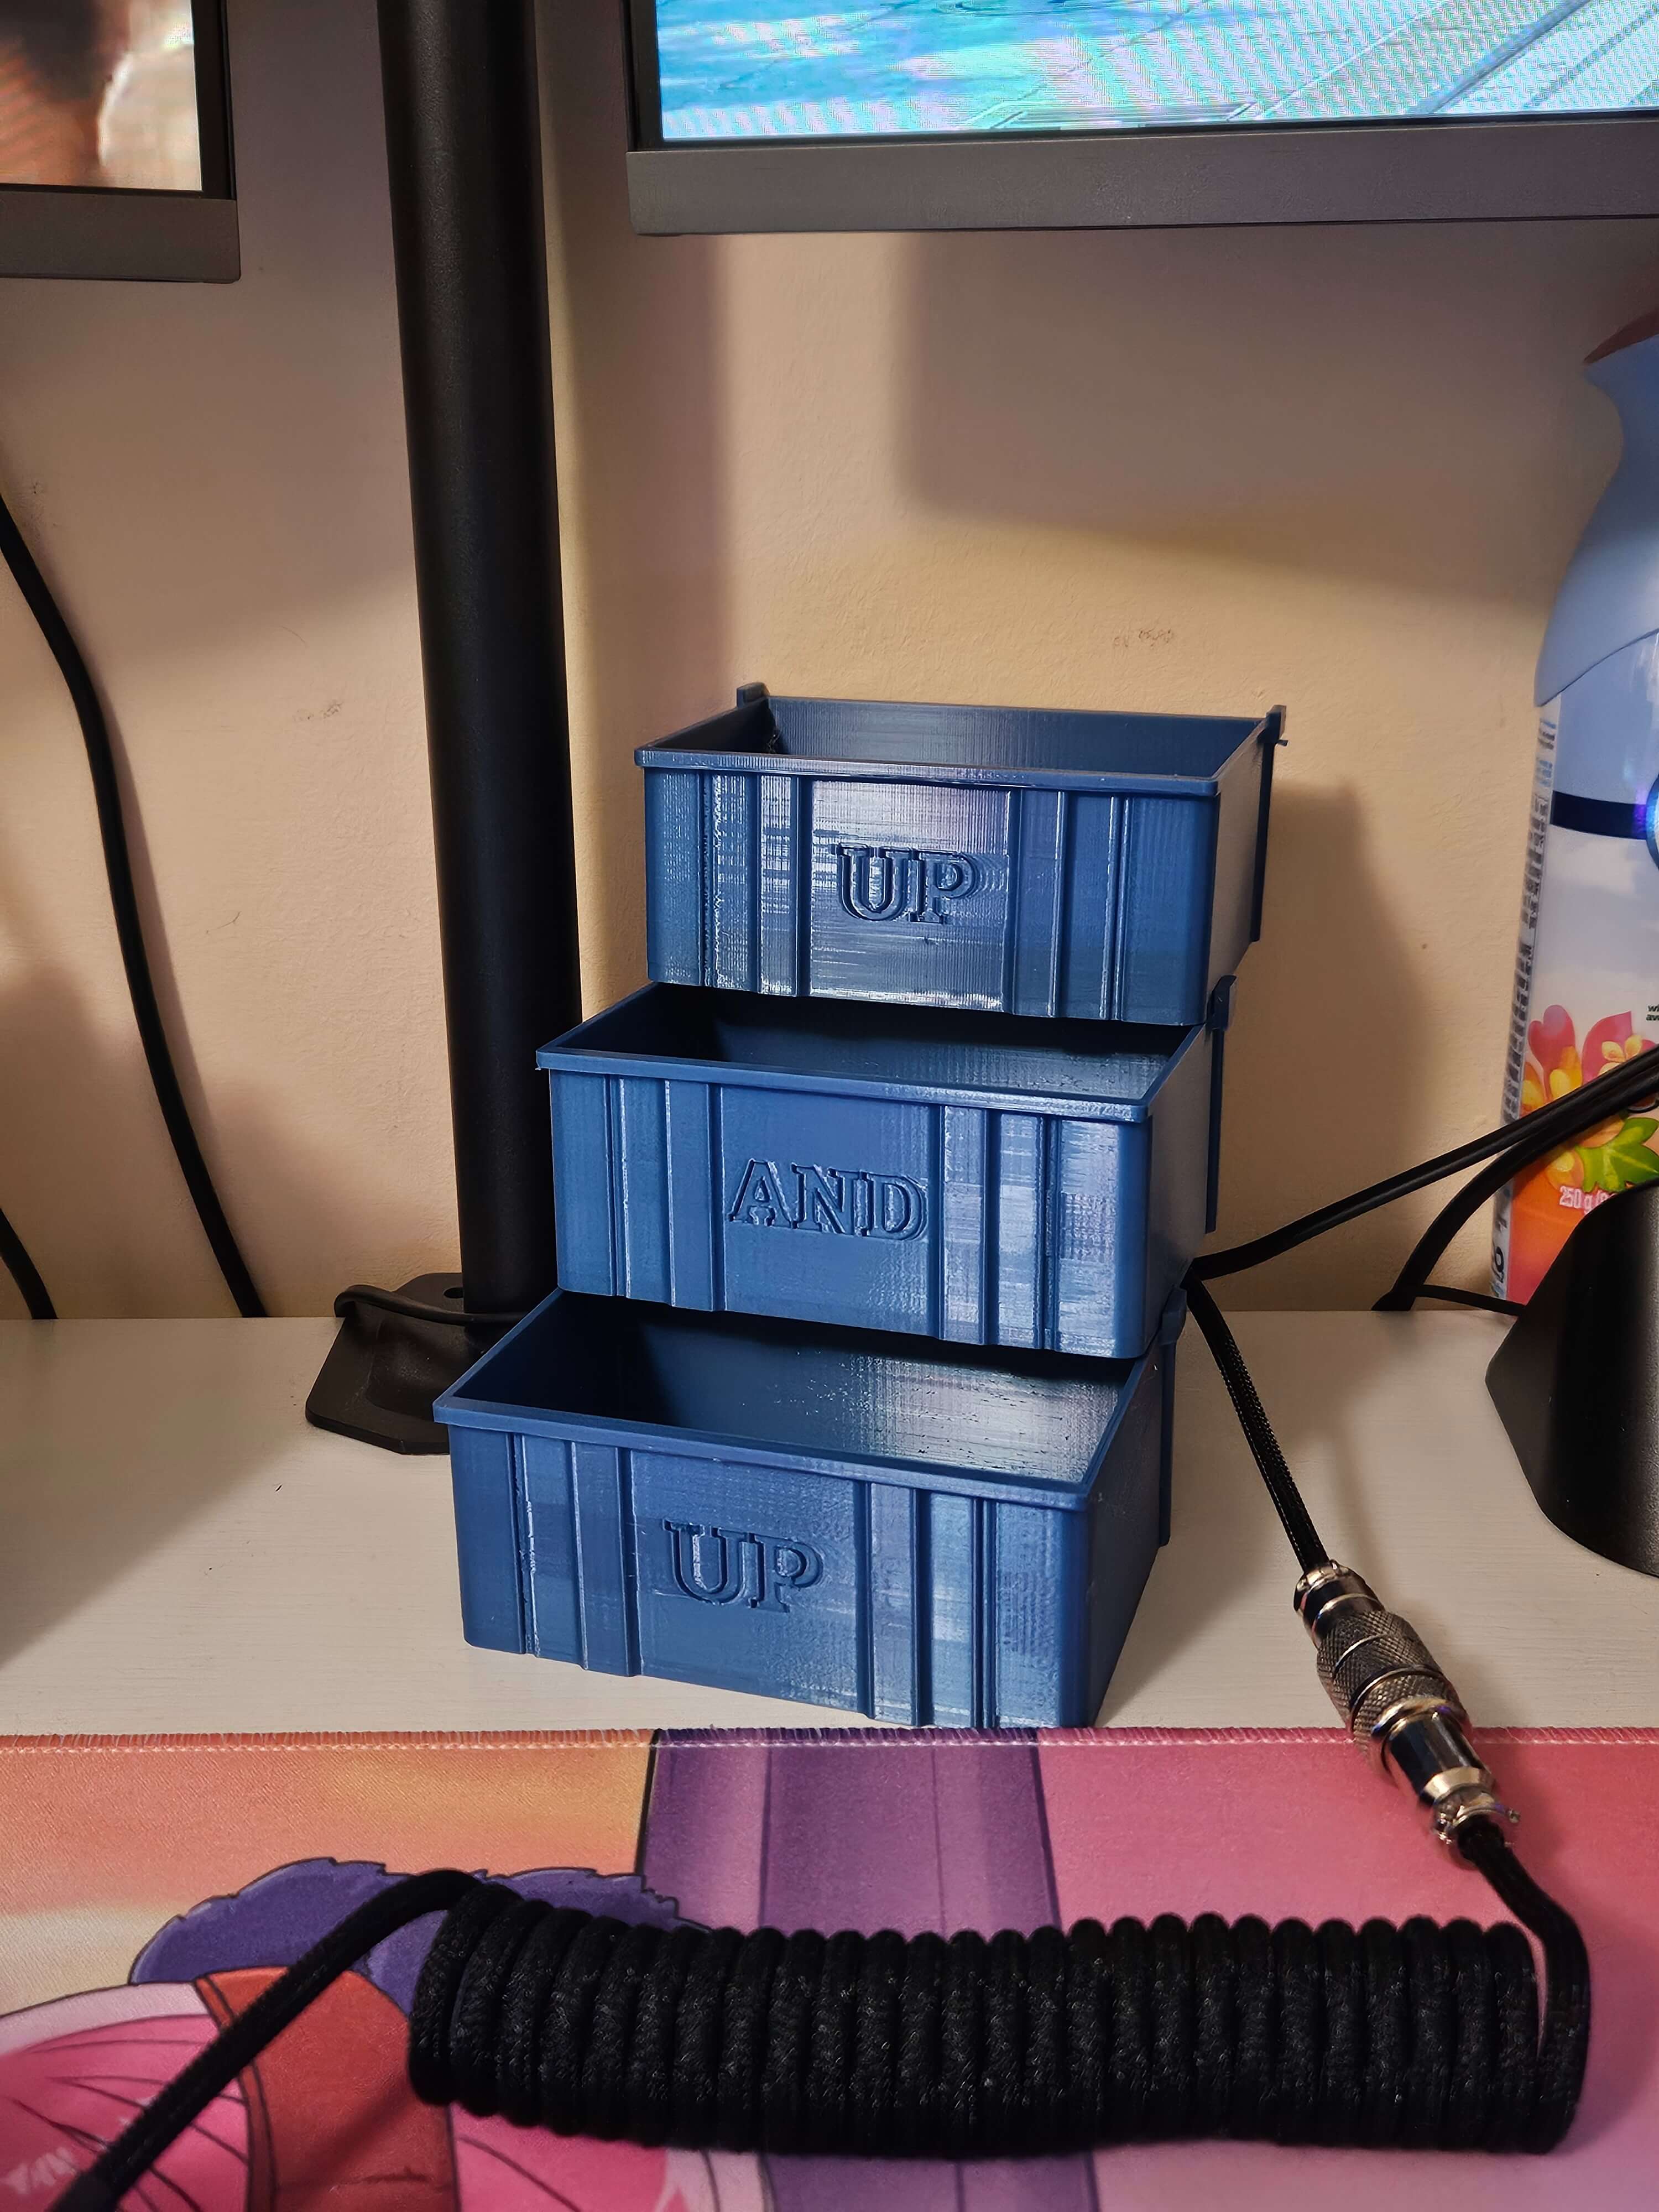
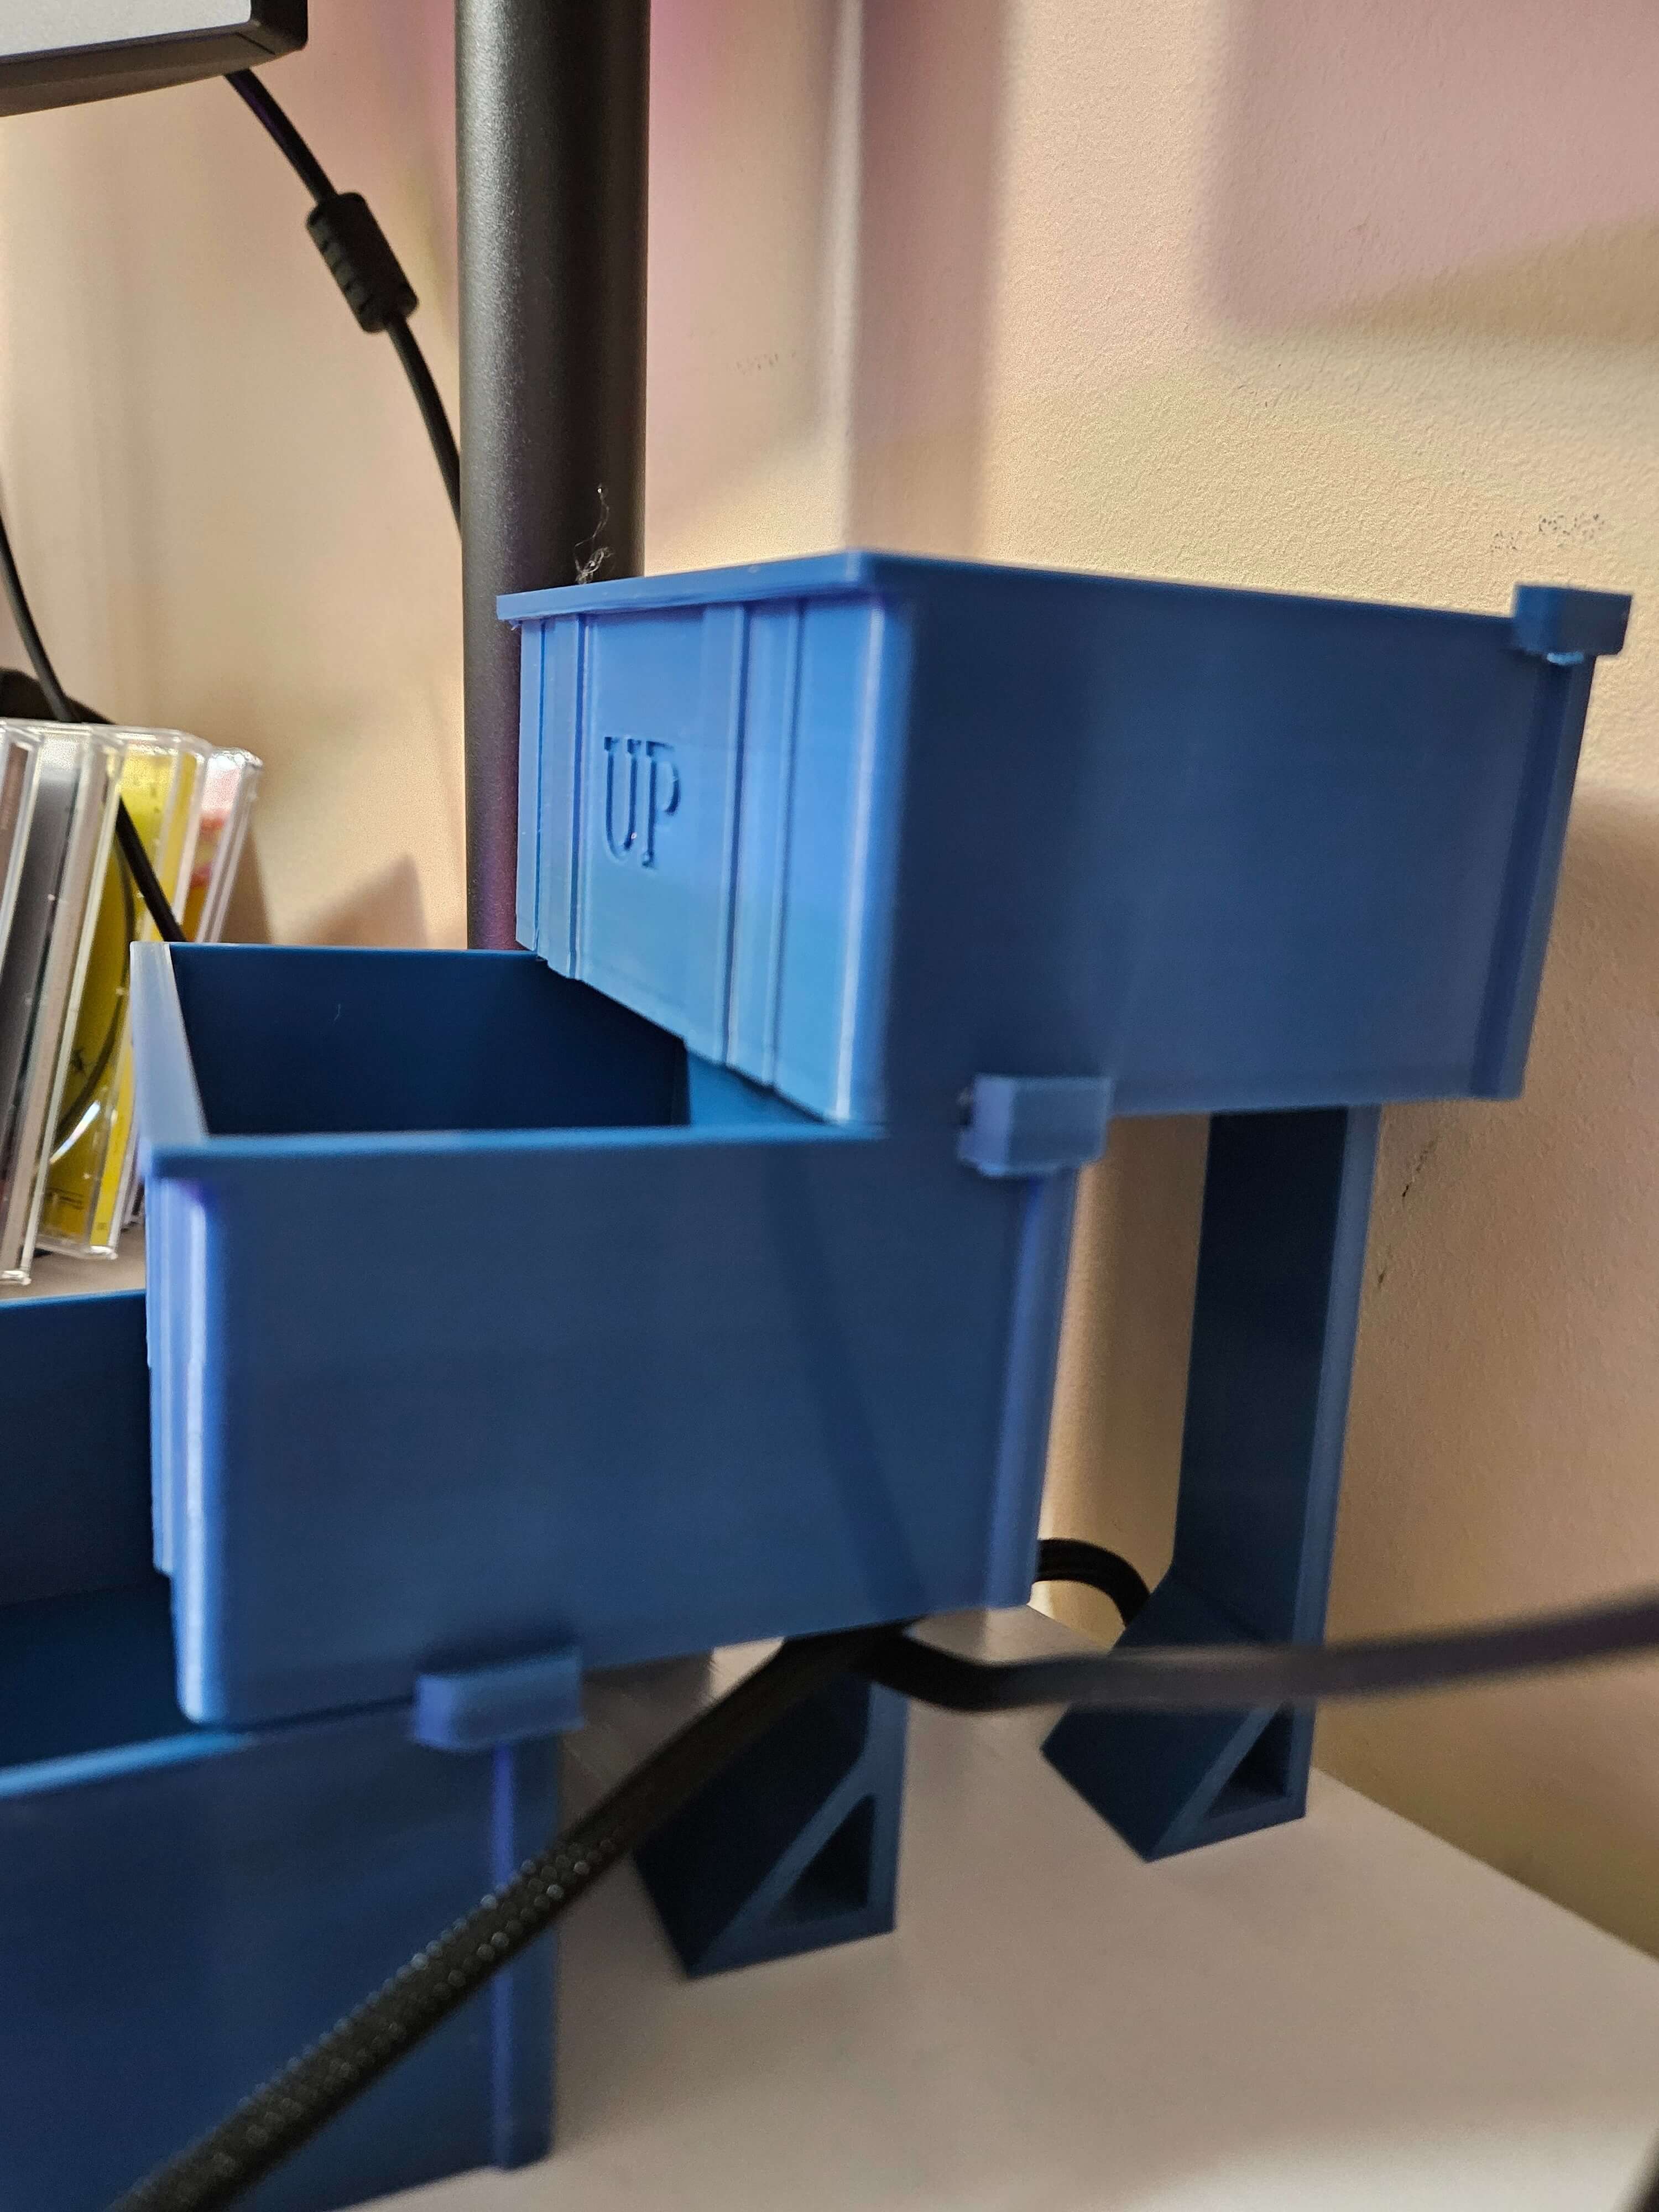
The boxes can slide forwards and backwards to both save space and keep dust from invading its contents. Small ridges were implemented into the design to keep the boxes from sliding left and right. The stands were meant to provide support without impeding with the storage capacity of the boxes.
Nespresso Pod Holder
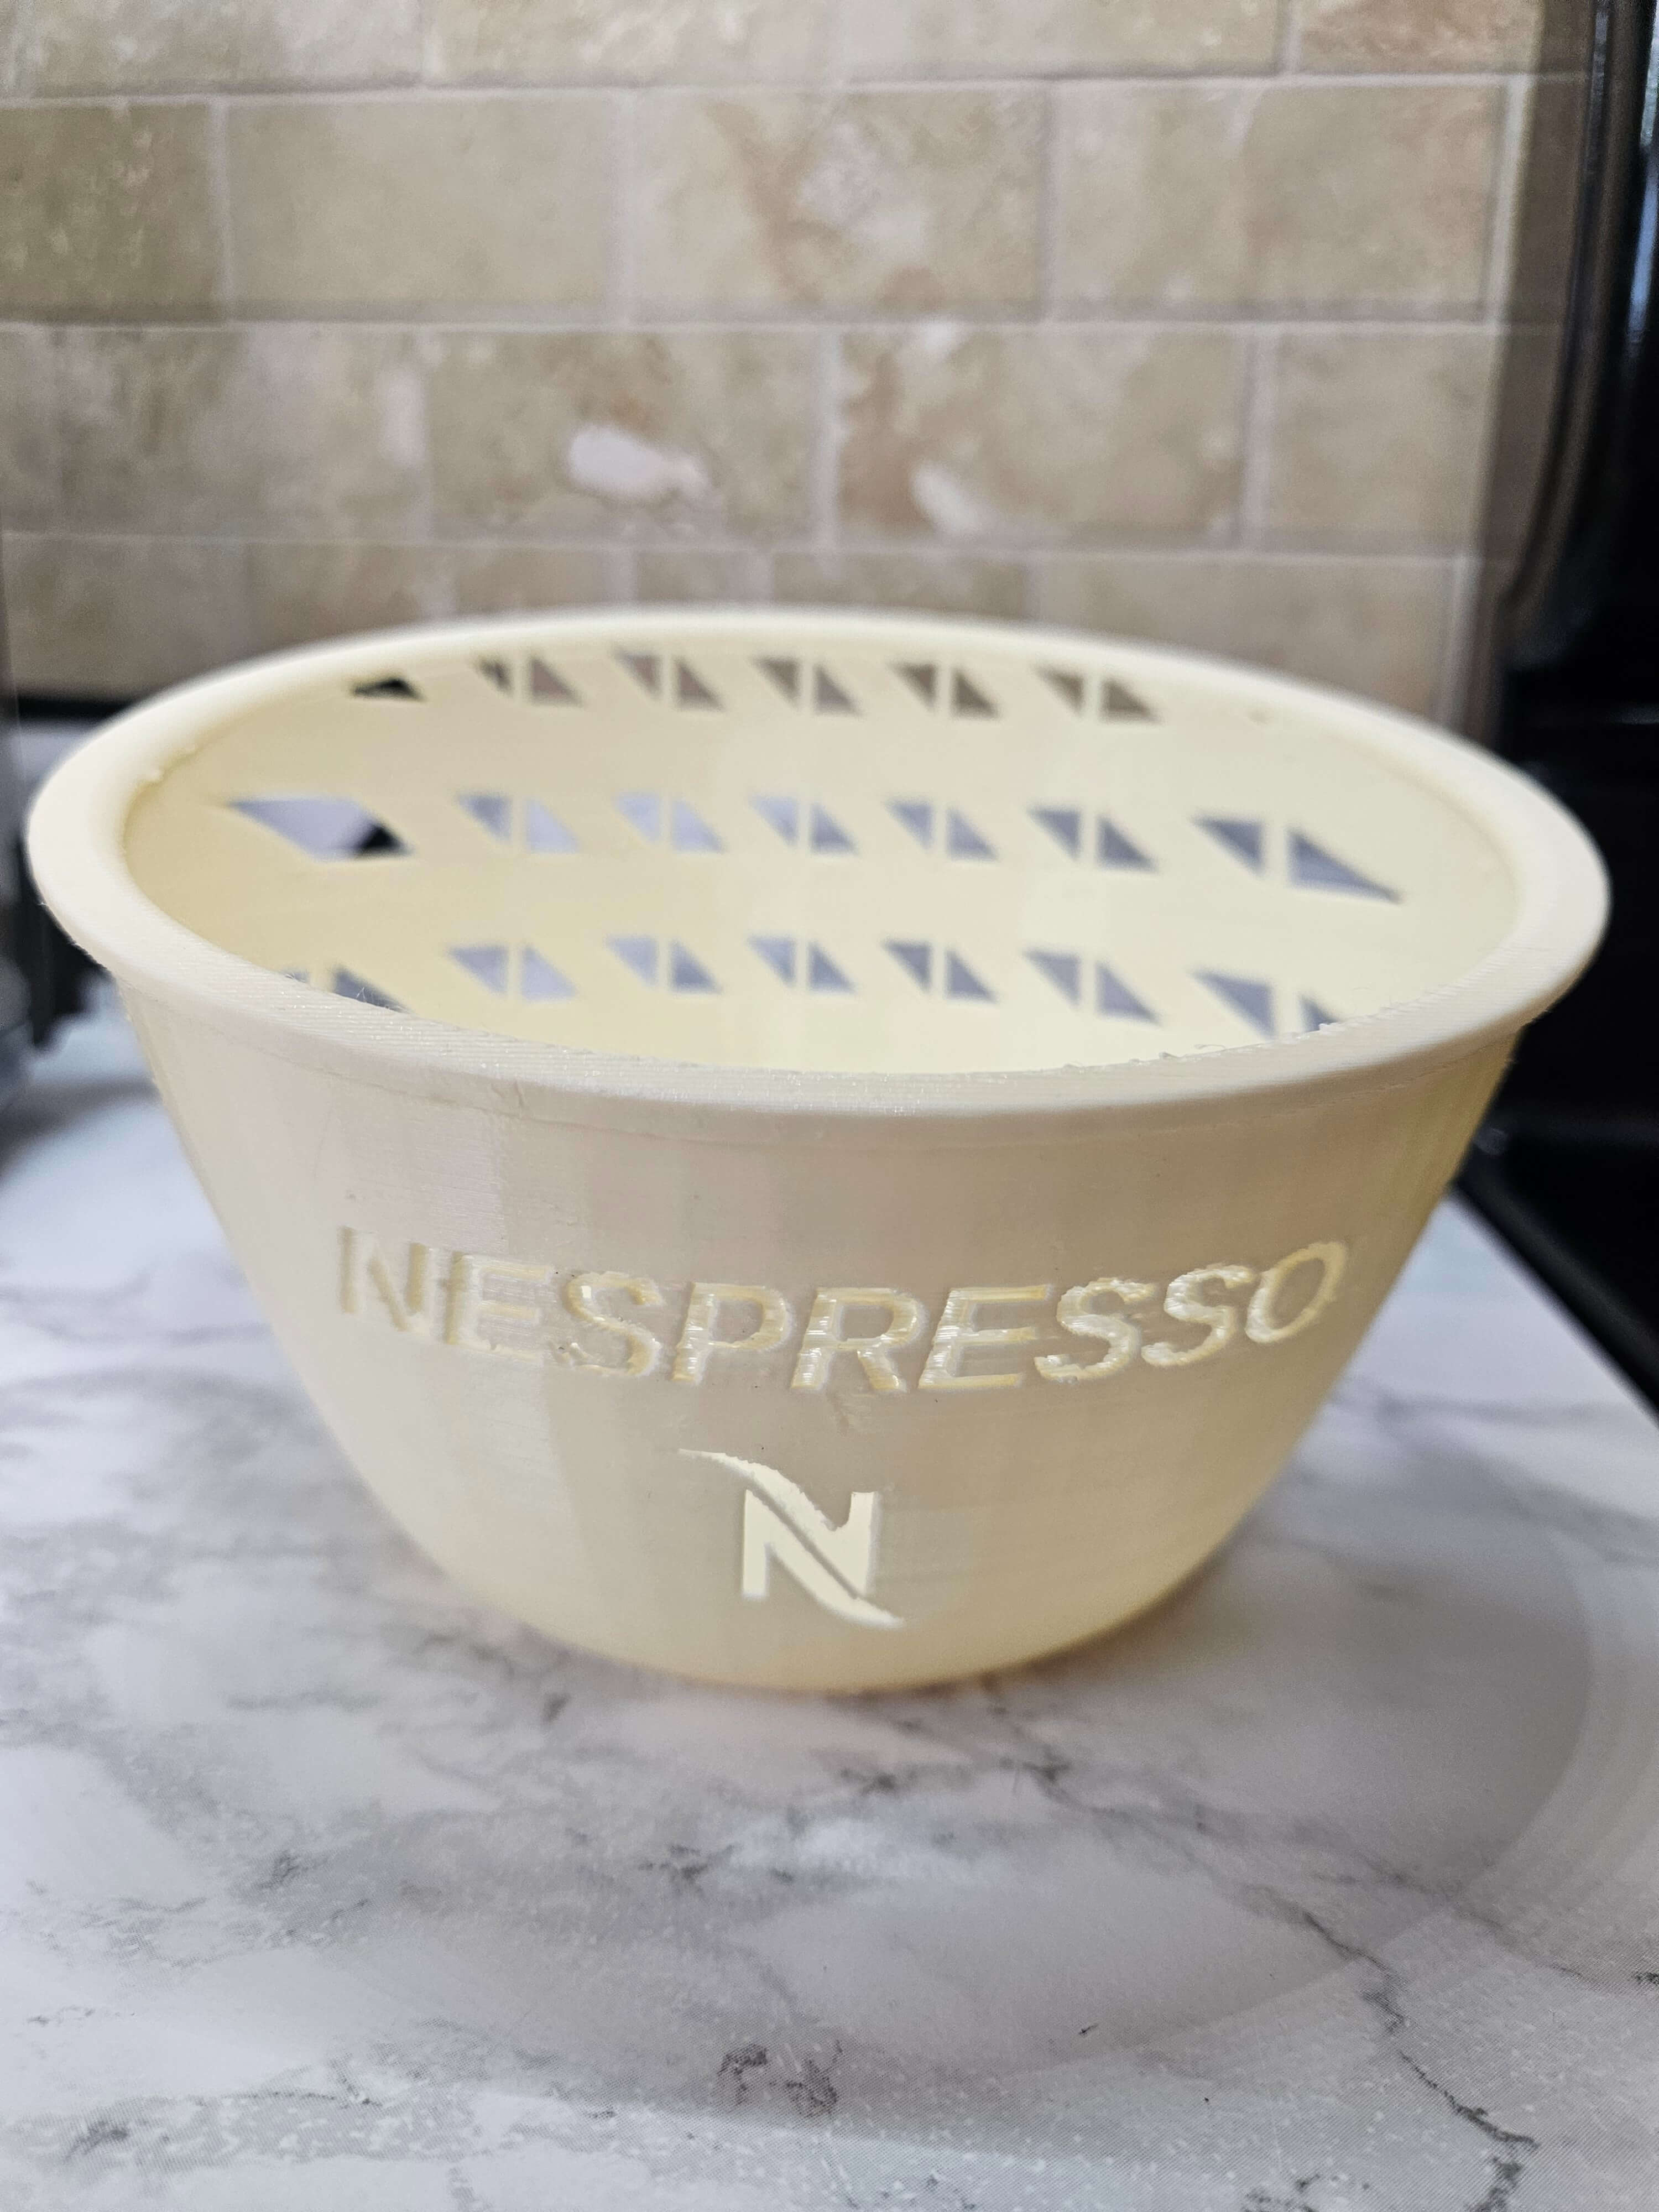
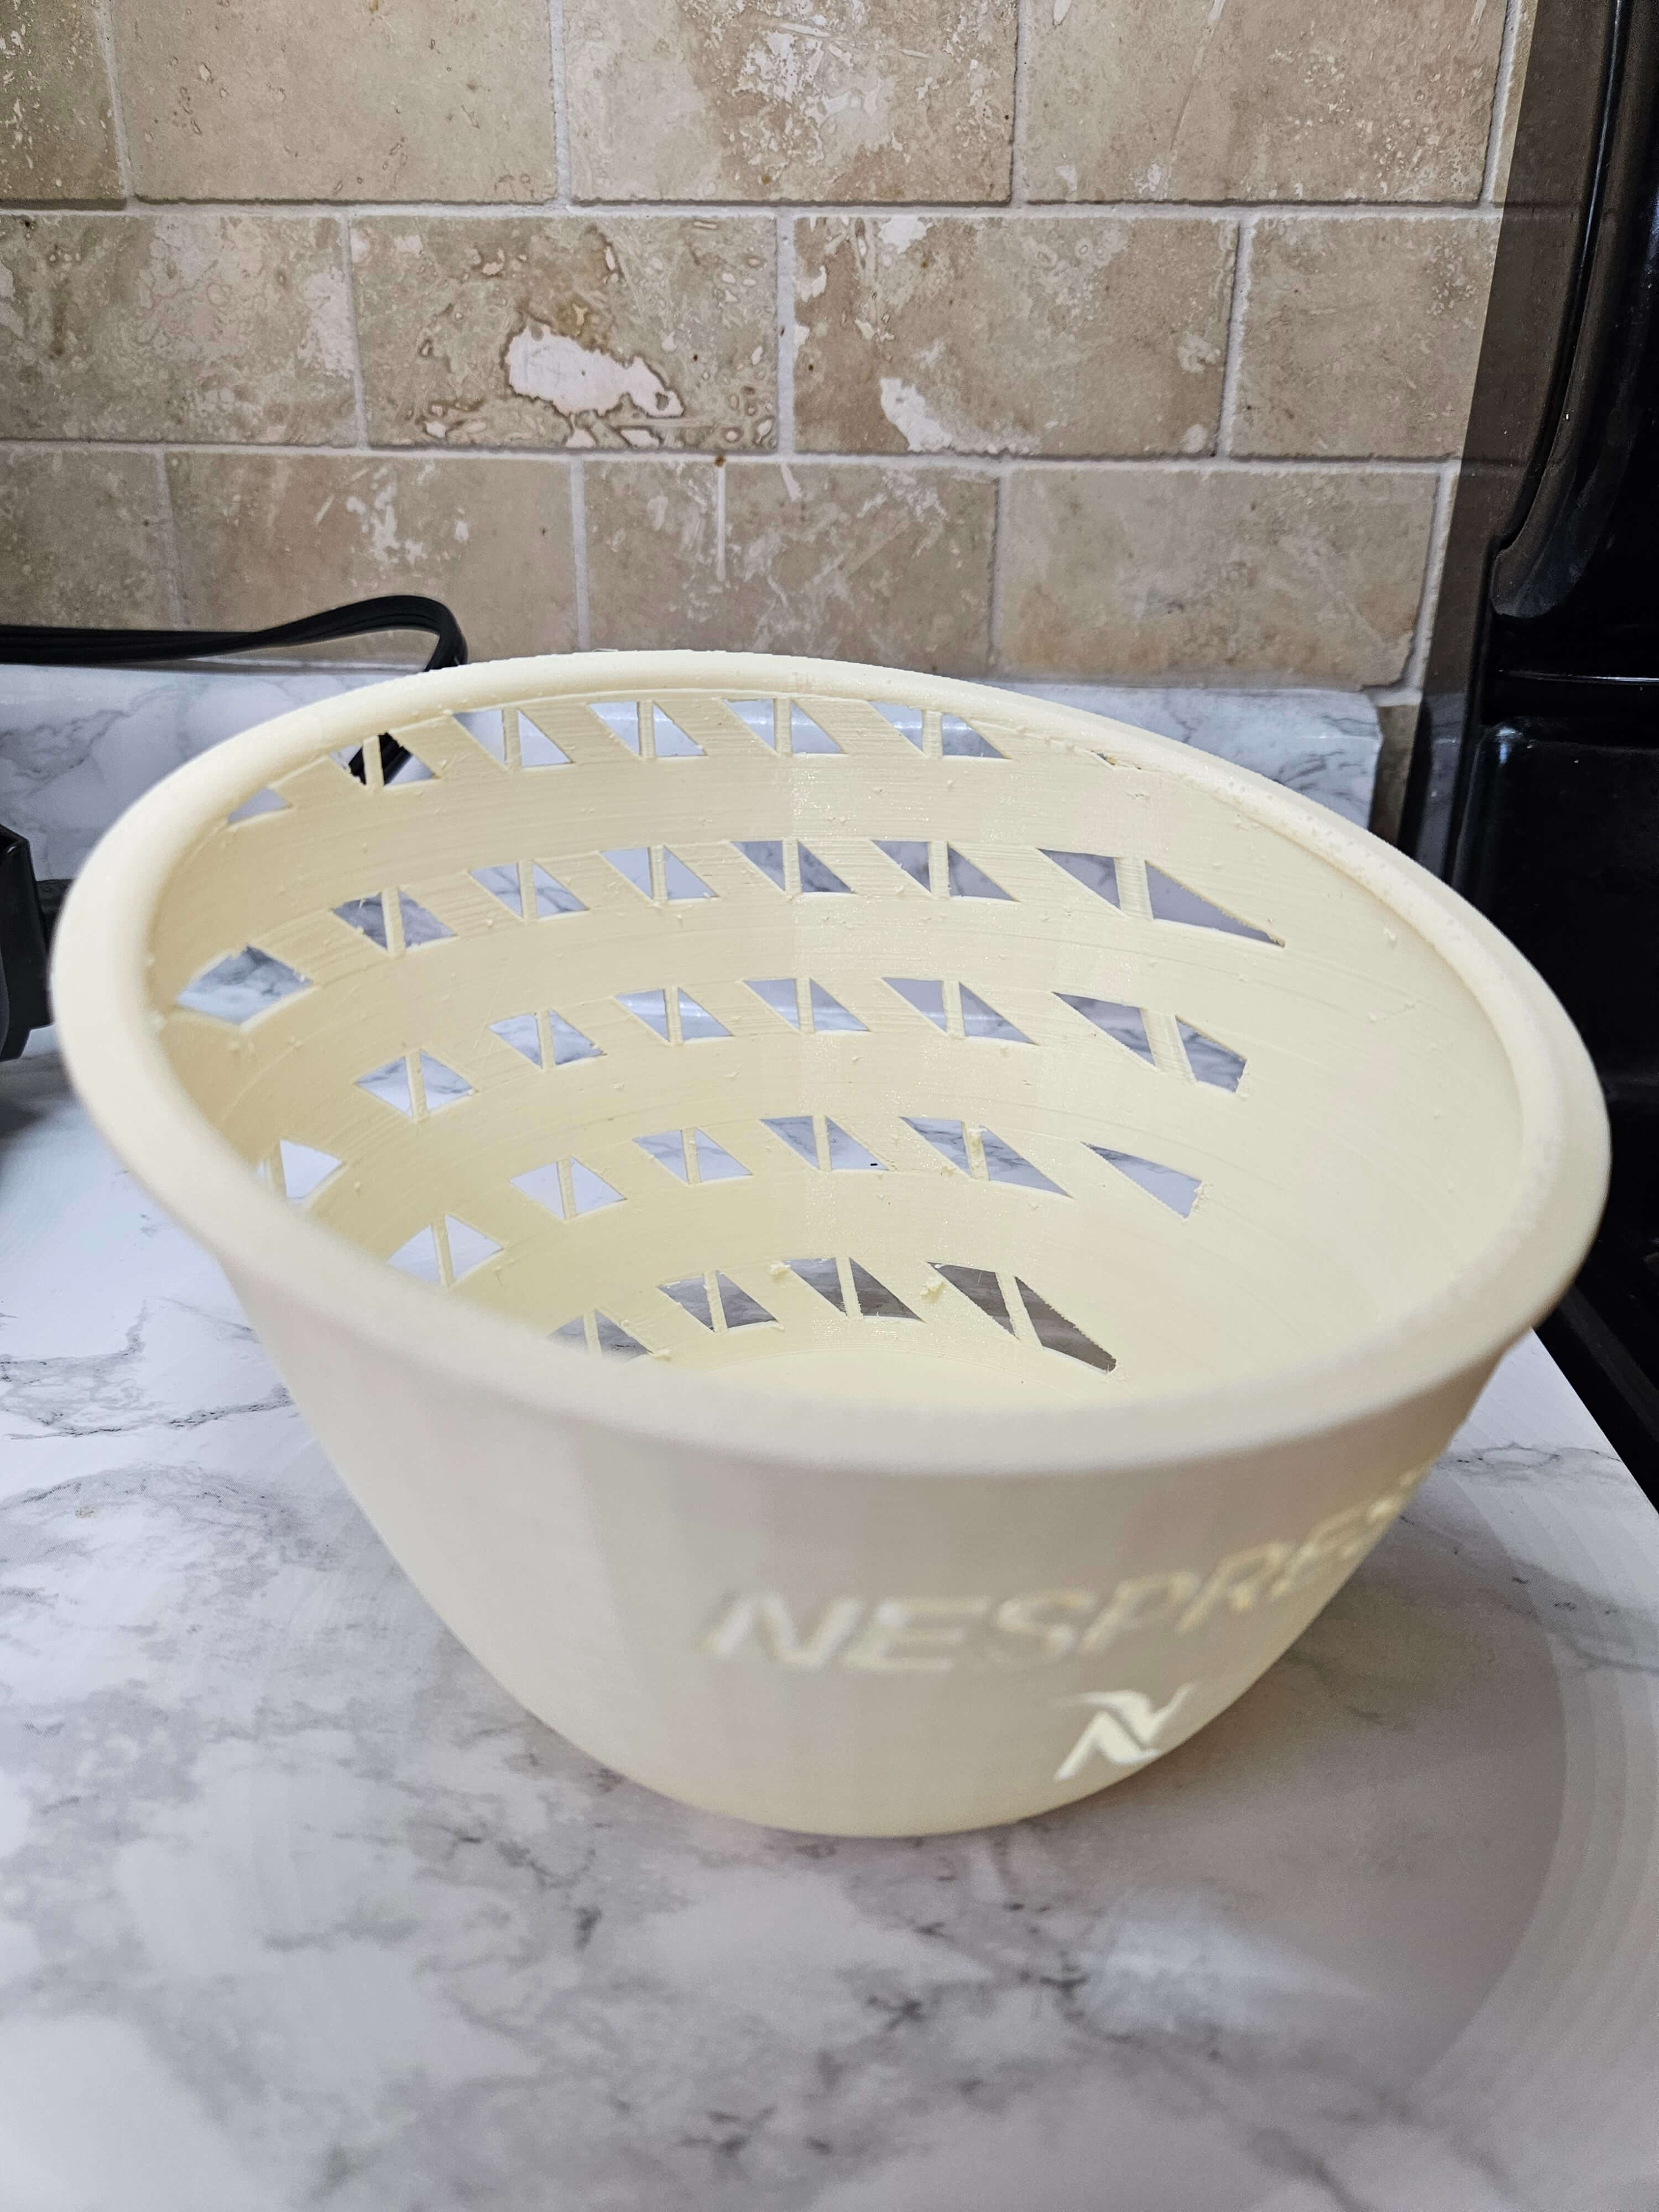
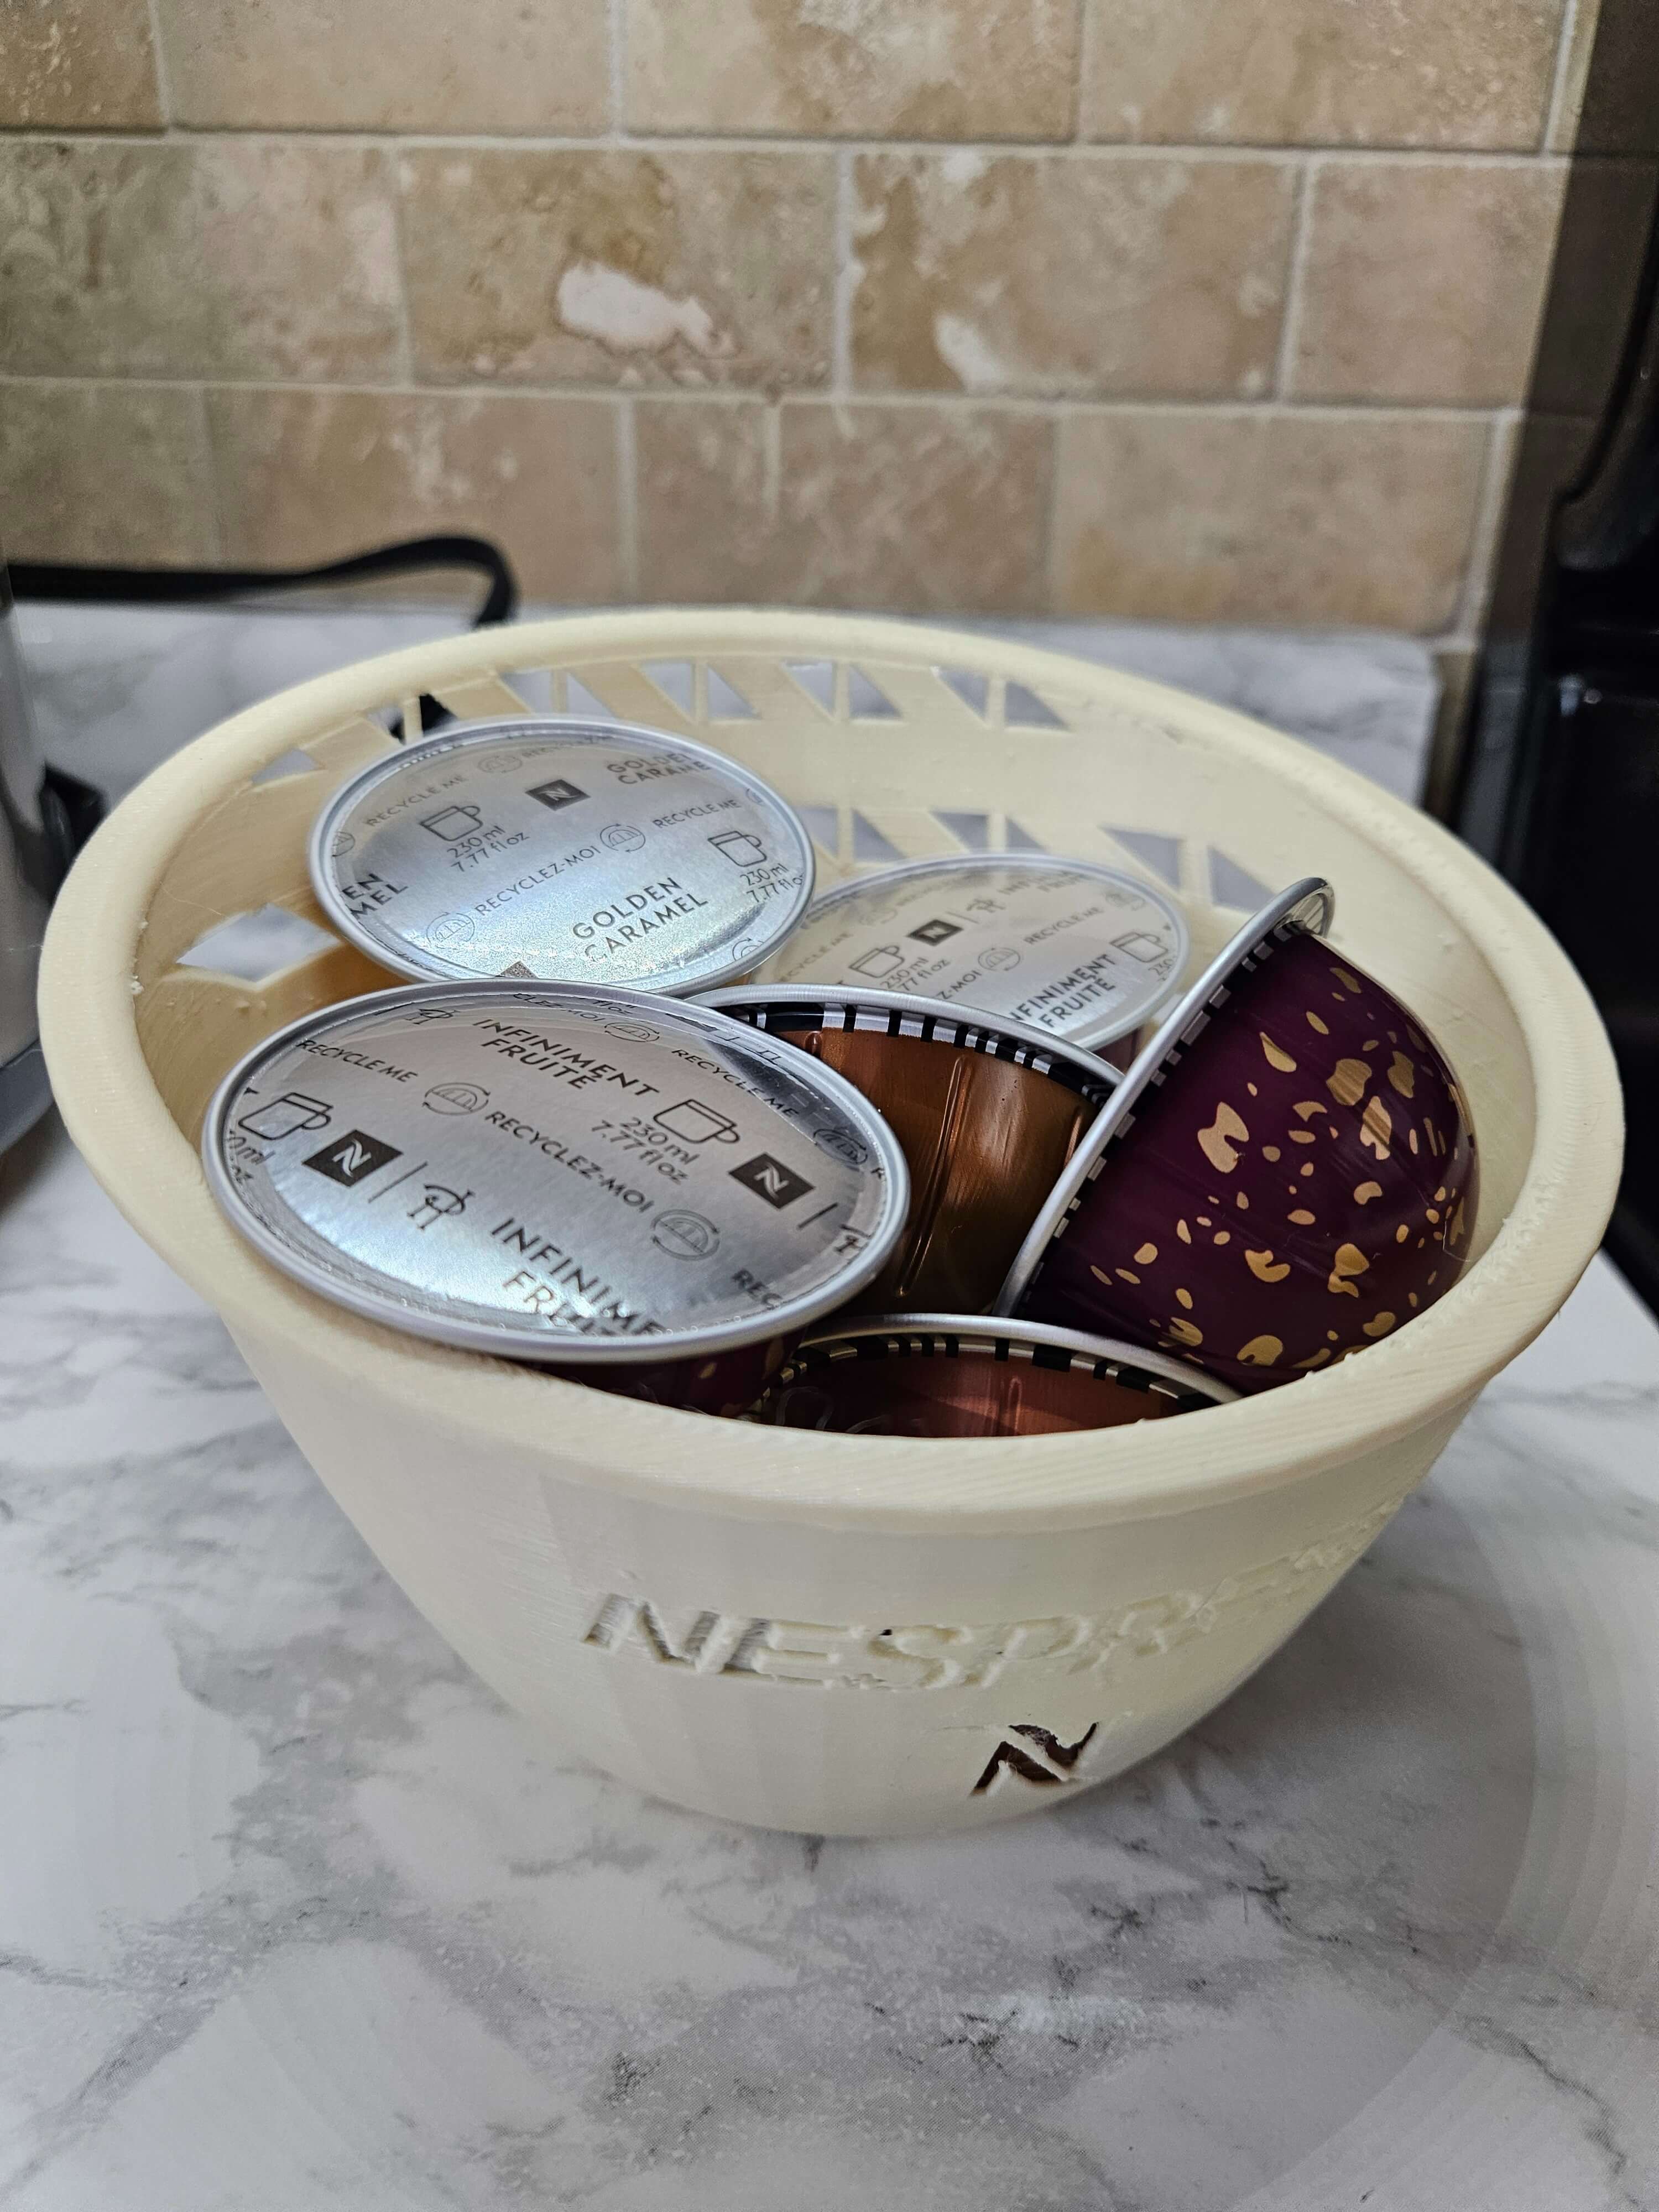
In an attempt to practice surfacing, I created a basket designed to hold Nespresso pods and look aesthetic in the kitchen. My current solution is keeping the pods in the sleeves that they come in and removing them when I want to use one. This is a much easier solution and speeds up my mornings by AT LEAST 5 seconds! Click here to explore the model on my GrabCAD profile!
Aesthetics were prioritized in this print, so more support material was needed to complete the more aesthetic patterns that I liked. This includes drawing the Nespresso logo, which I am quite proud of actually. It's also quite small due to the build volume I have available but it's enough for it to be useful.
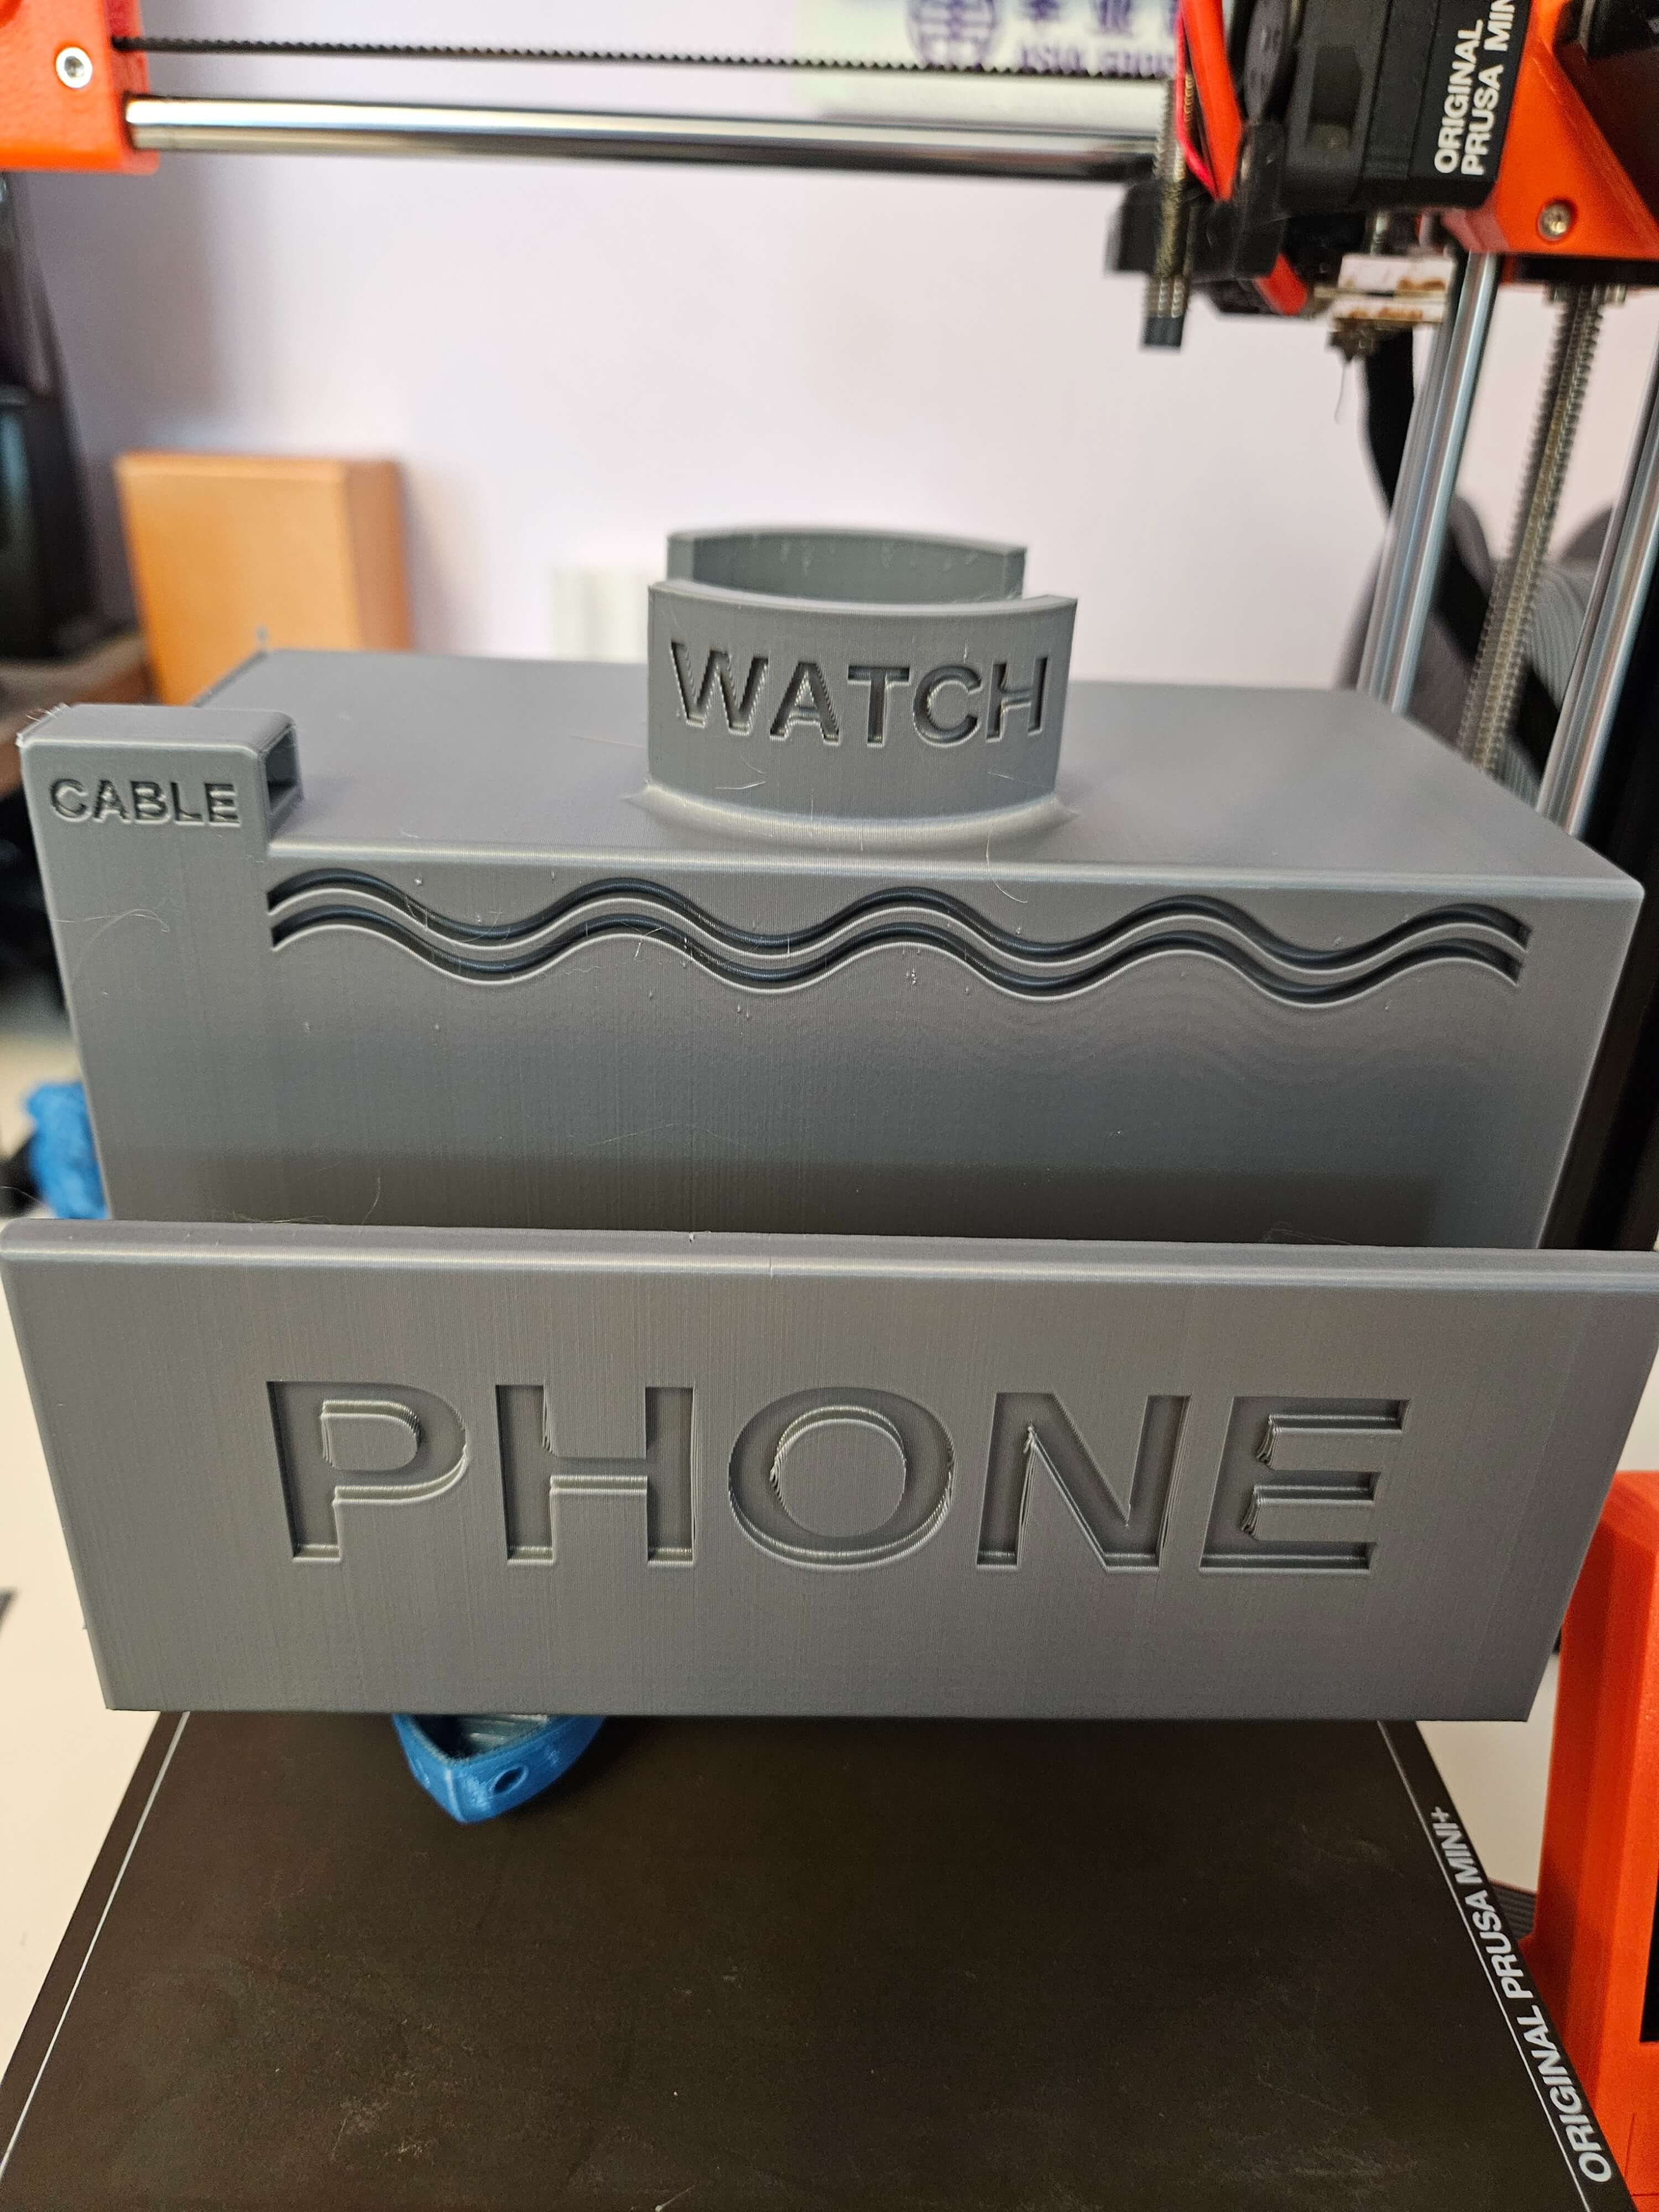
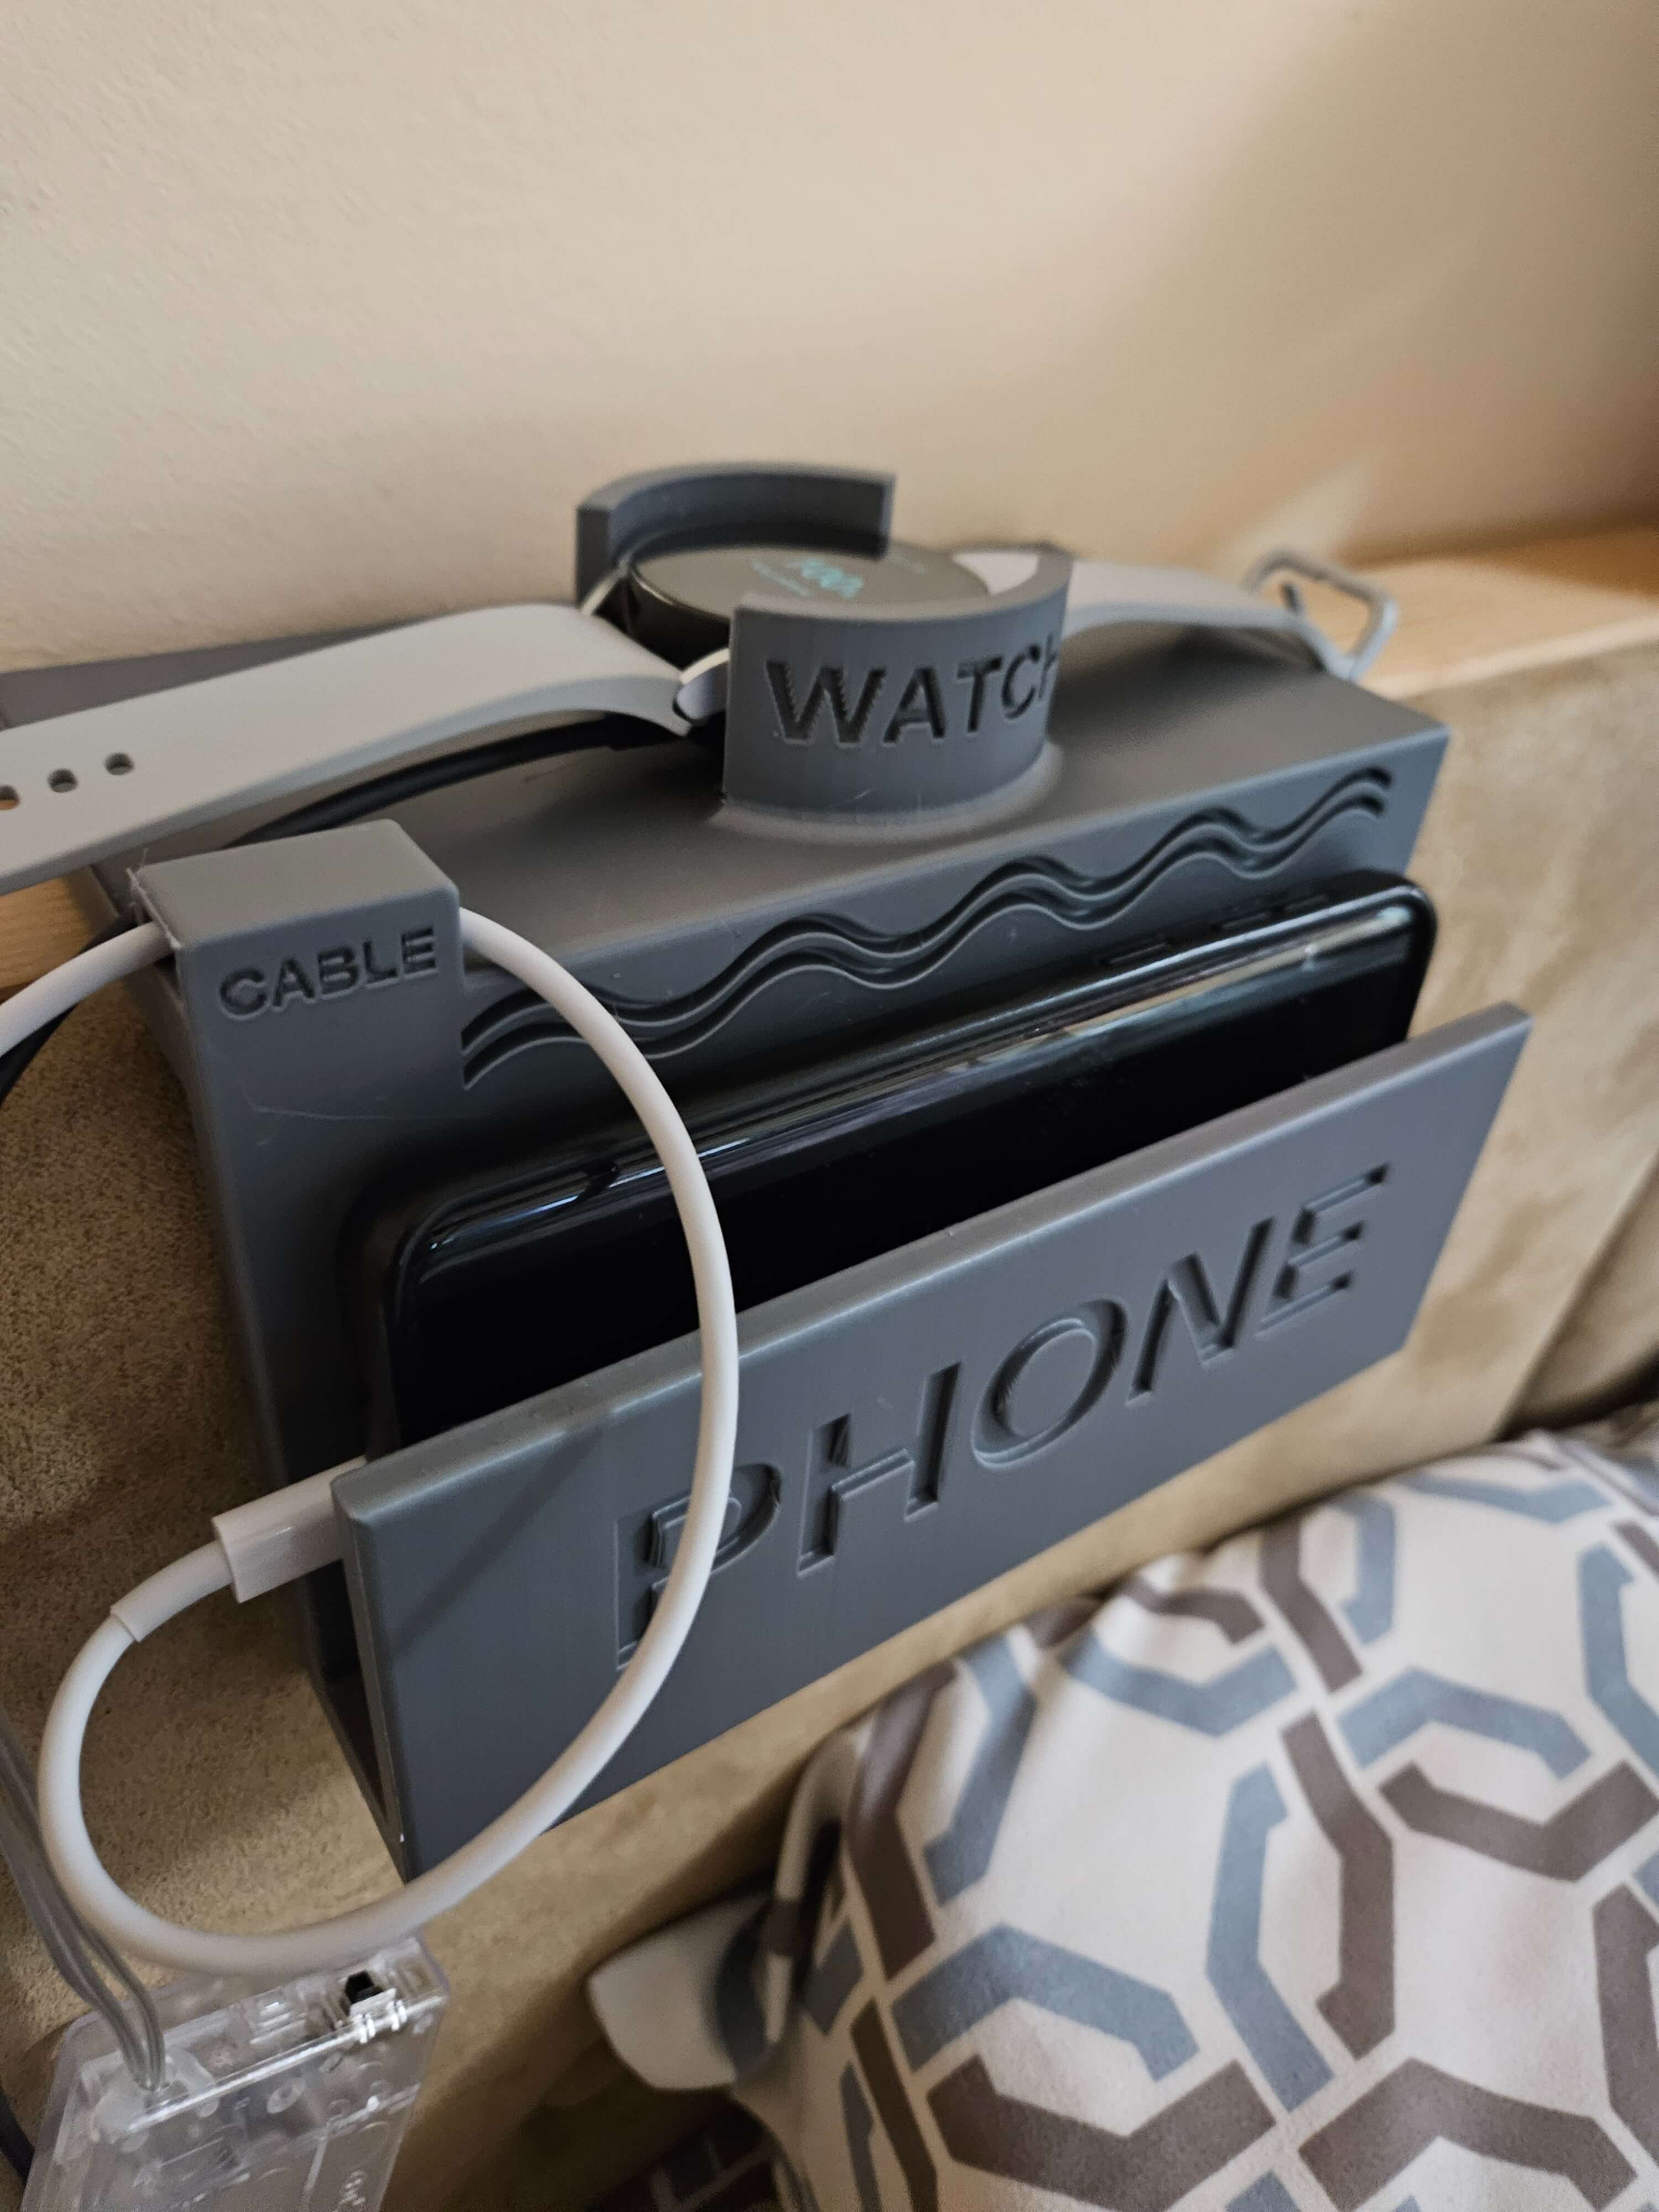
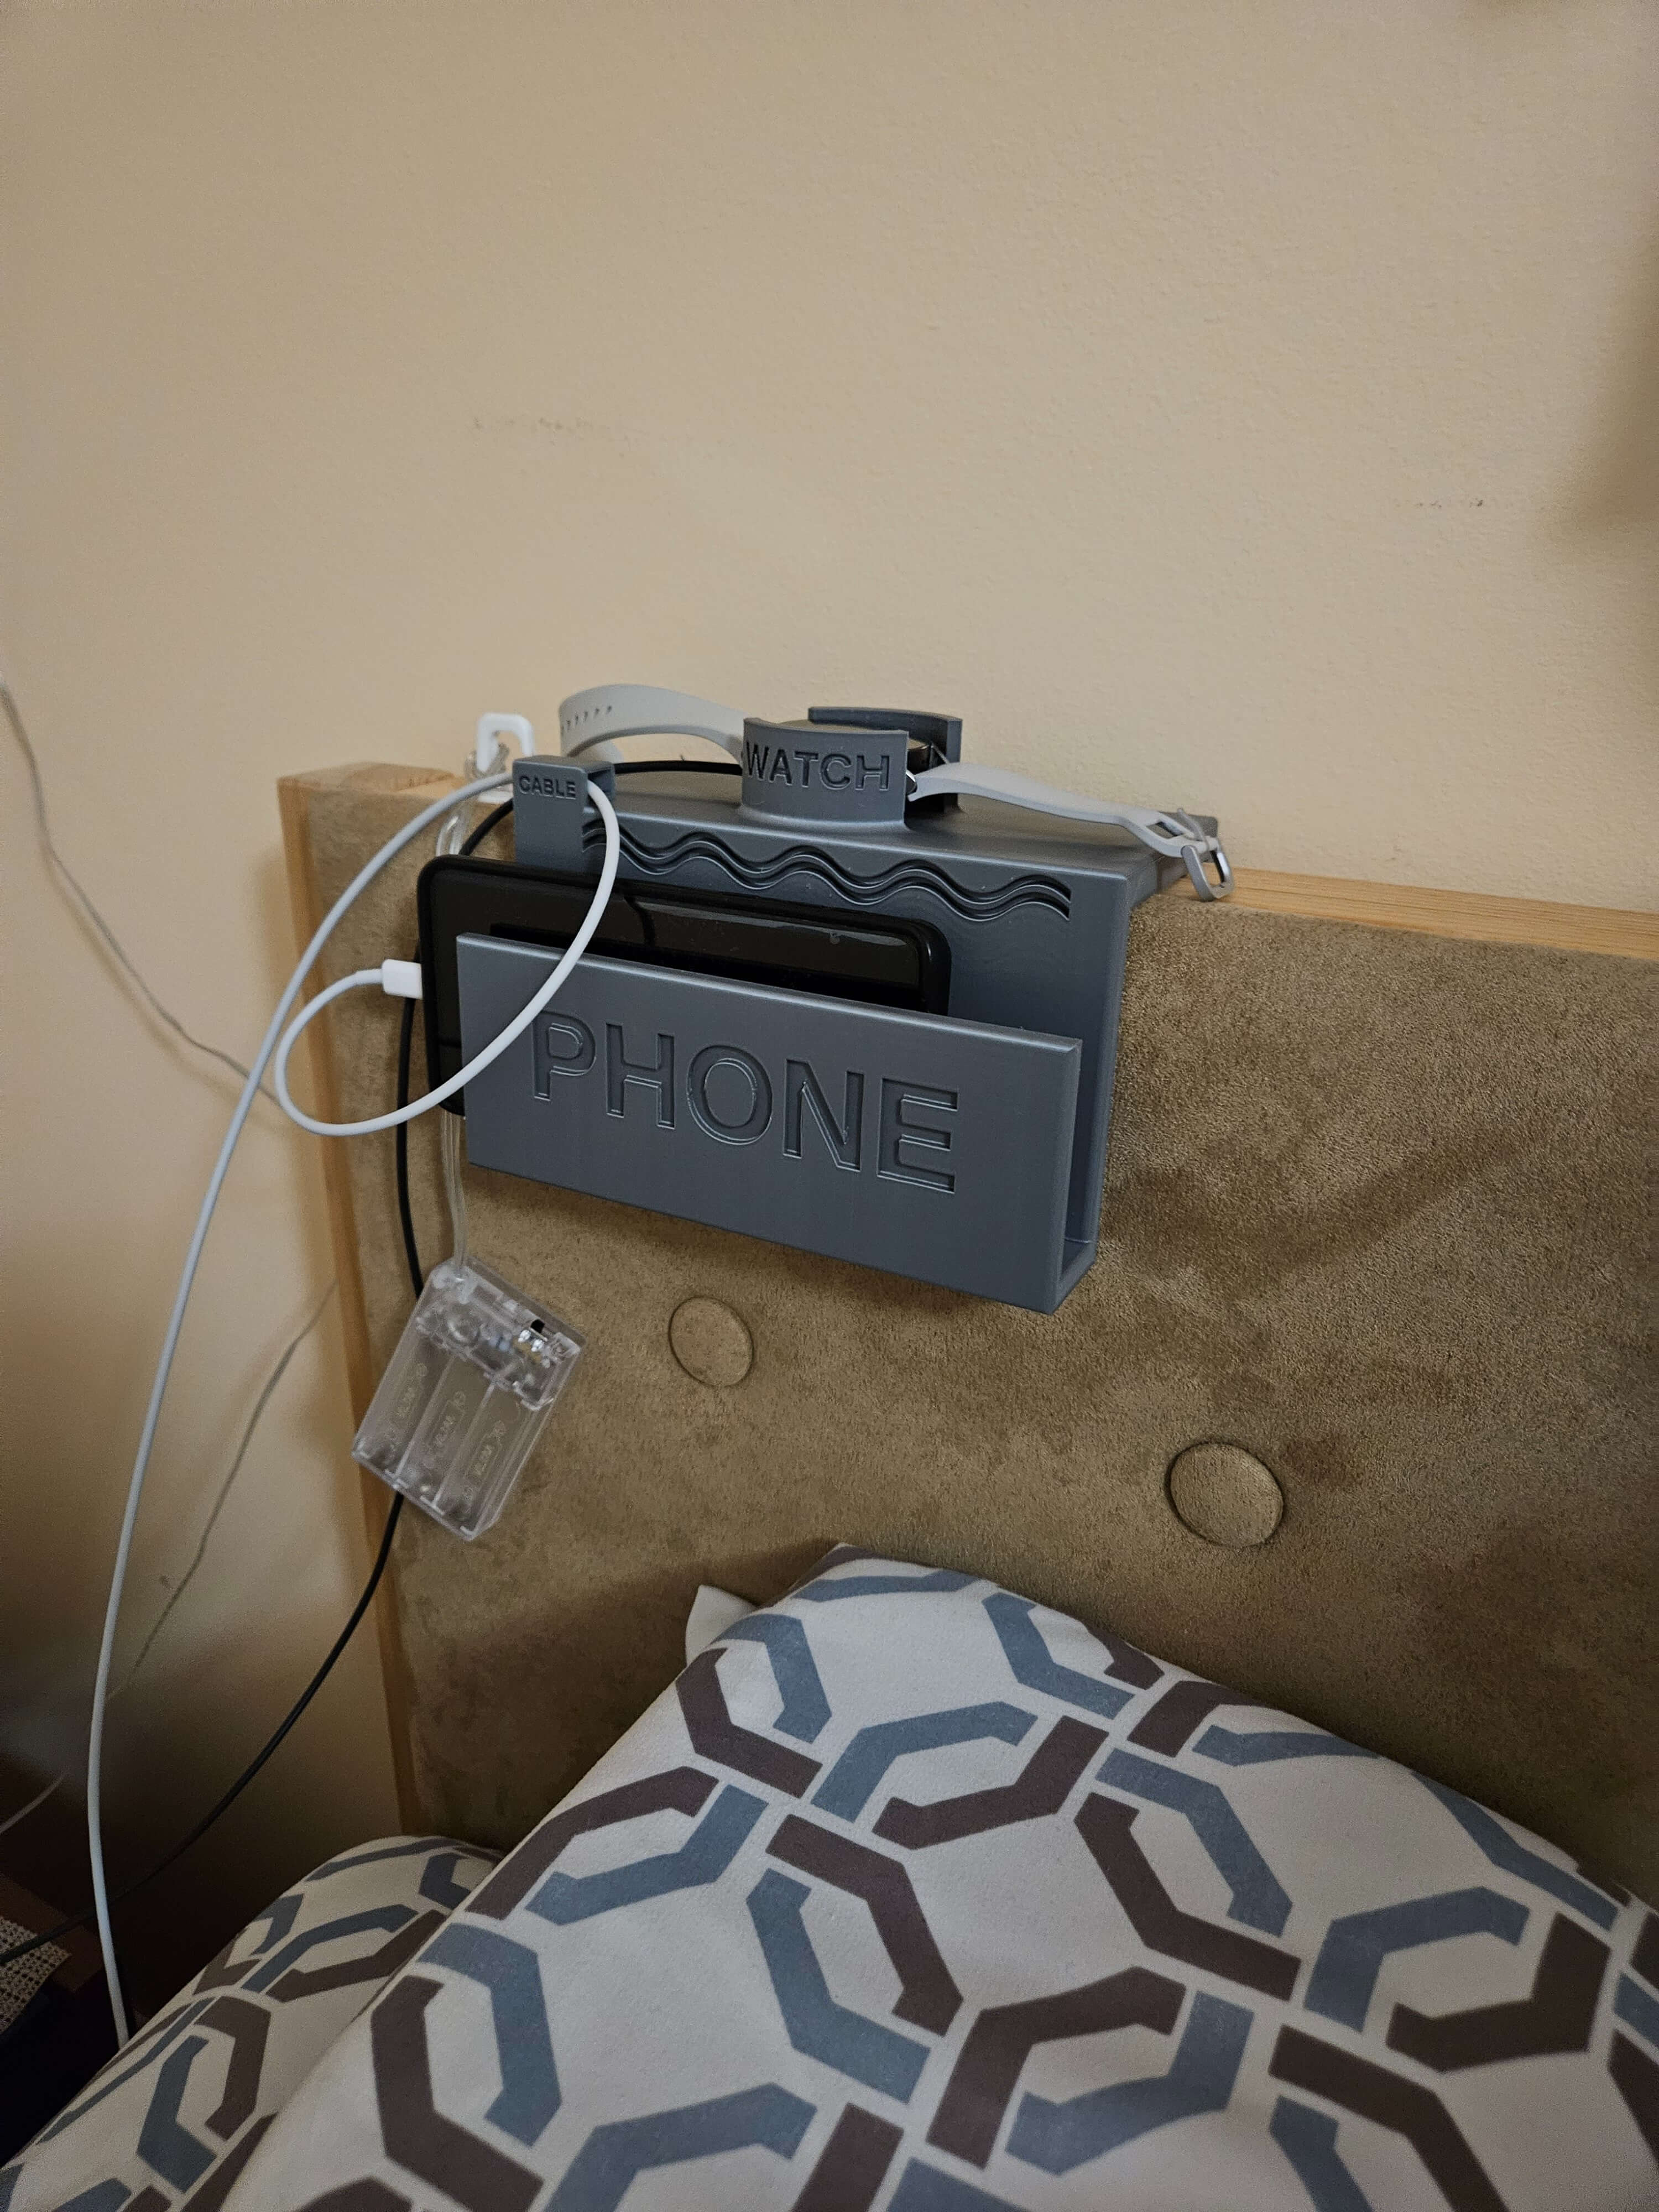
Bedside Phone and Watch Charging Stand
Designed to be able to hold my phone, my smart watch, and both charging cables while I sleep. The design is meant to be placed on top of the back board of my bed so that I can reach it at any time while I am in bed. Currently, I place my watch on my desk, where I occasionally forget to charge it, and my phone beside me next to my pillow, where it occasionally slips away during the night and goes on its own little adventures. This print solves both problems, provides a central location to keep them, reminds me to charge them when needed. Also, a big problem I have is that my phone charging cable always falls to the floor after charging with it and I have to bend over and pick it up off the floor every day. This design provides an effective way to keep that in place for whenever I need to access it. Click here to explore the model on my GrabCAD profile!
With the design itself, the holder for the phone allows ample space for larger phones or phones with larger cases. Most phones are able to fit snugly without falling and can easily be taken out by either sliding it out of the holder or grabbing it from the top edge sticking out. As for the watch and watch charger, the holder fits both snugly and it is meant to prevent the watch from sliding out due to the inherent slipperiness of the bottom watch face. It can however be easily taken out from the holder and placed back on to the charger when needed. There is also a smaller extrusion designed for the phone charging cable to fit through, which I can easily fit the charging cable through without having it slip out, solving my problem with the wandering cable. I dimensioned and roughly designed the phone, watch, and watch charger in the CAD software in order to get a visual of how it may all fit together once printed, which can be seen below.
Adjustable Textbox Stand
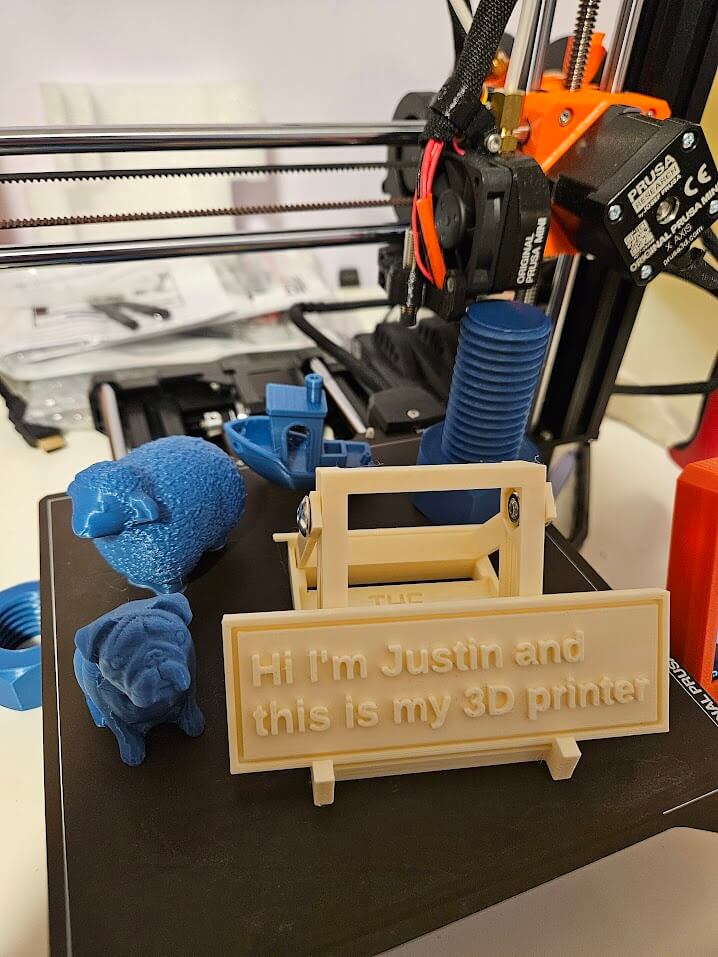
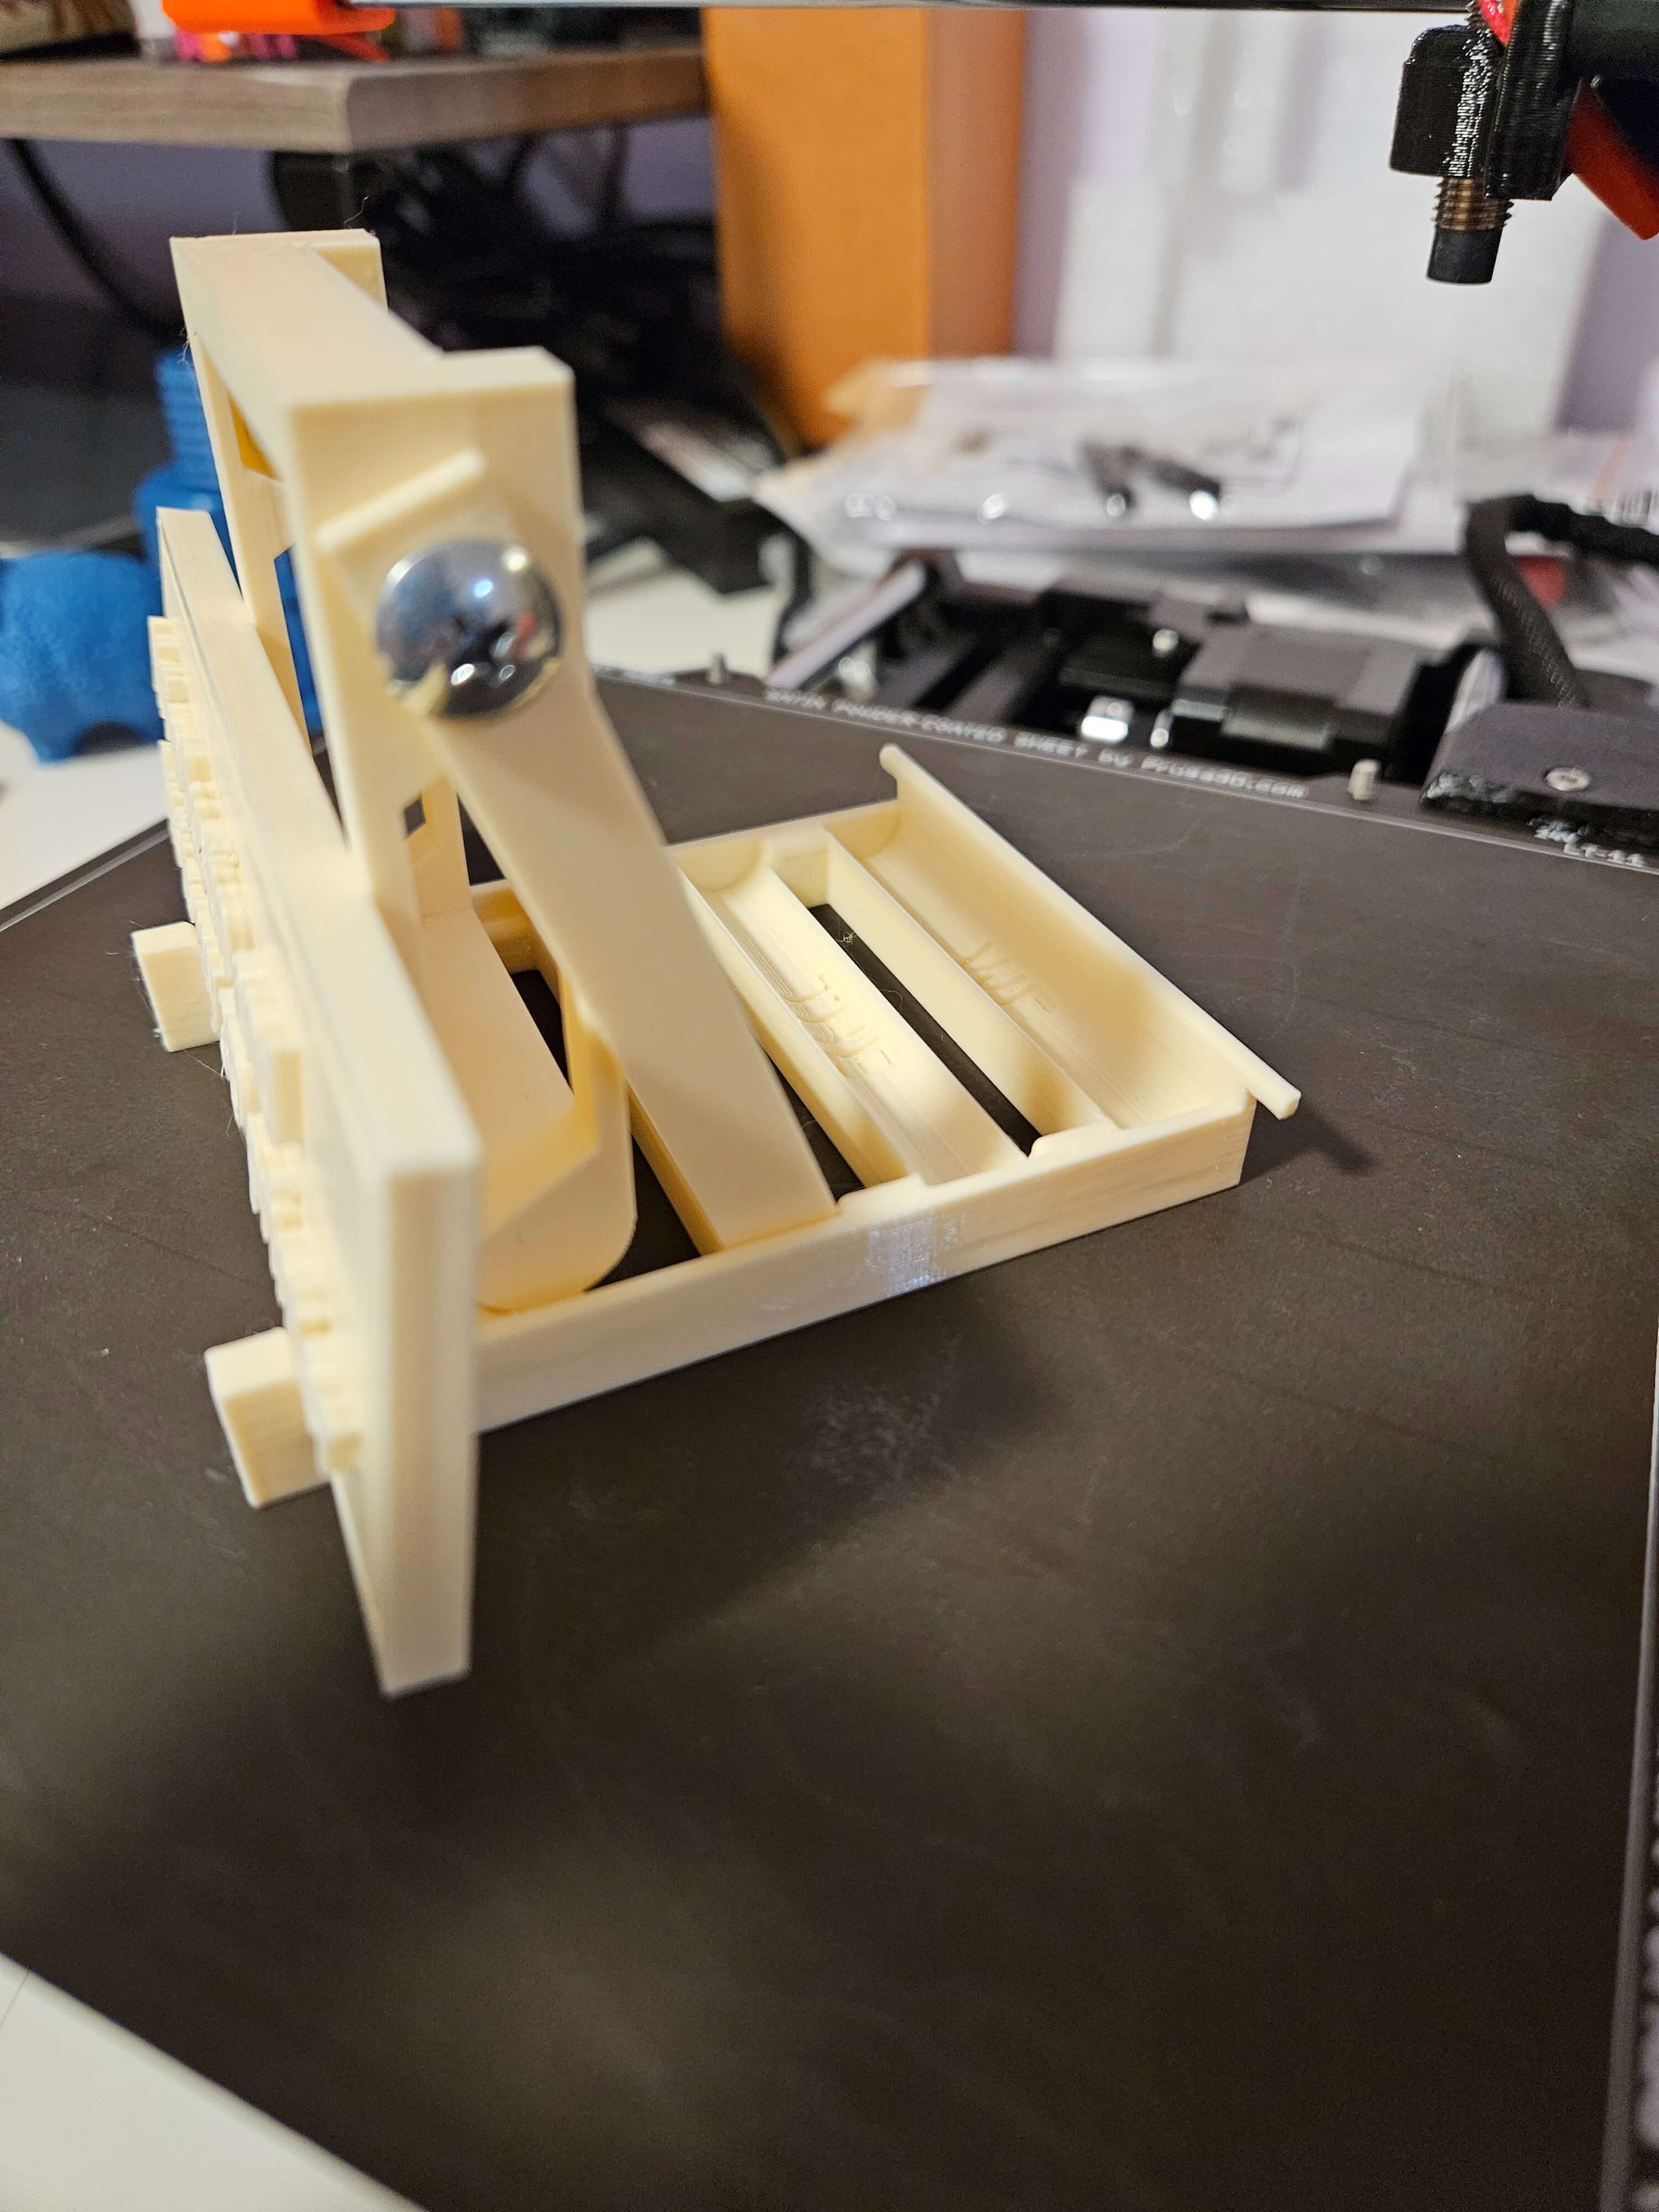
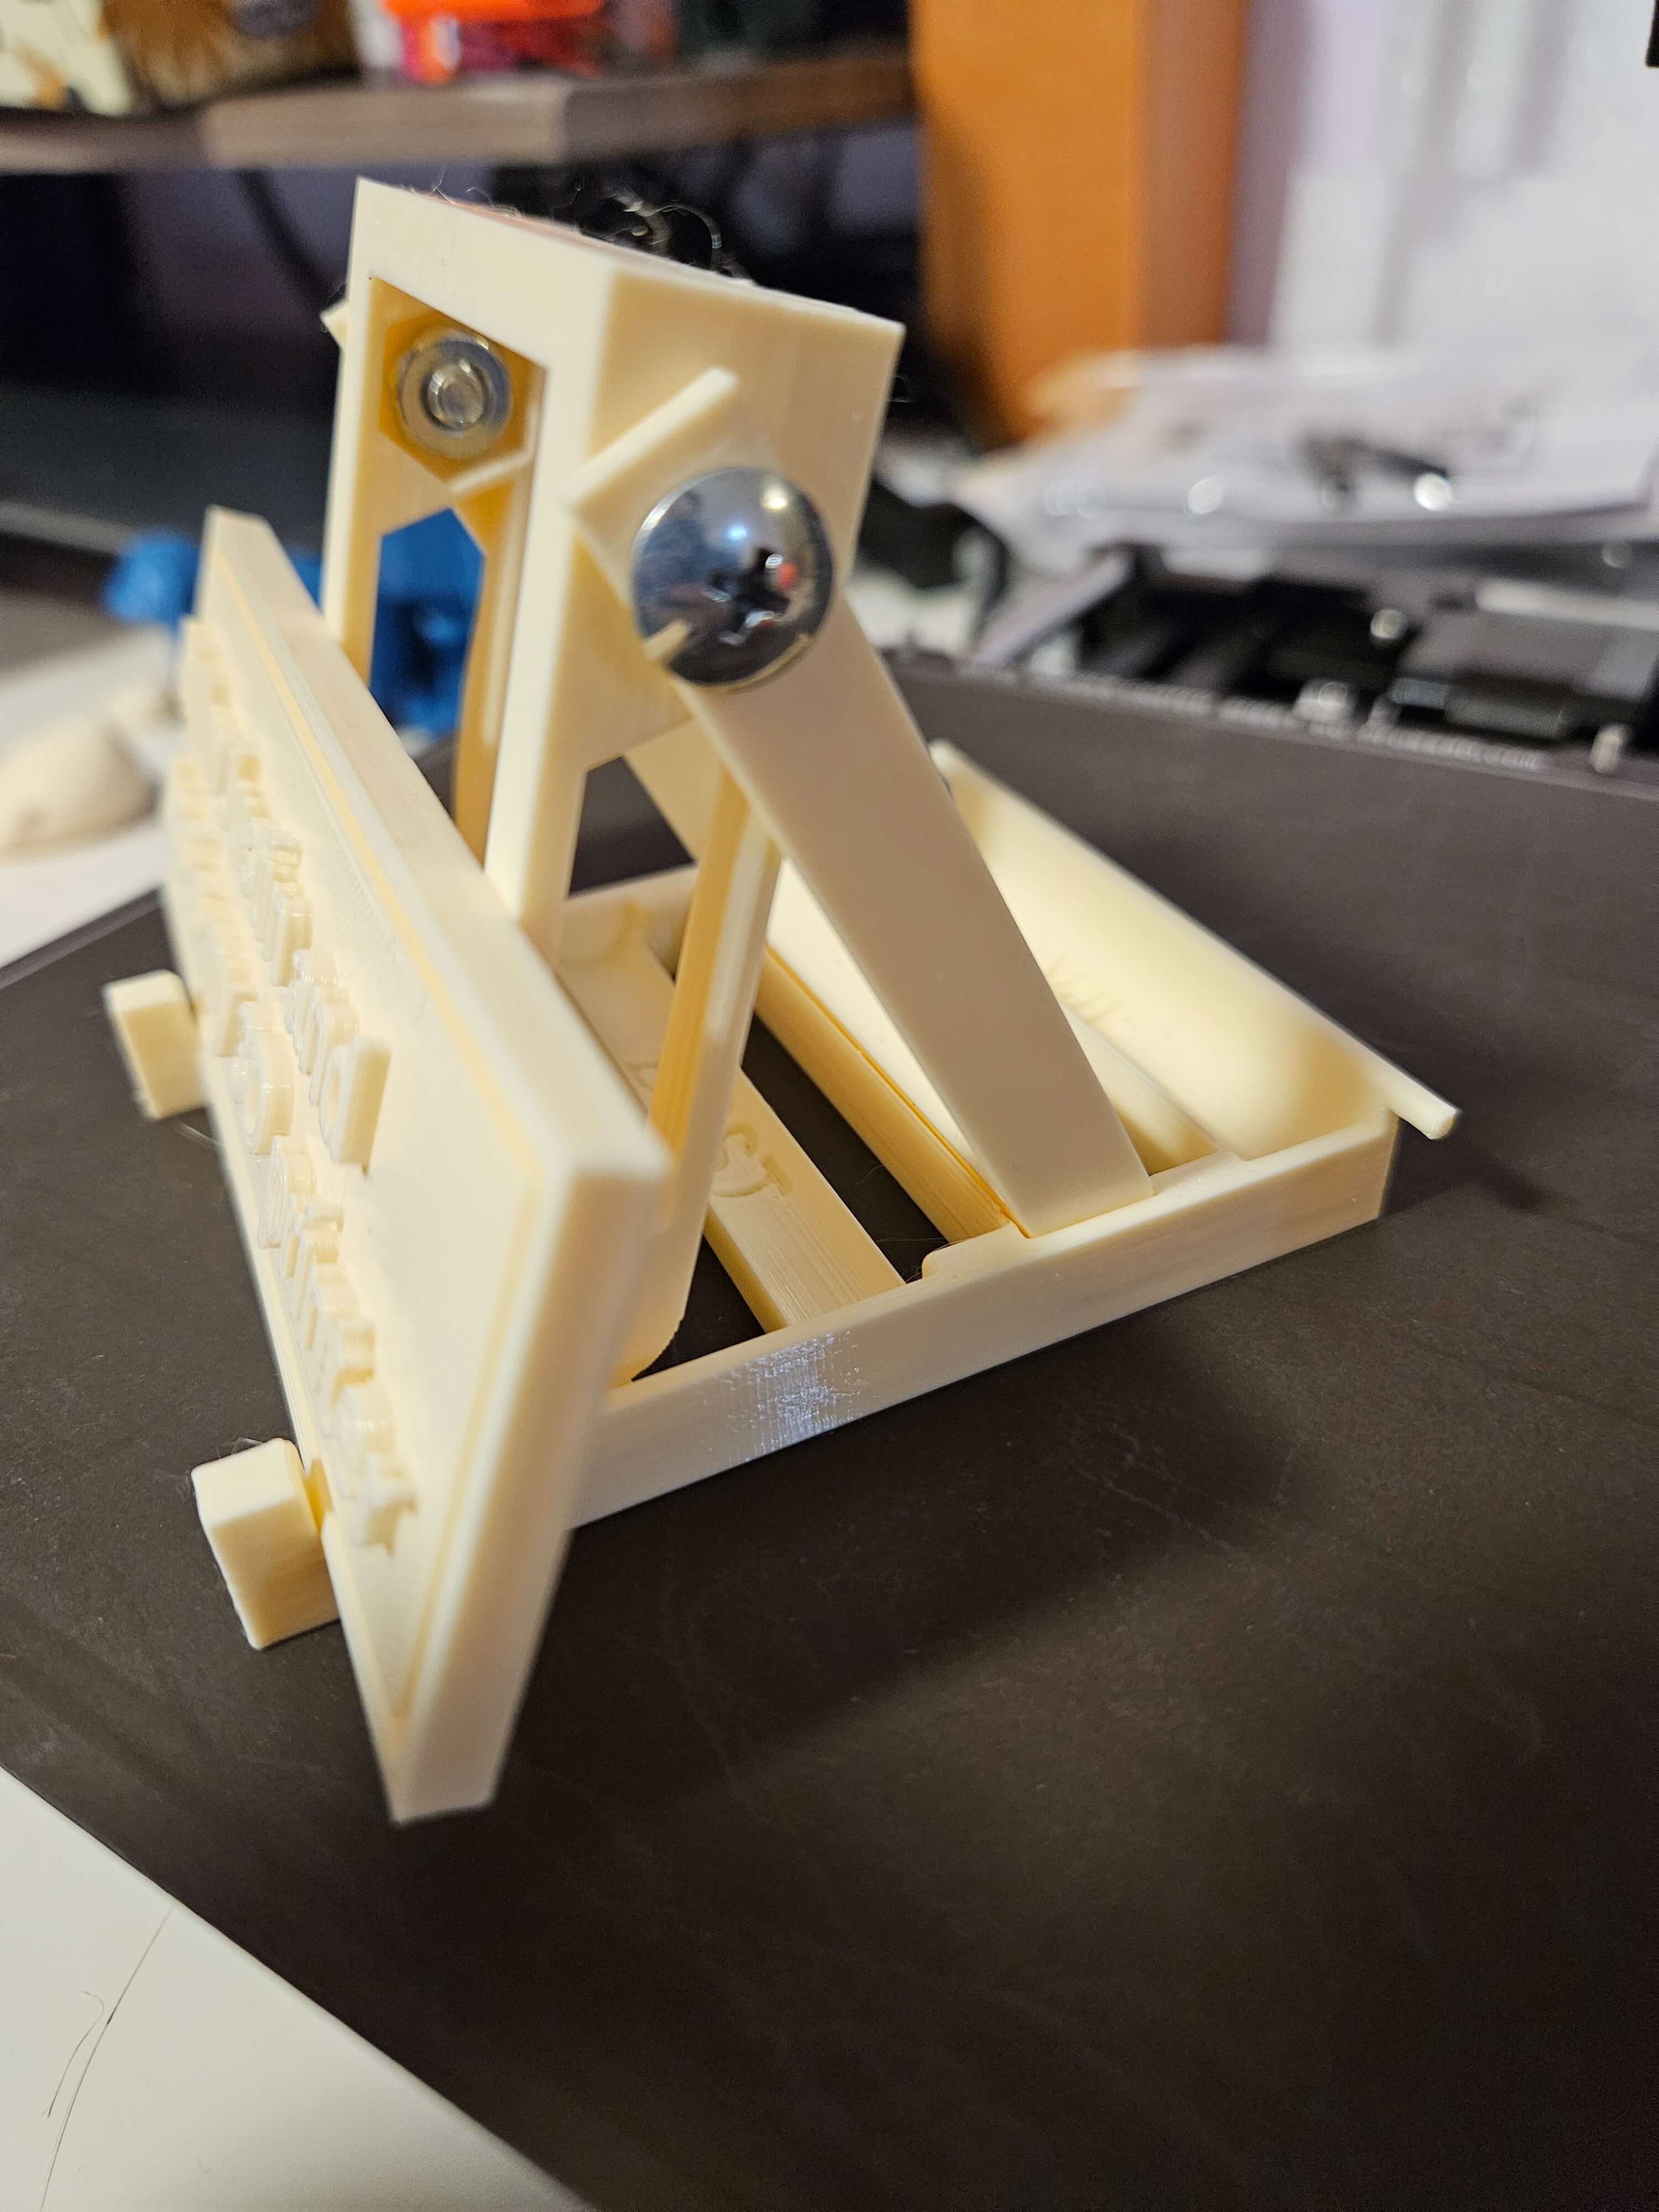
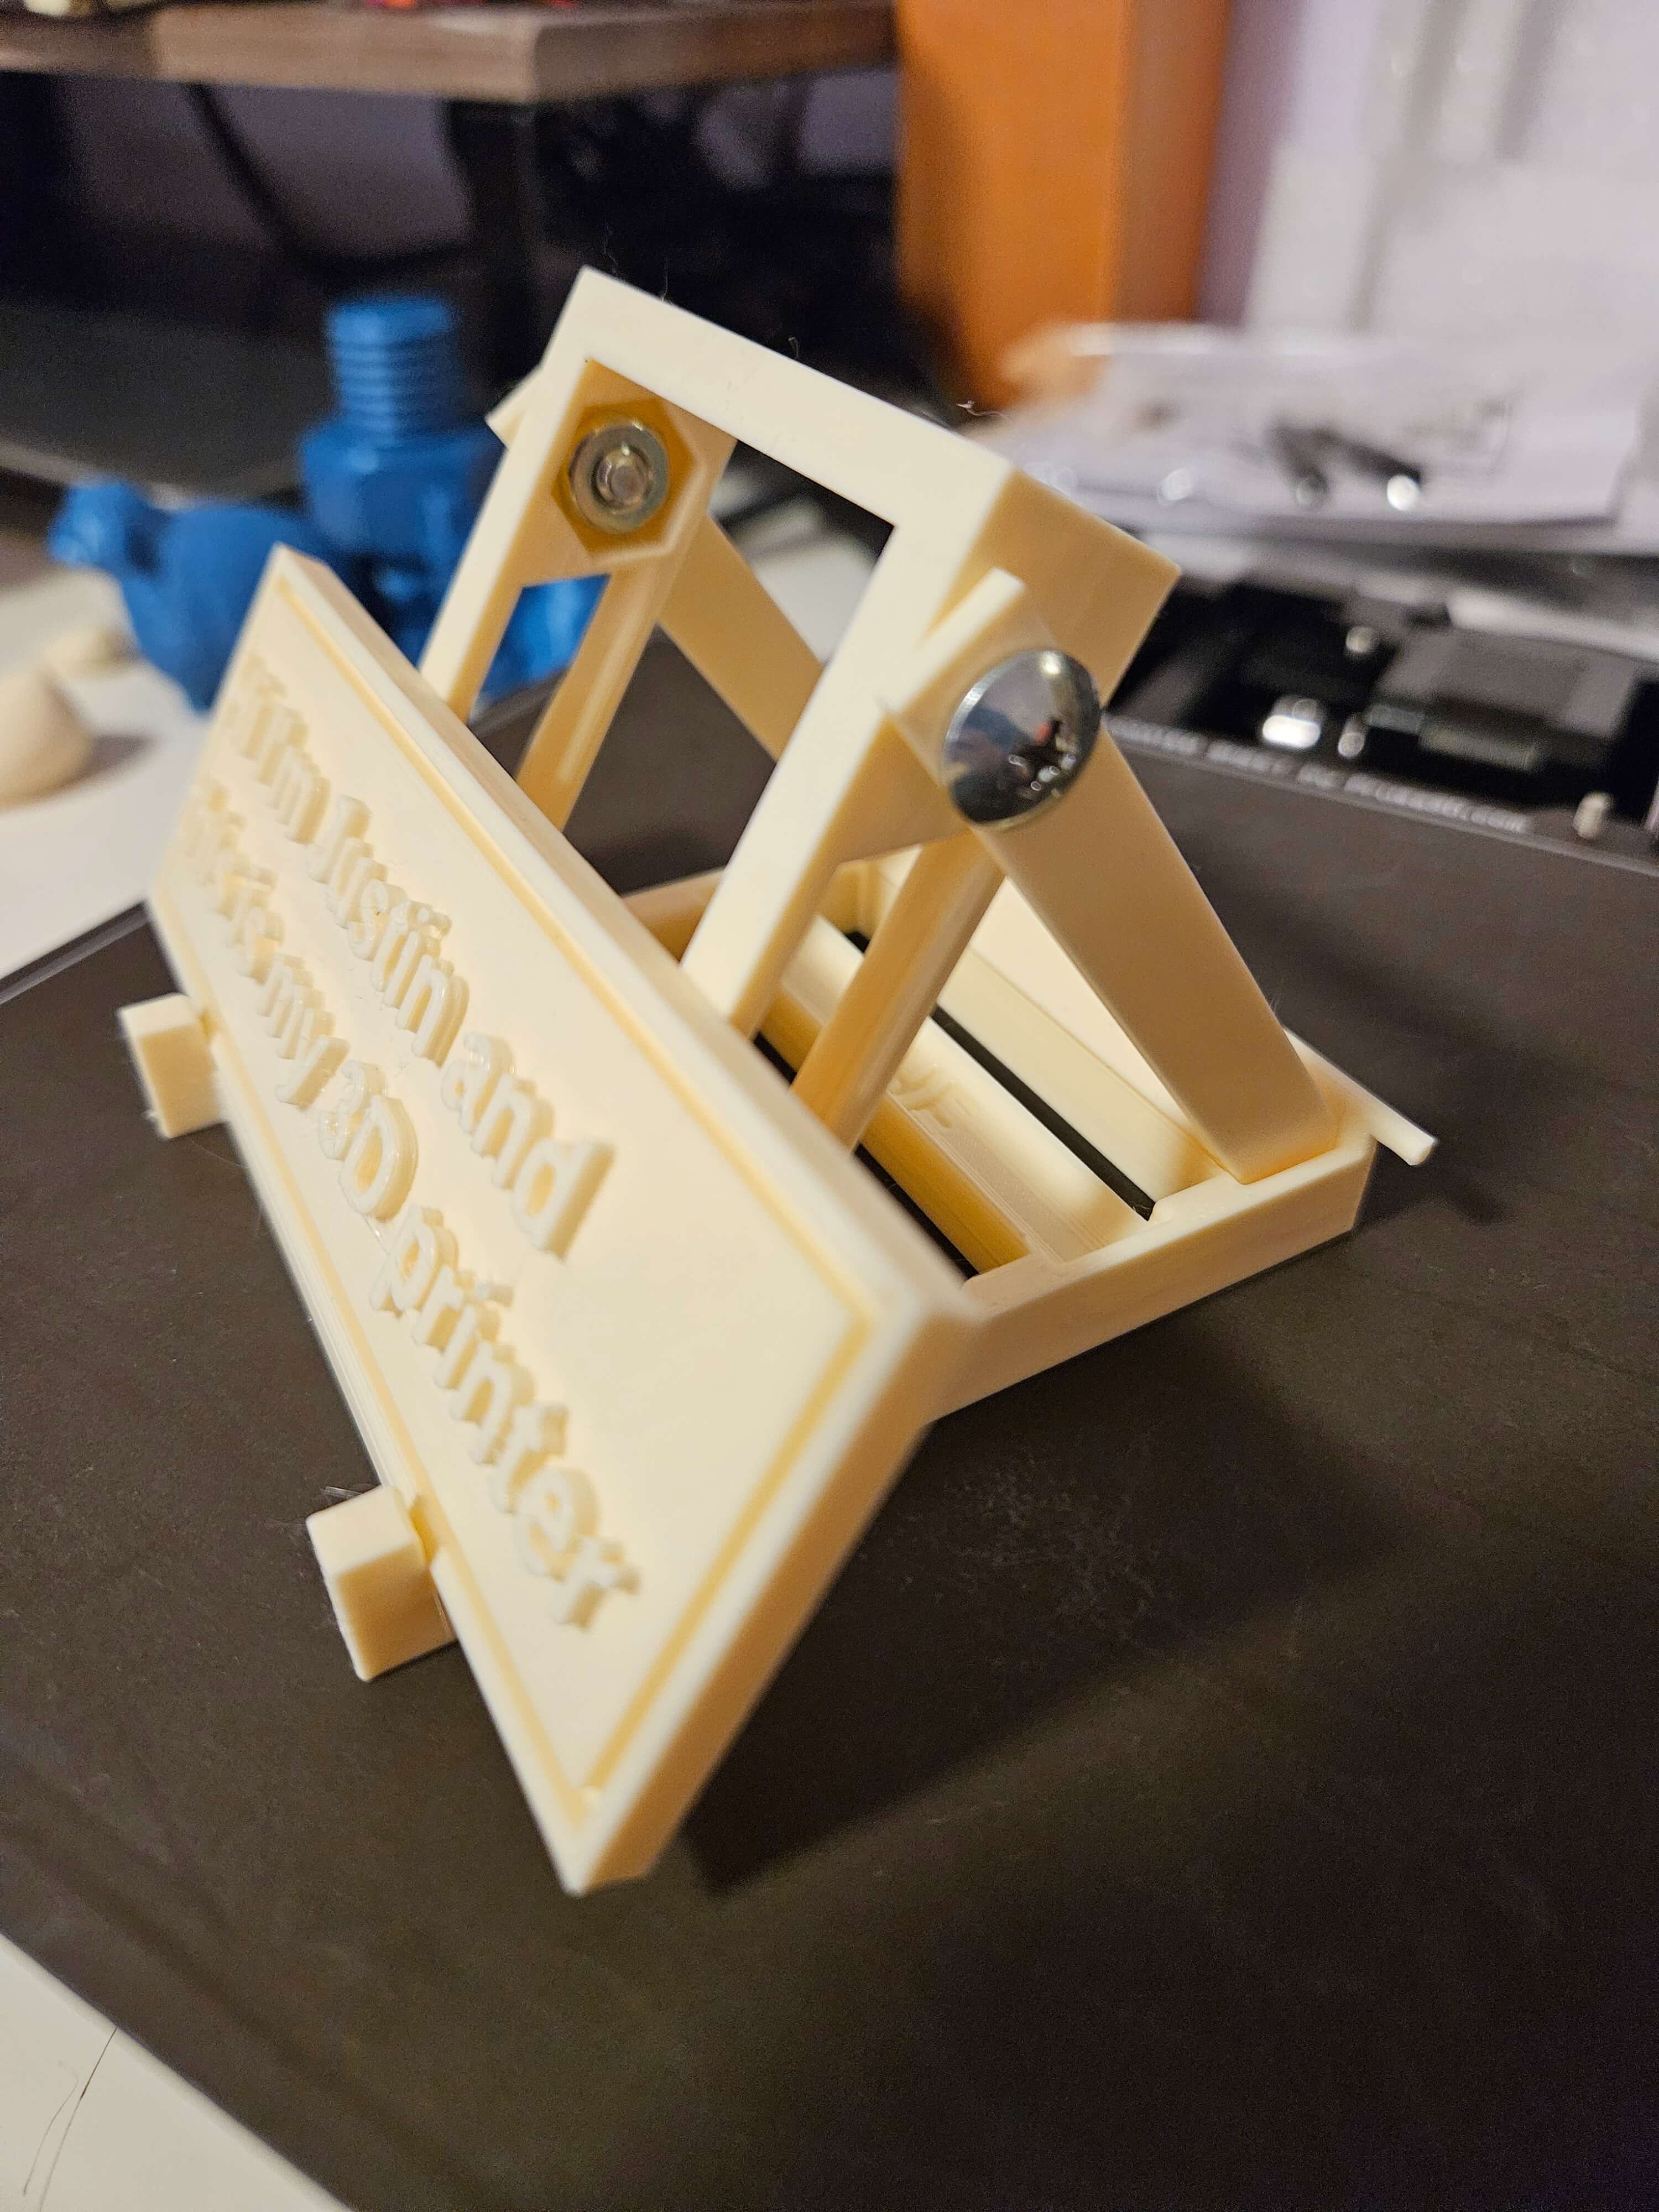
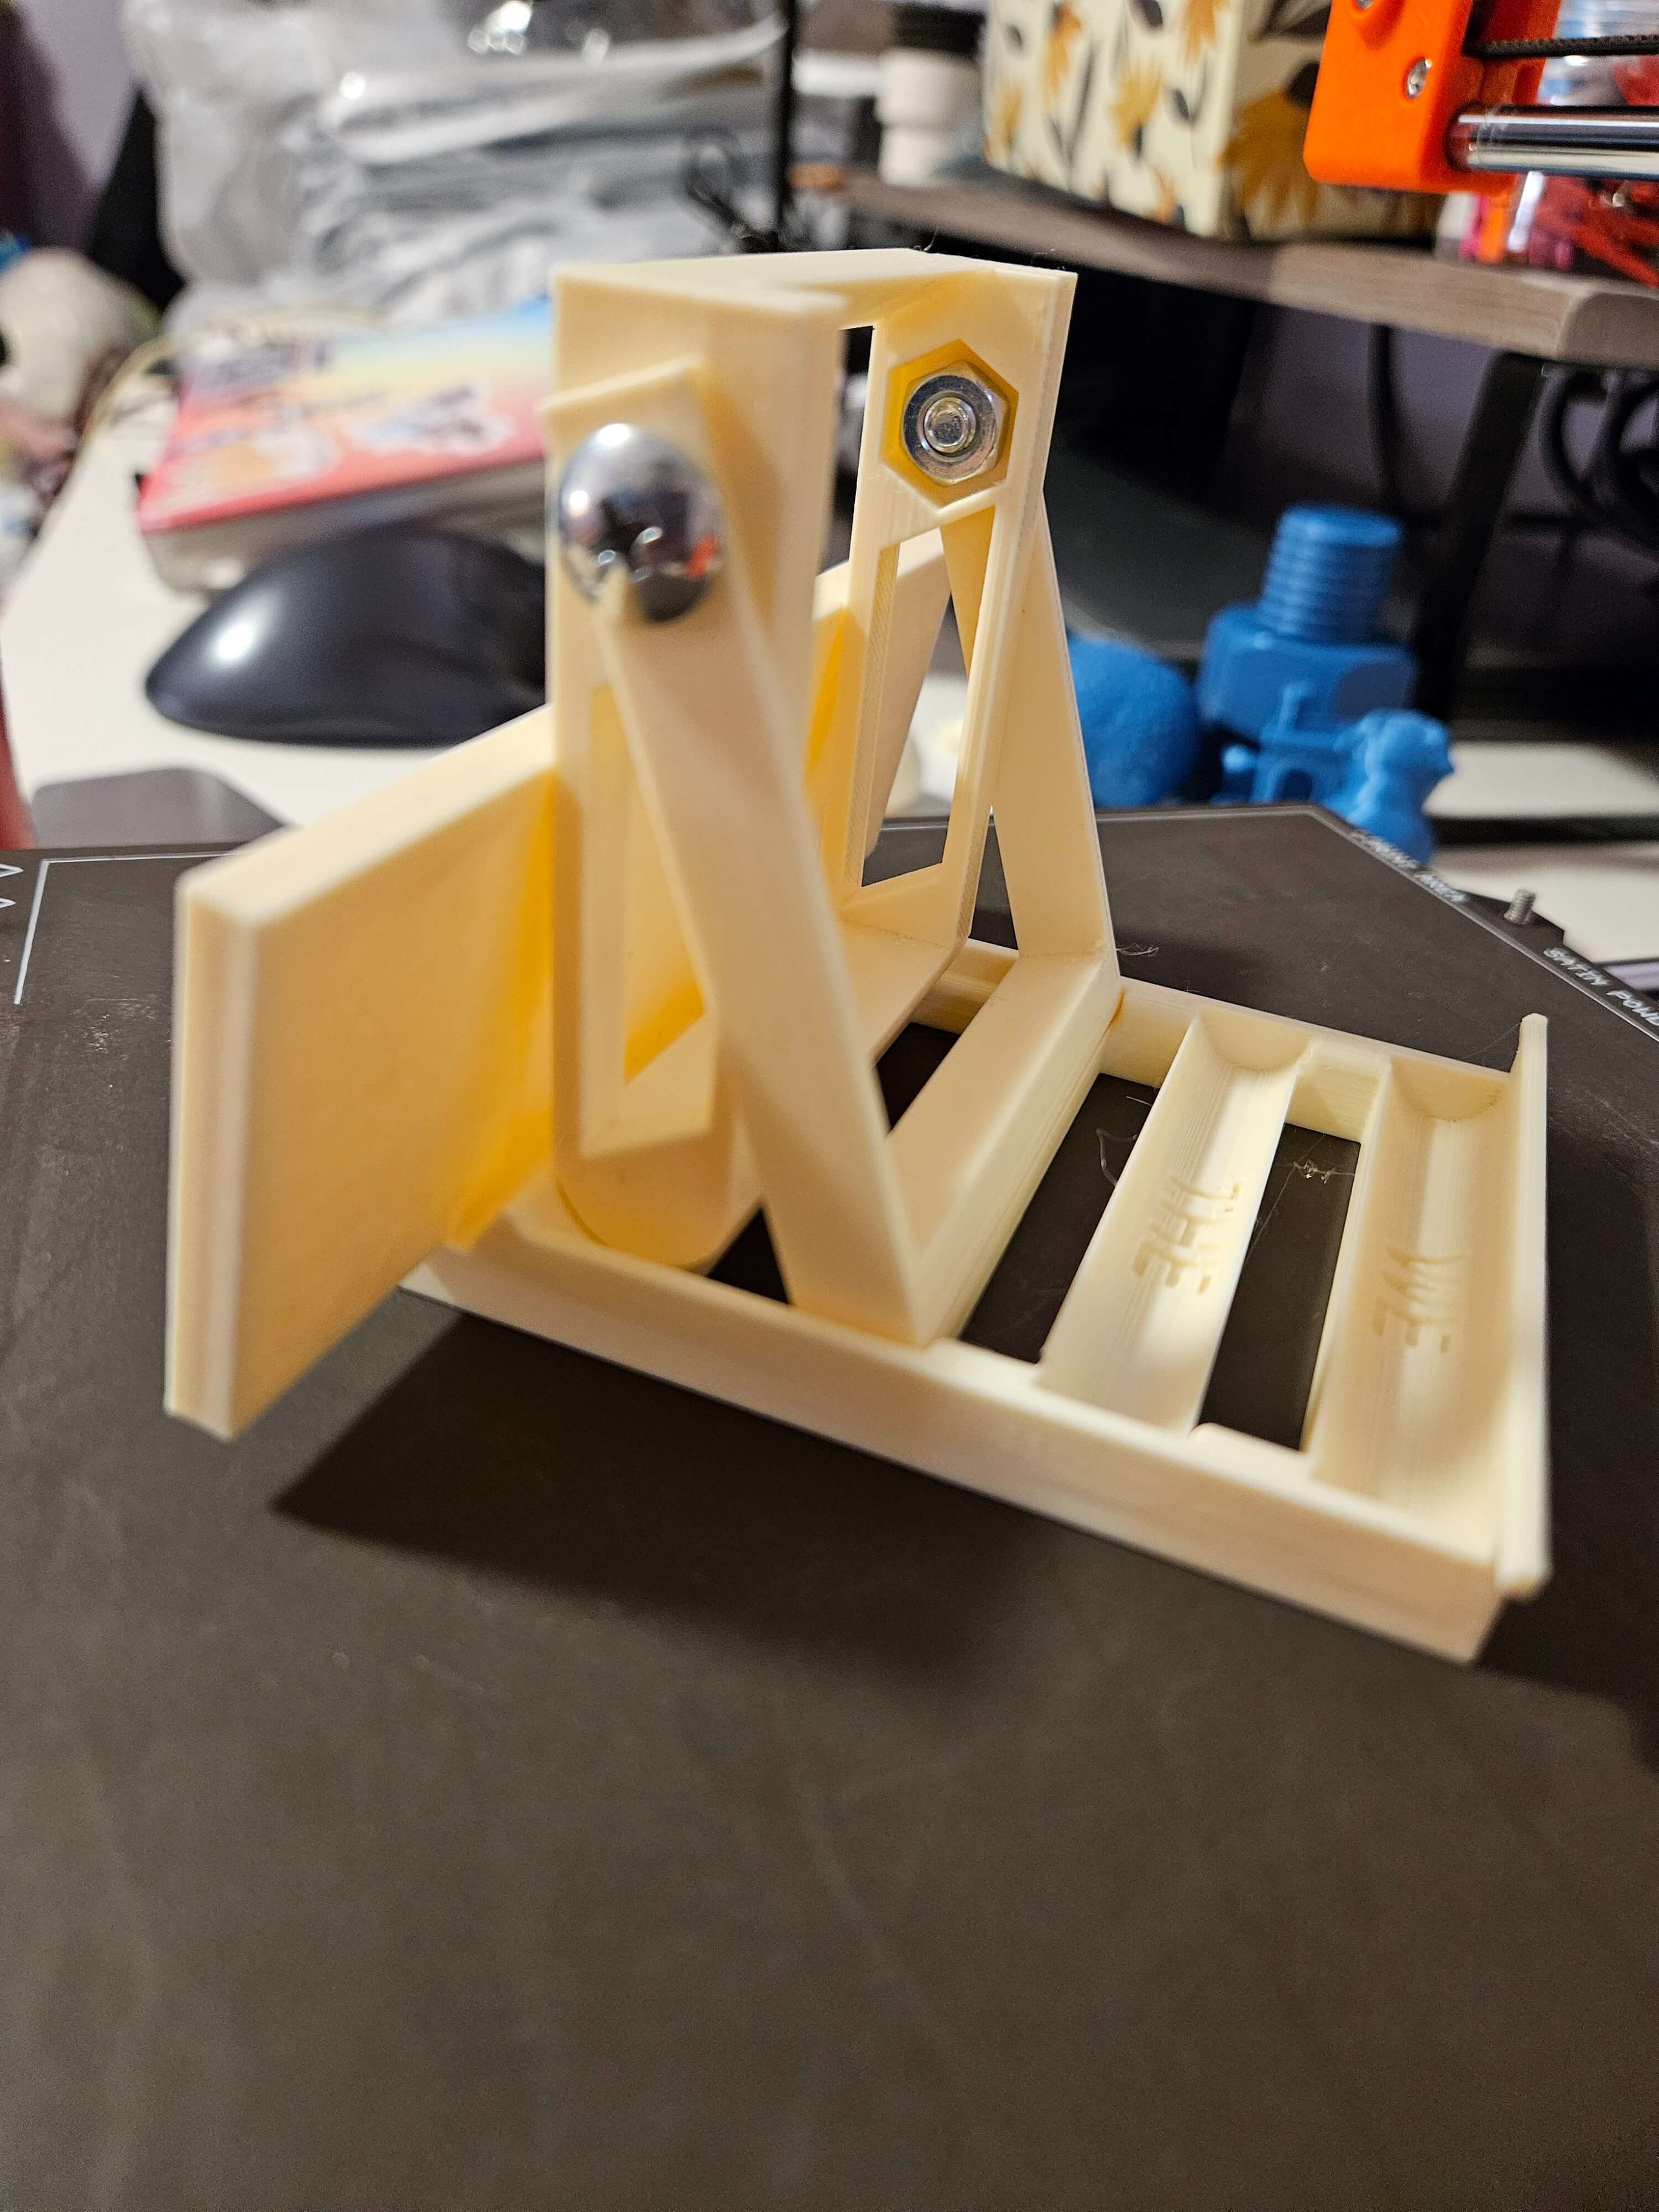
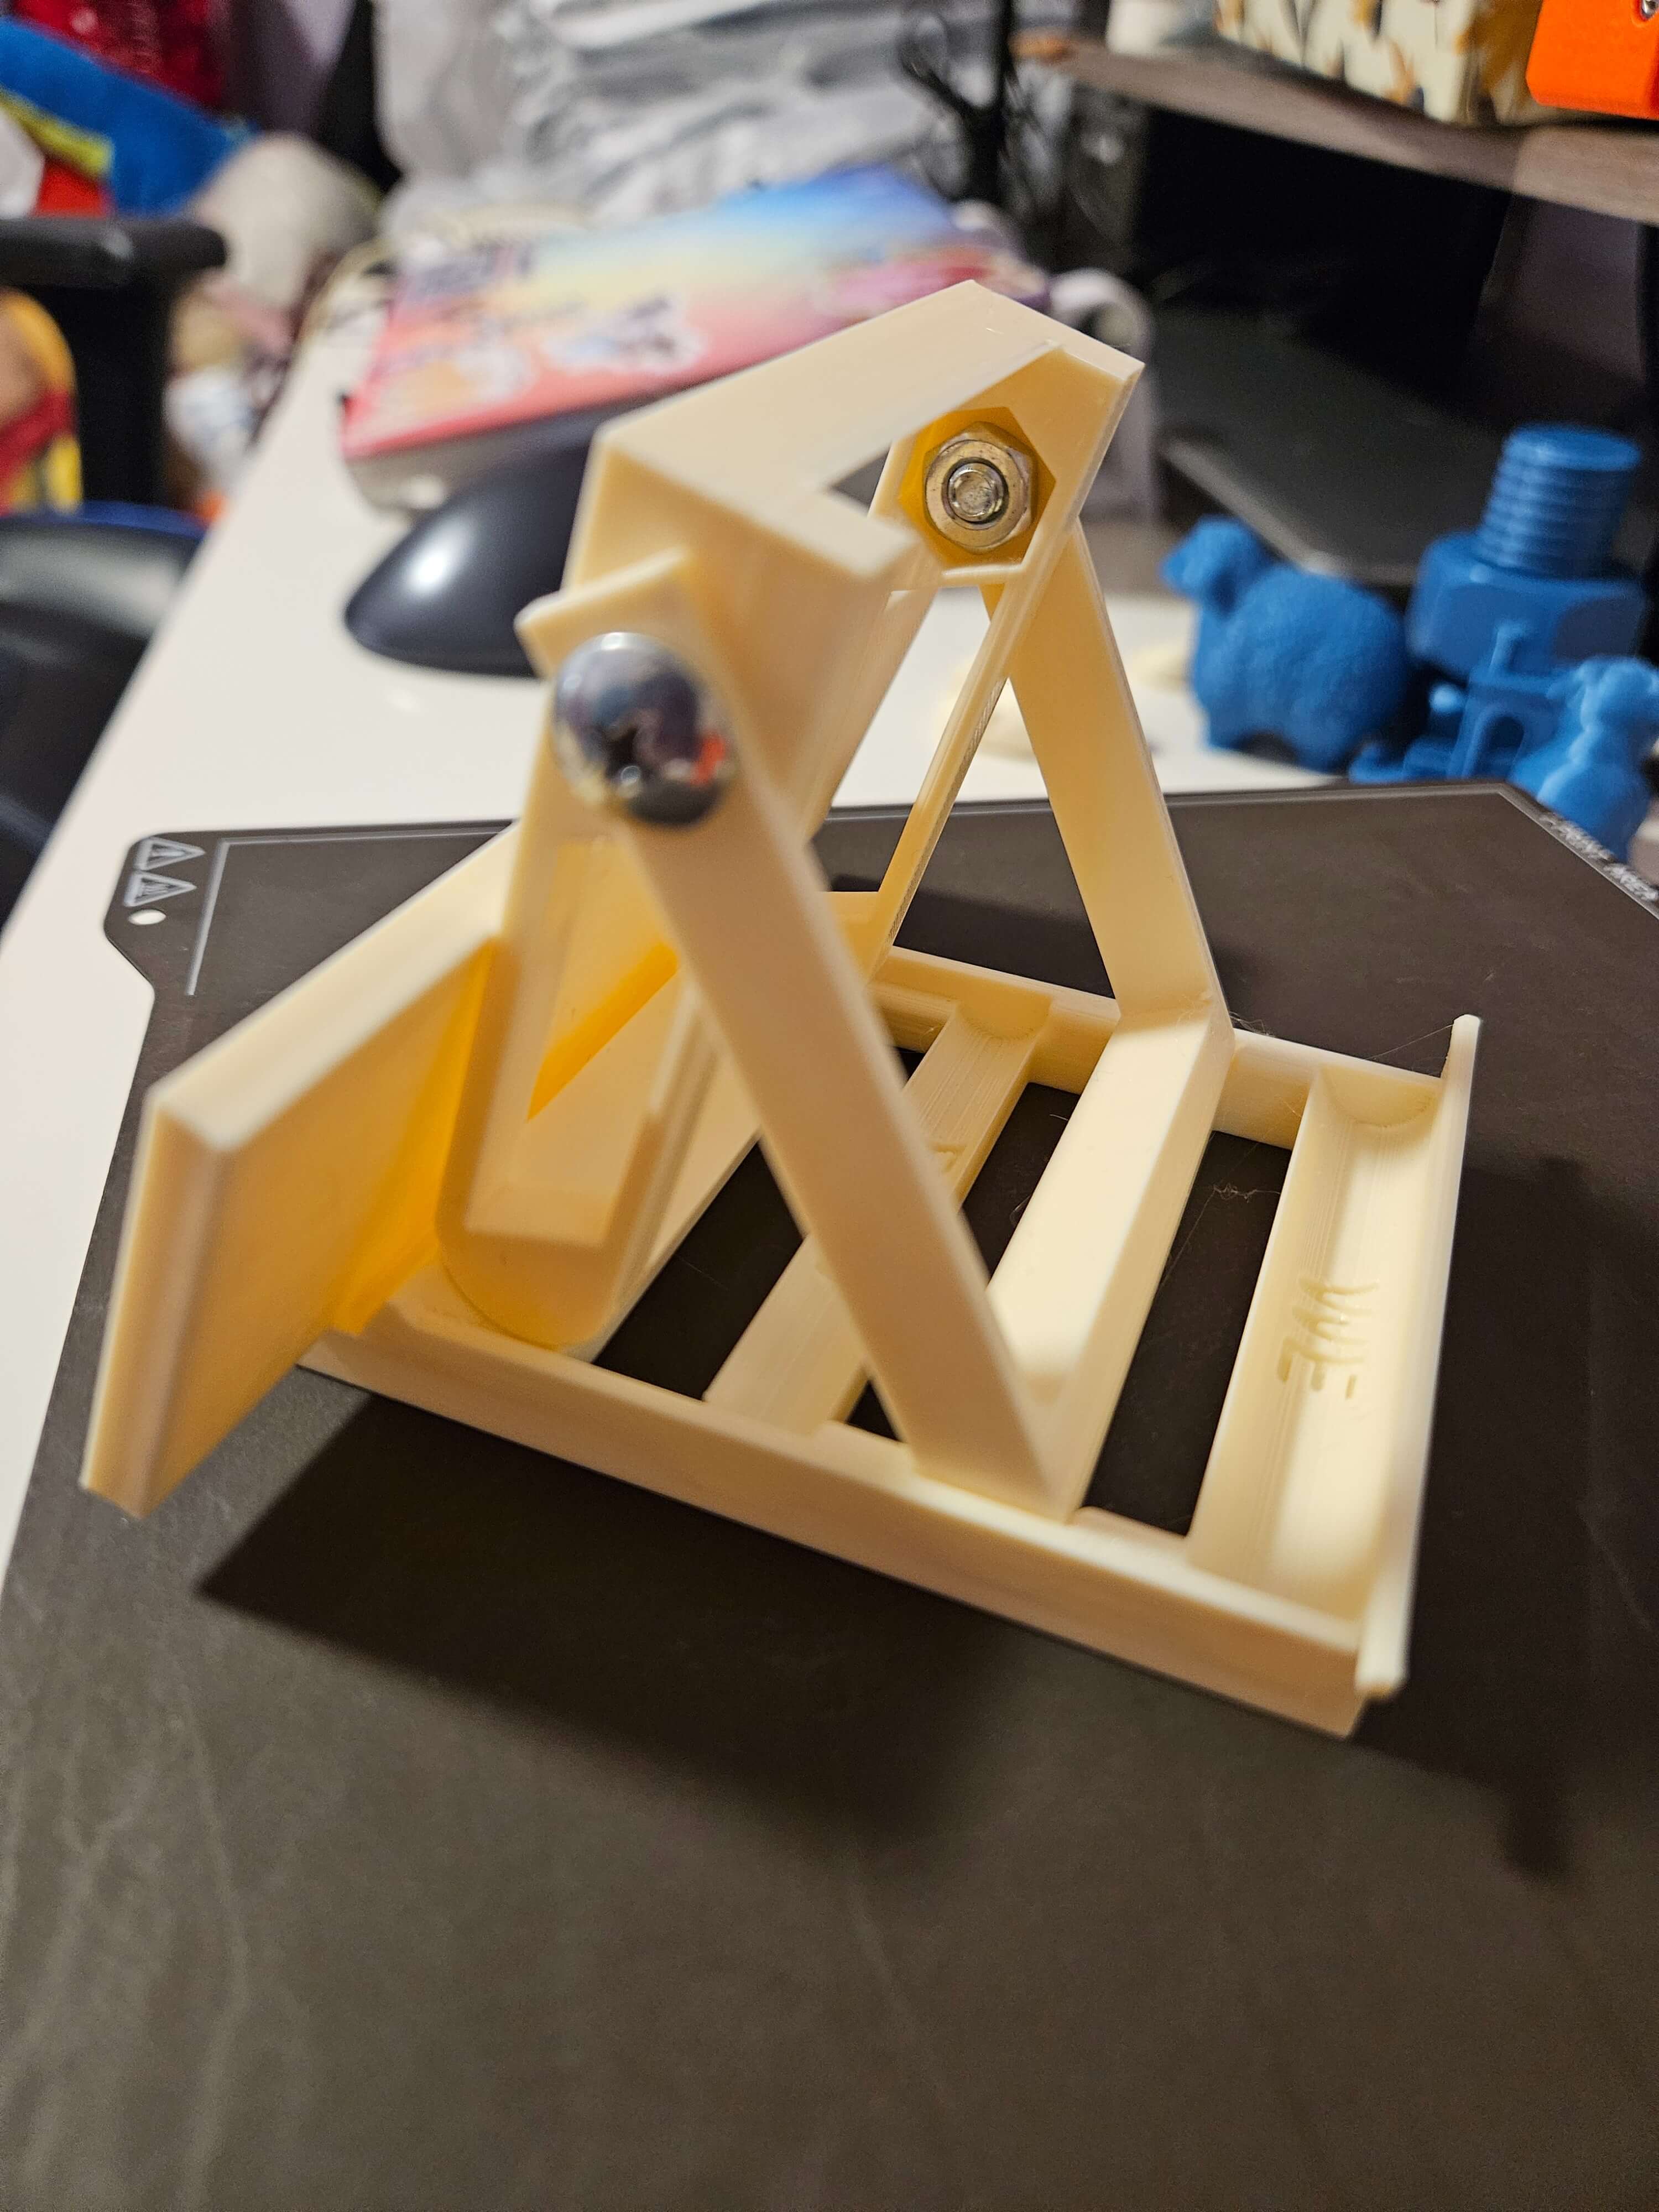
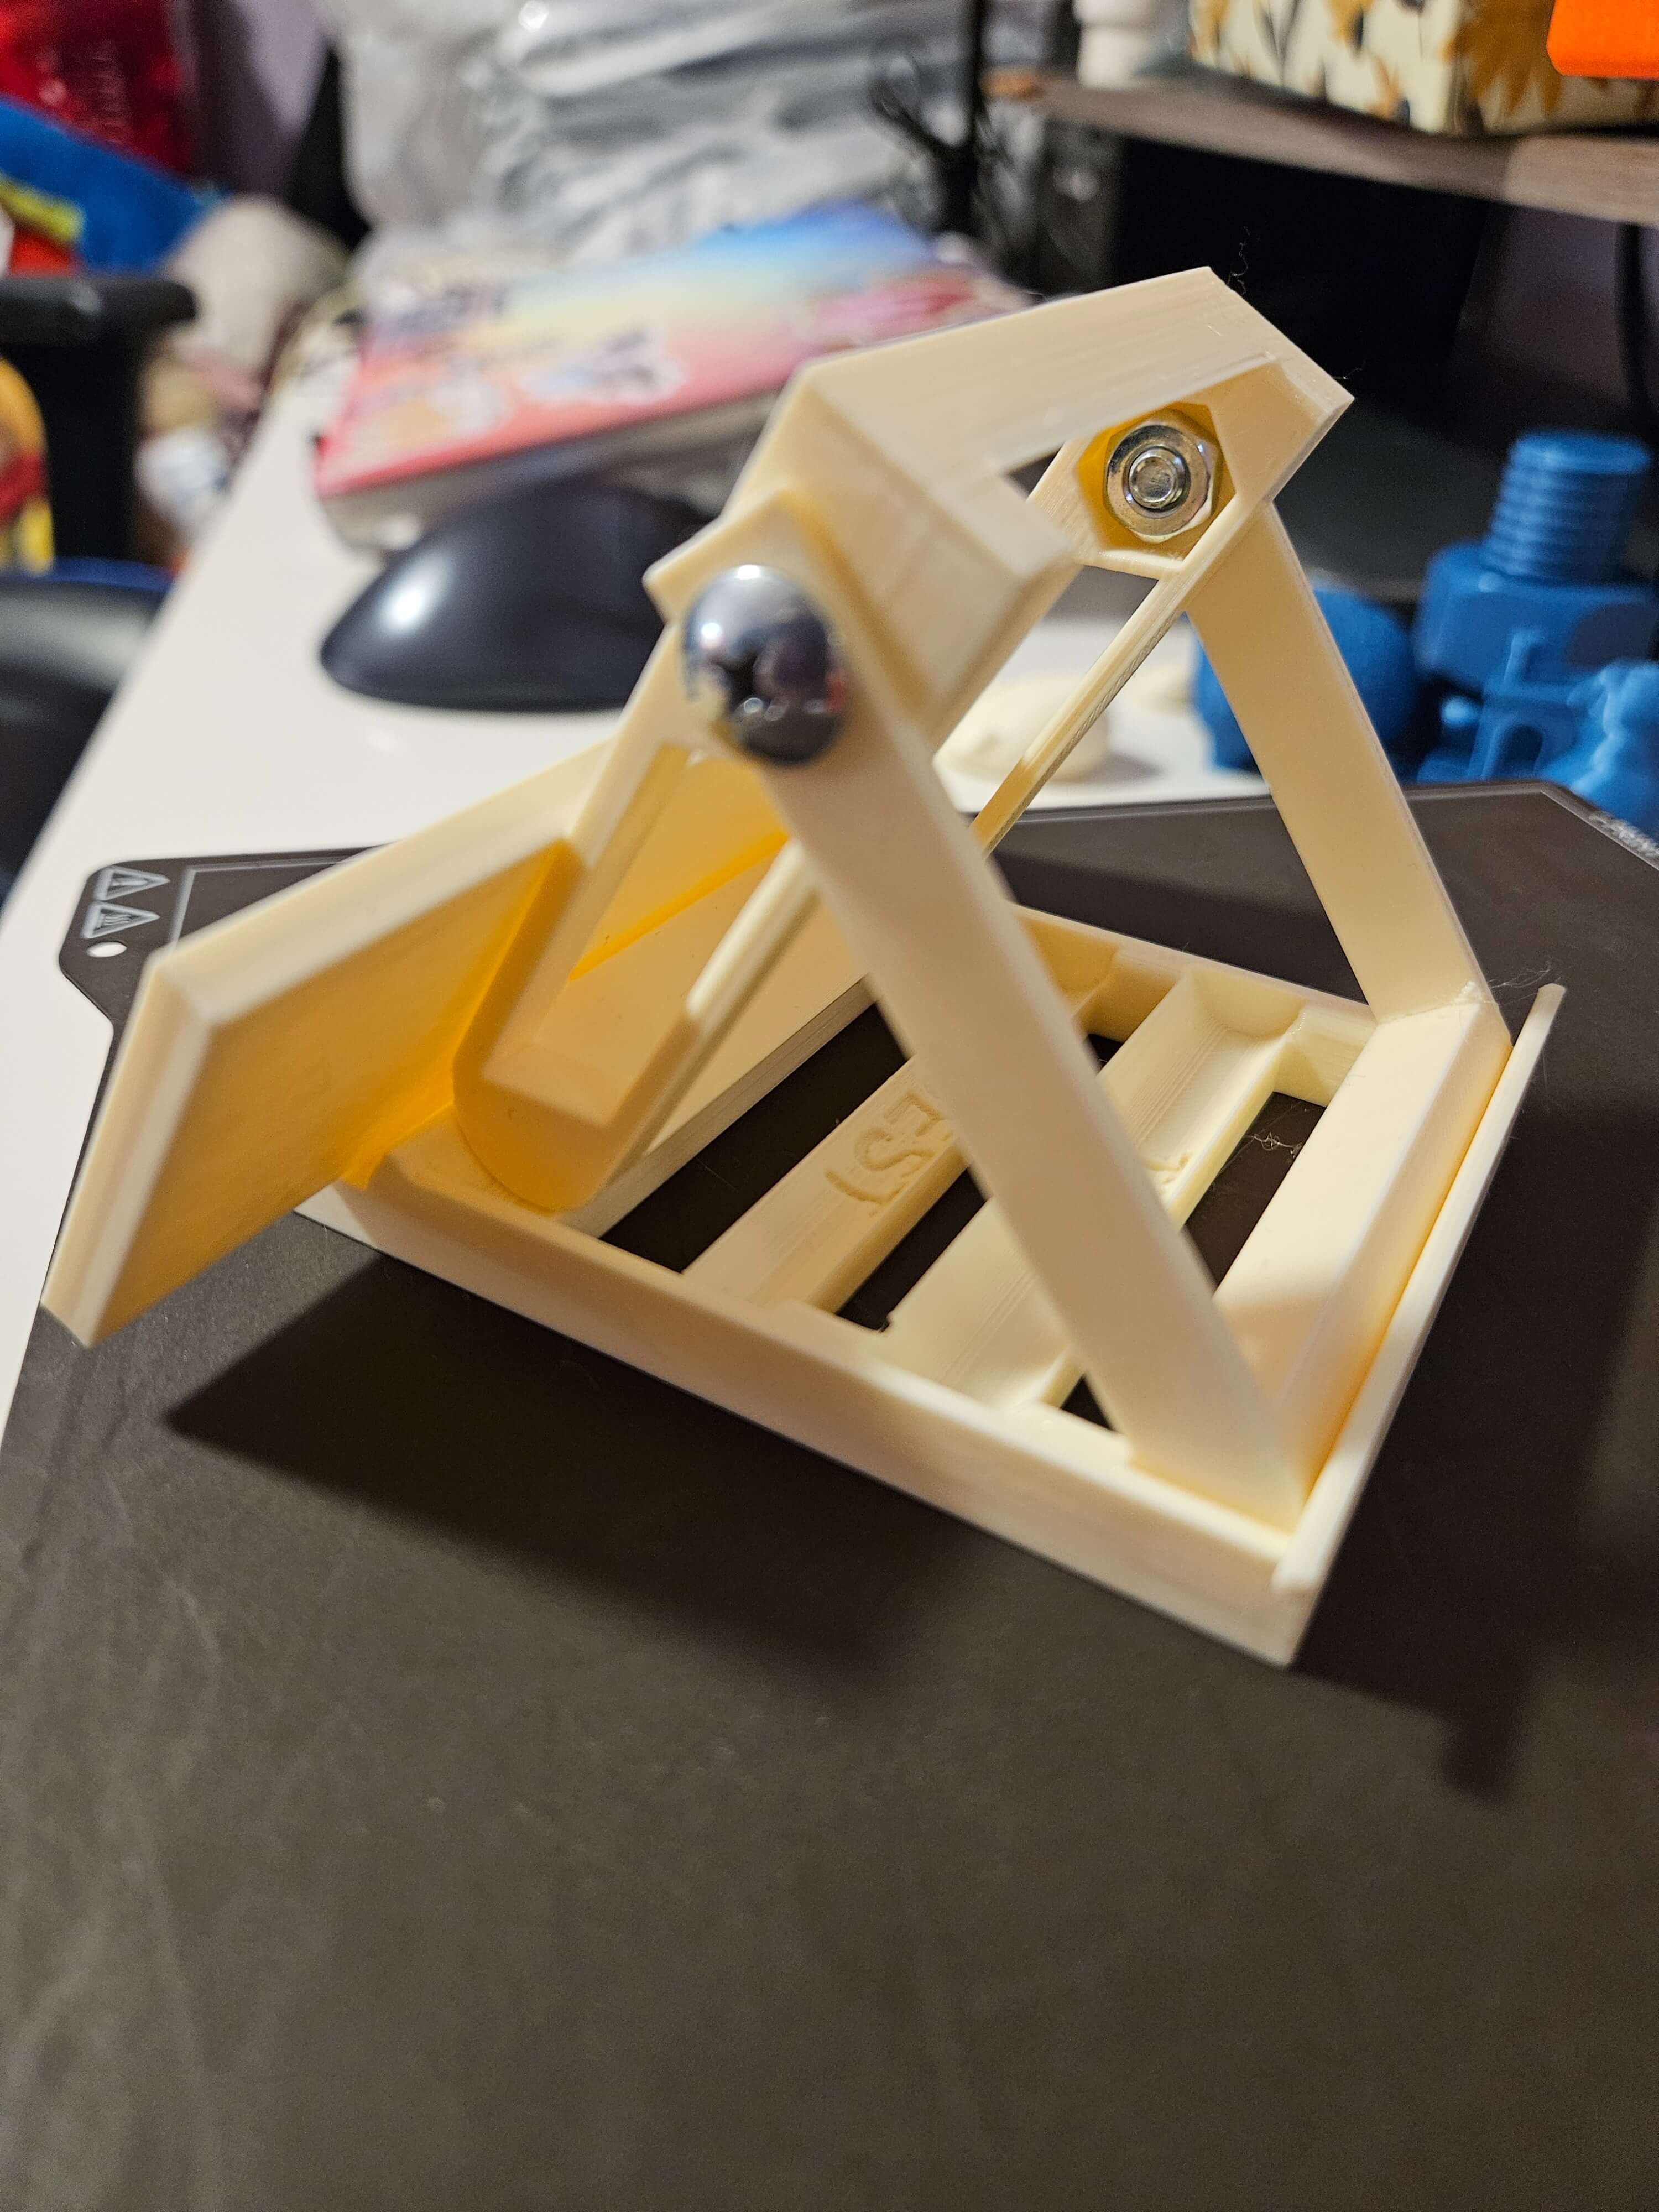
Designed to be an adjustable stand for a block of text. It is made from an assembly of 4 different parts: the textbox, the horizontal stand, and two parts of the stand fastened together that the textbox leans on. There are three different angles that the two parts can be fixed to. Click here to explore the model on my GrabCAD profile!
There are three different angles that the textbox can be shown at and each one can be seen in the pictures below. Each angle differs by approximately 20 degrees from the other. The two parts of the stand are fastened together using 2 #10 machine screws and 2 nuts. The clearance drill holes are designed to be a close fit and are tightened using the nut, which is lightly fastened on the insides of the part.
Longevity Peach Bun
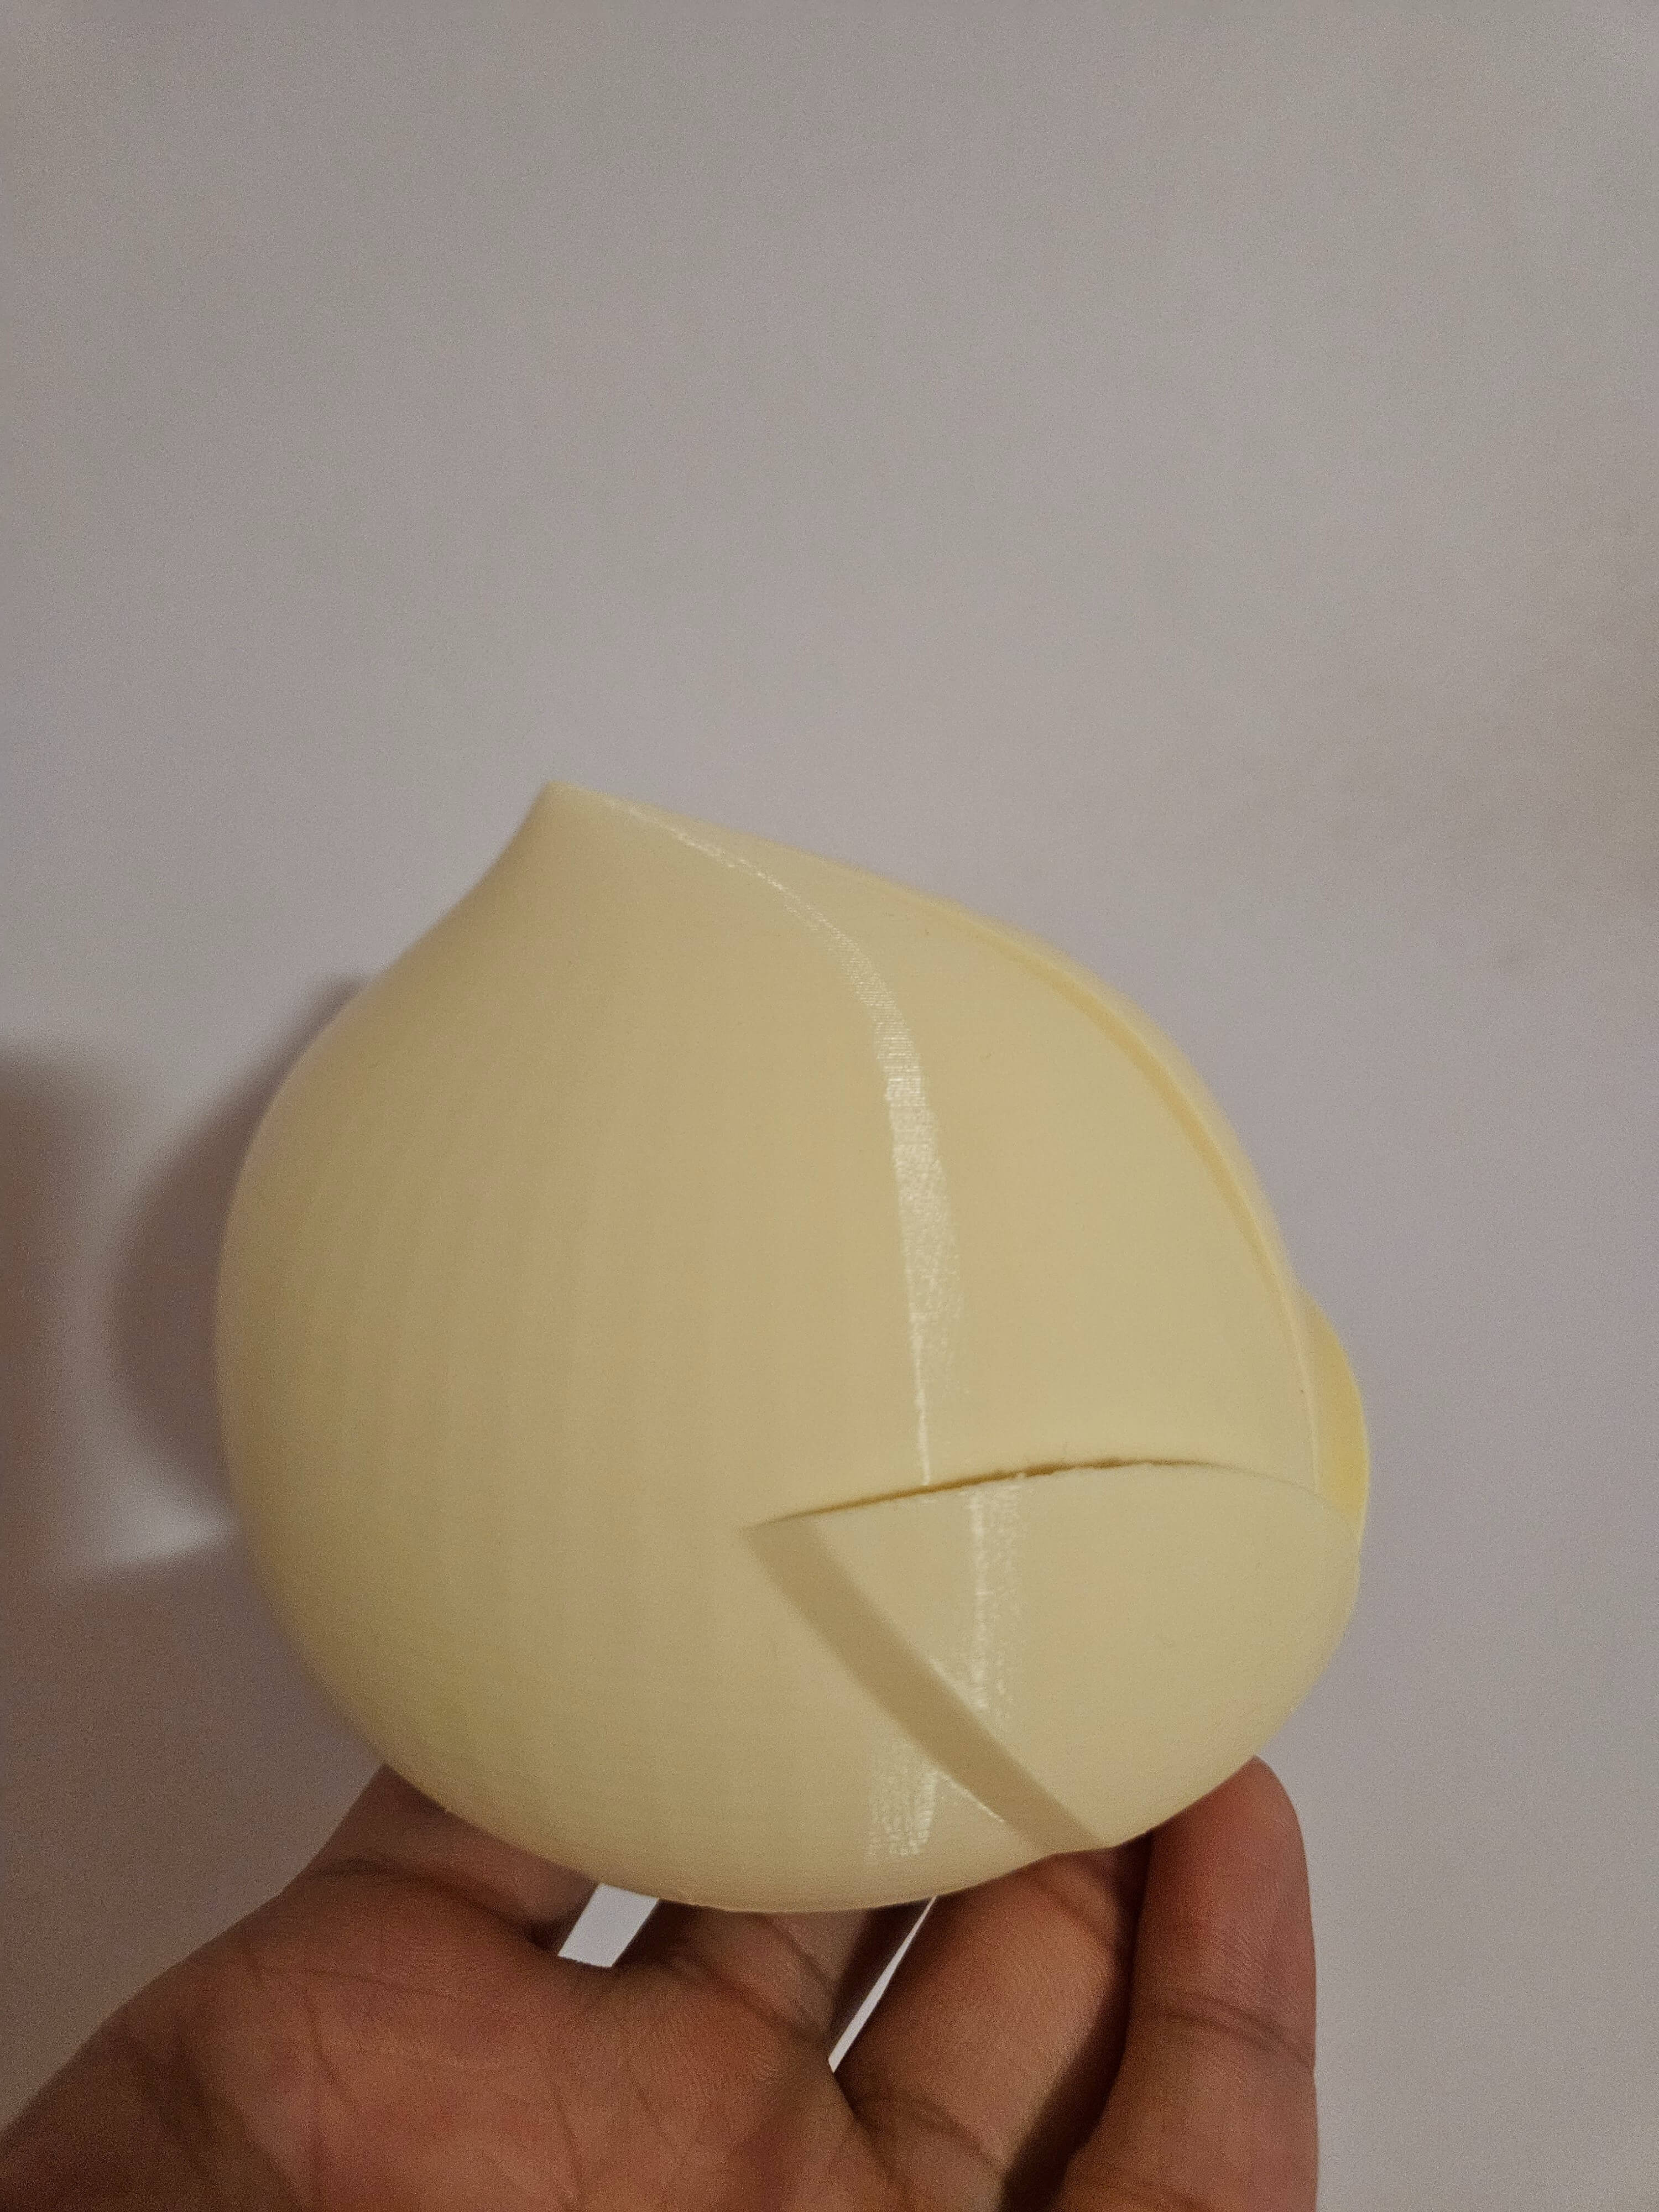
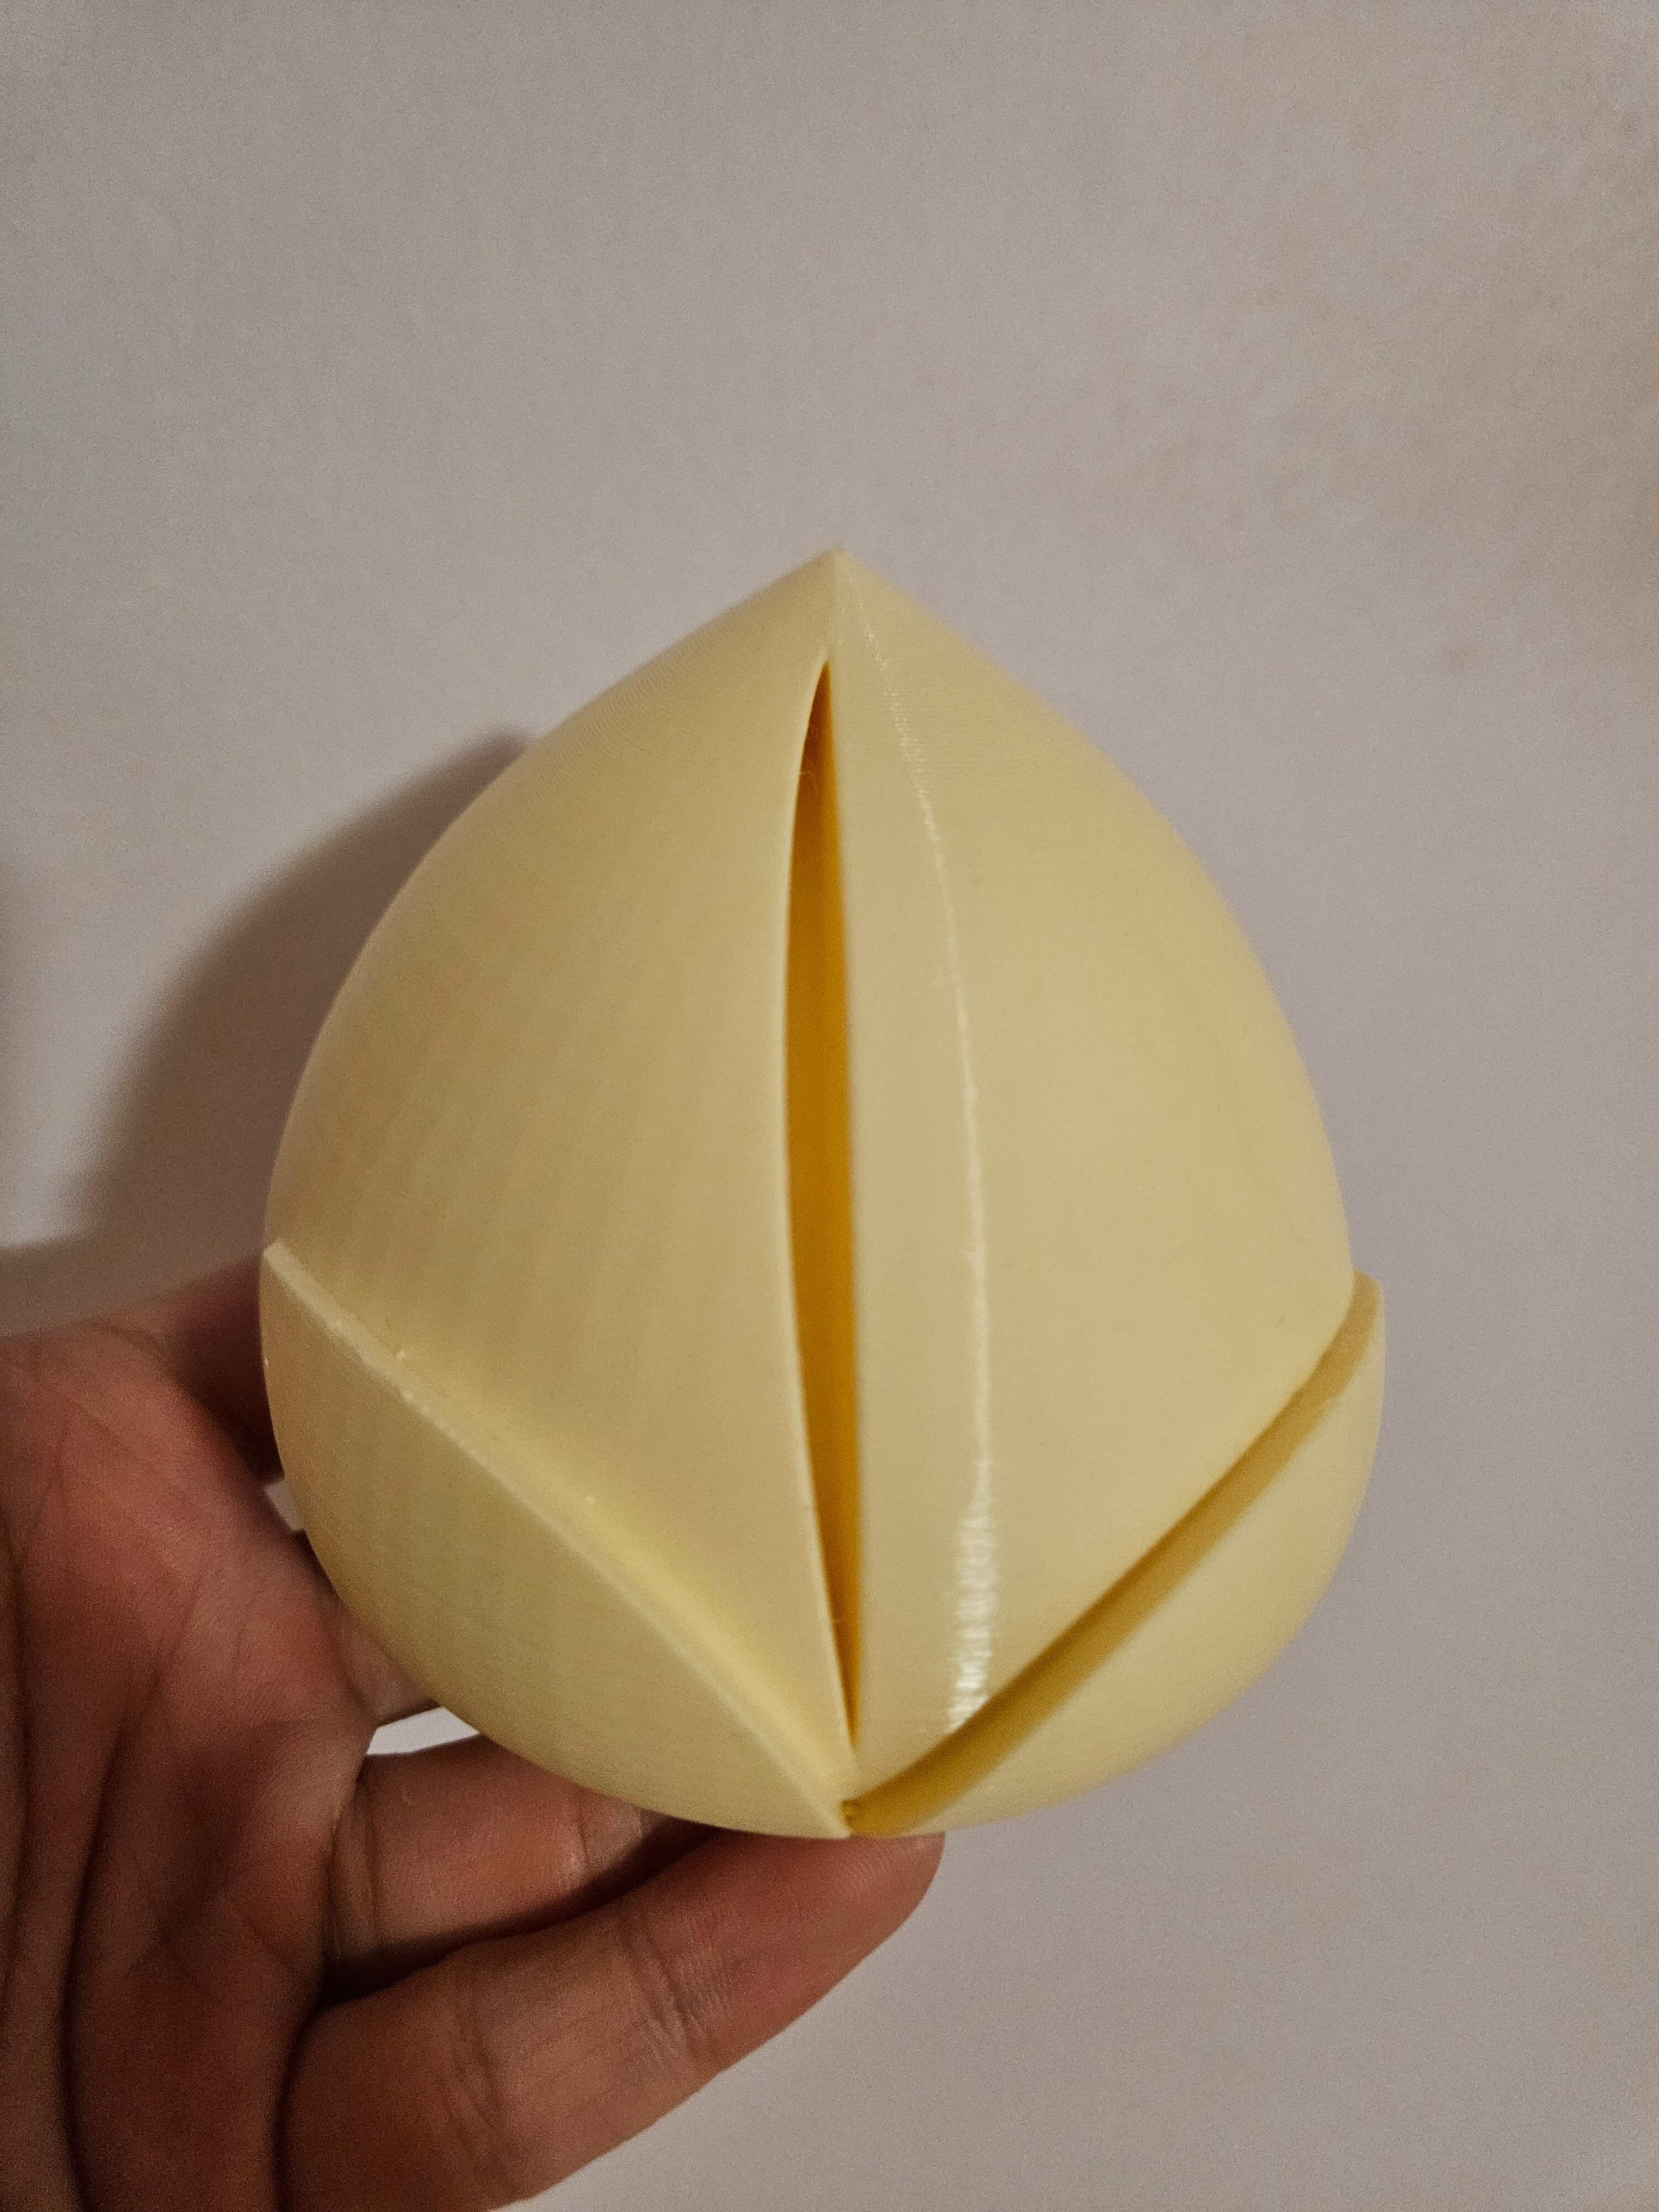
This design was technically a commission from my grandma. Yeah. In Chinese traditions, a longevity peach bun is an auspicious food item that is consumed at most large Chinese celebrations, such as weddings and birthdays. Although not necessary, the buns are often accompanied with decorations to mimic leaves, making it more similar in look to the mythical Peaches of Immortality, which as it turns out, is not an item from Kung Fu Panda. One year, for a Chinese New Year celebration, she wanted to have a physical one atop each table at a restaurant. We couldn't find any that she liked in any stores and ordering online would take too long, so as a self-proclaimed CAD expert and grandma's boy, I designed and printed the peach buns for her. A picture of a real longevity peach bun can be seen on the left below and the others are the pictures of the final CAD design. Click here to explore the model on my GrabCAD profile!

The bun was designed by referencing real life longevity peach buns. It was also good practice for both prototyping and CAD surfacing. There were three prototypes that were made before my grandma was satisfied. Each prototype was designed, printed, critiqued by my grandma, then repeated until she liked the shape of both the bun and the leaves. There were both smaller scaled and full sized versions of each prototype that was printed in order to test out smaller features such as lofts and surface fillets.
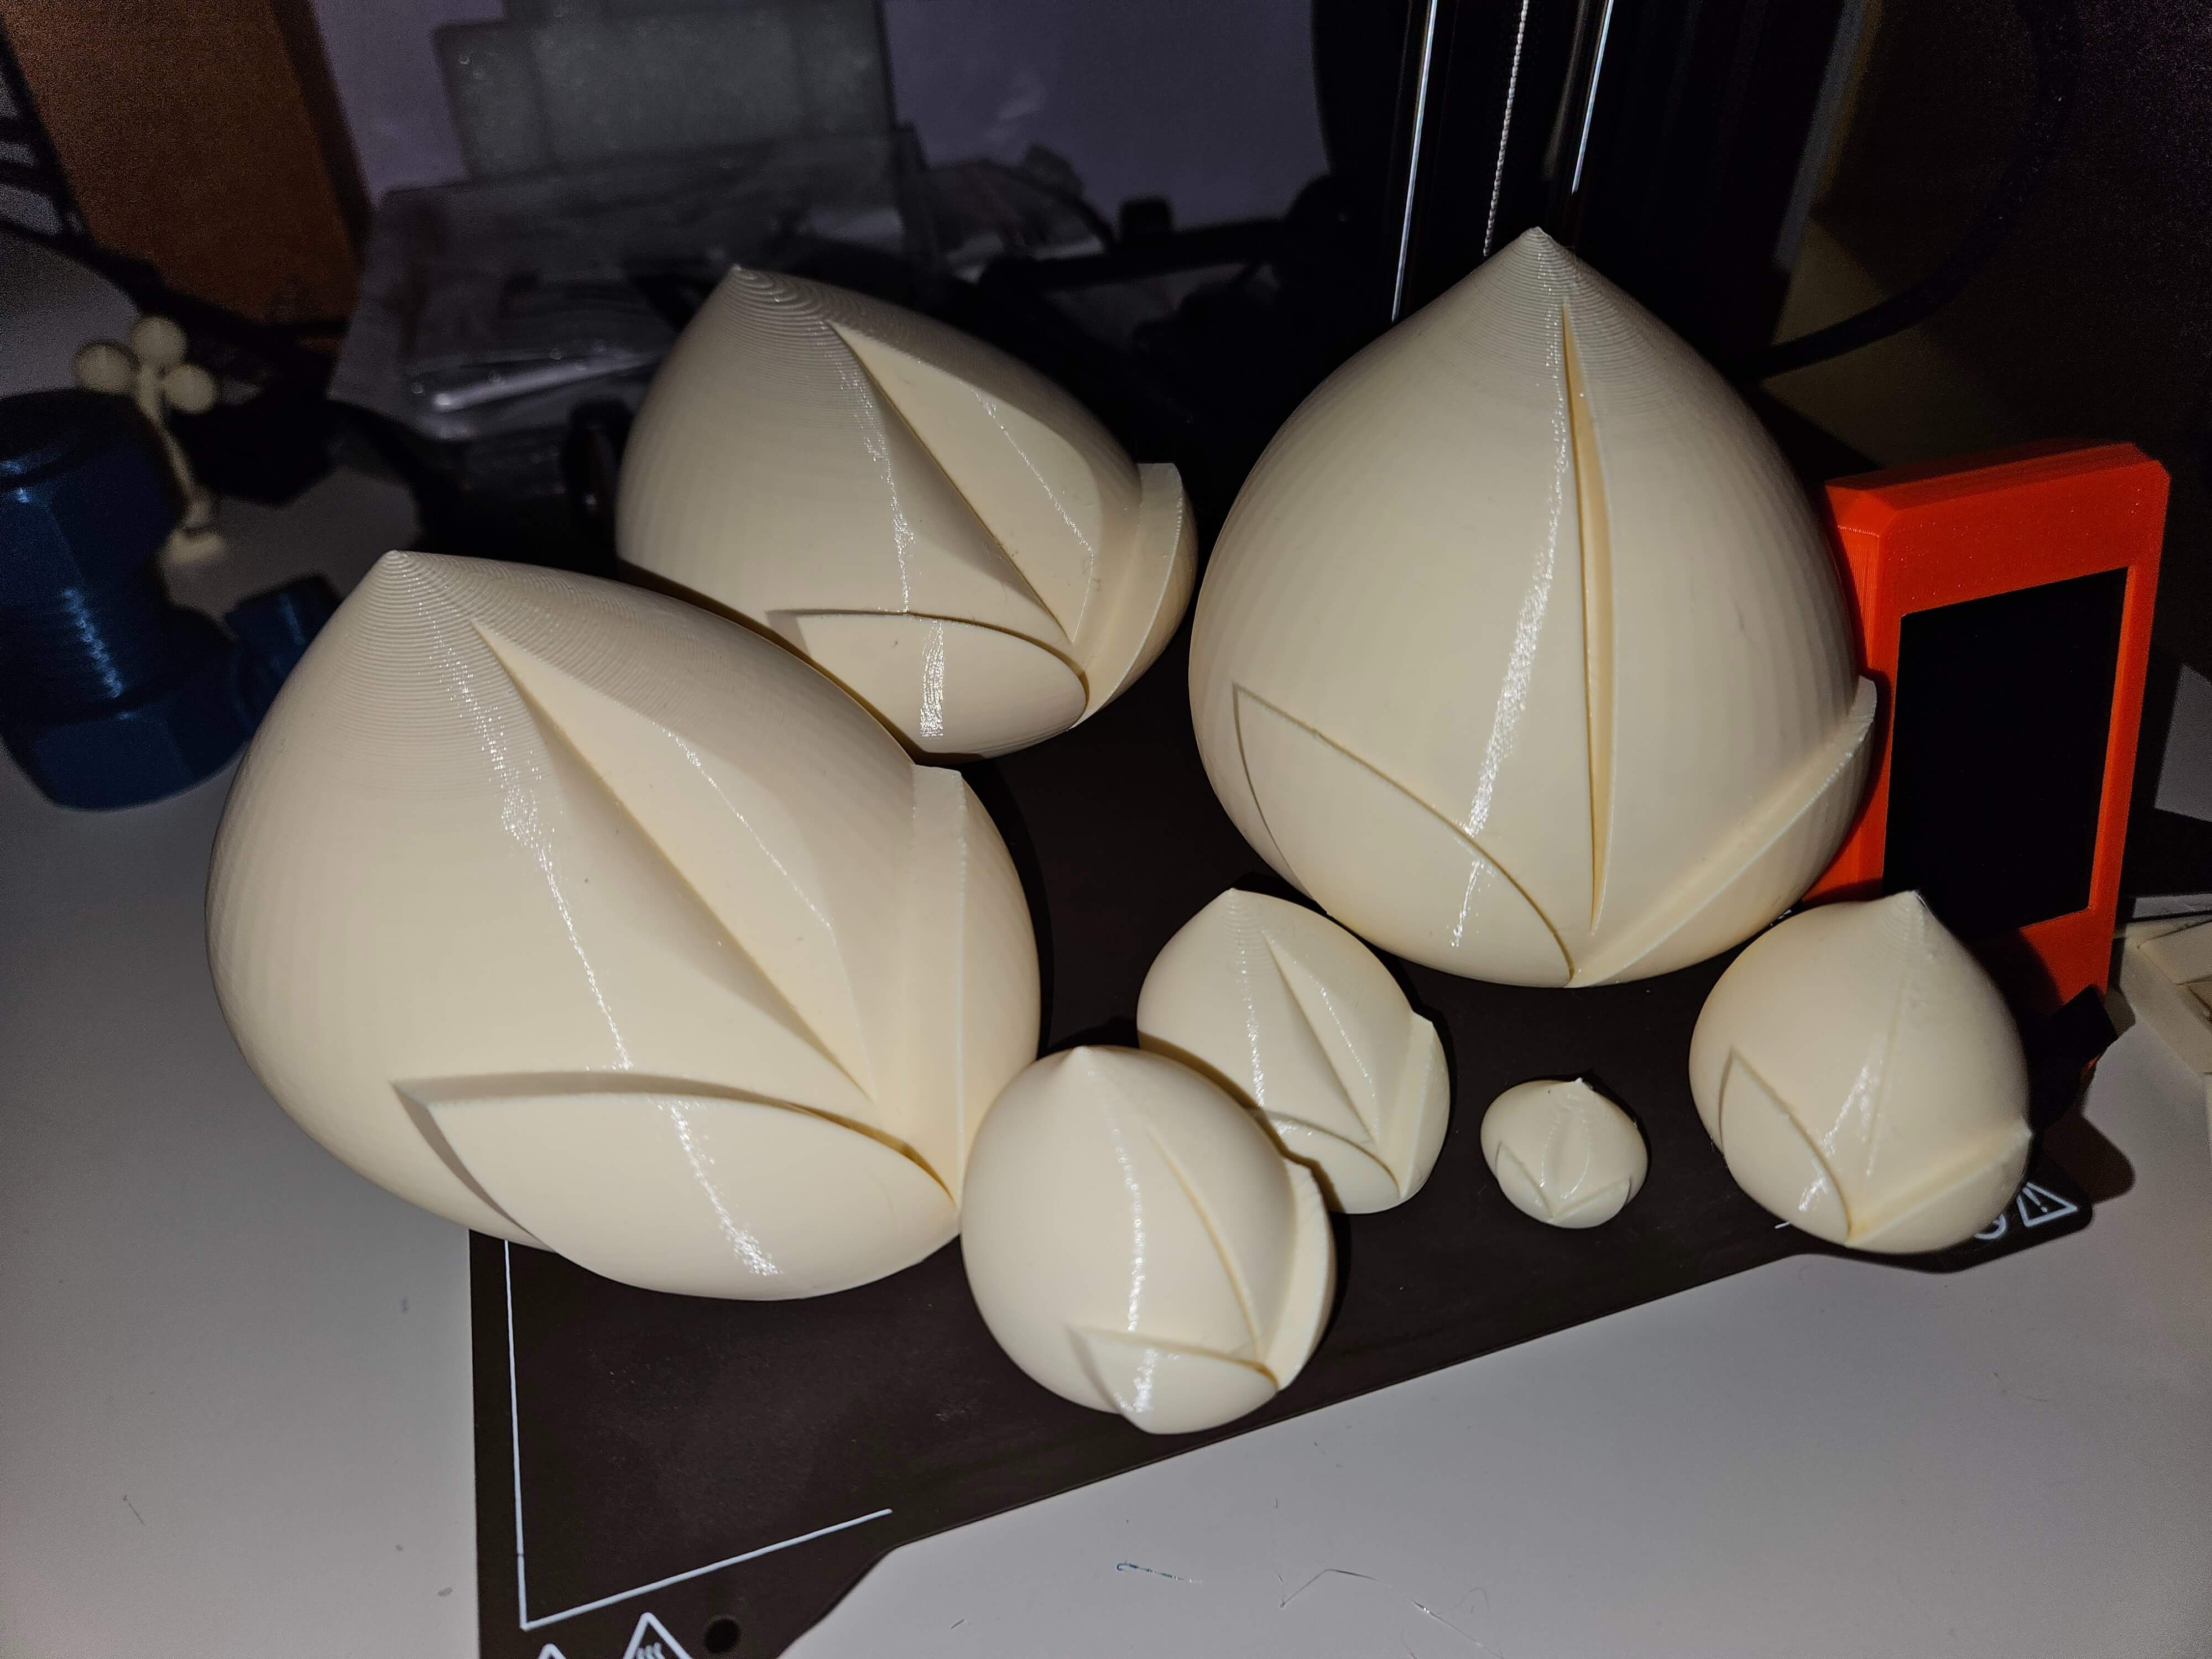
Final print:
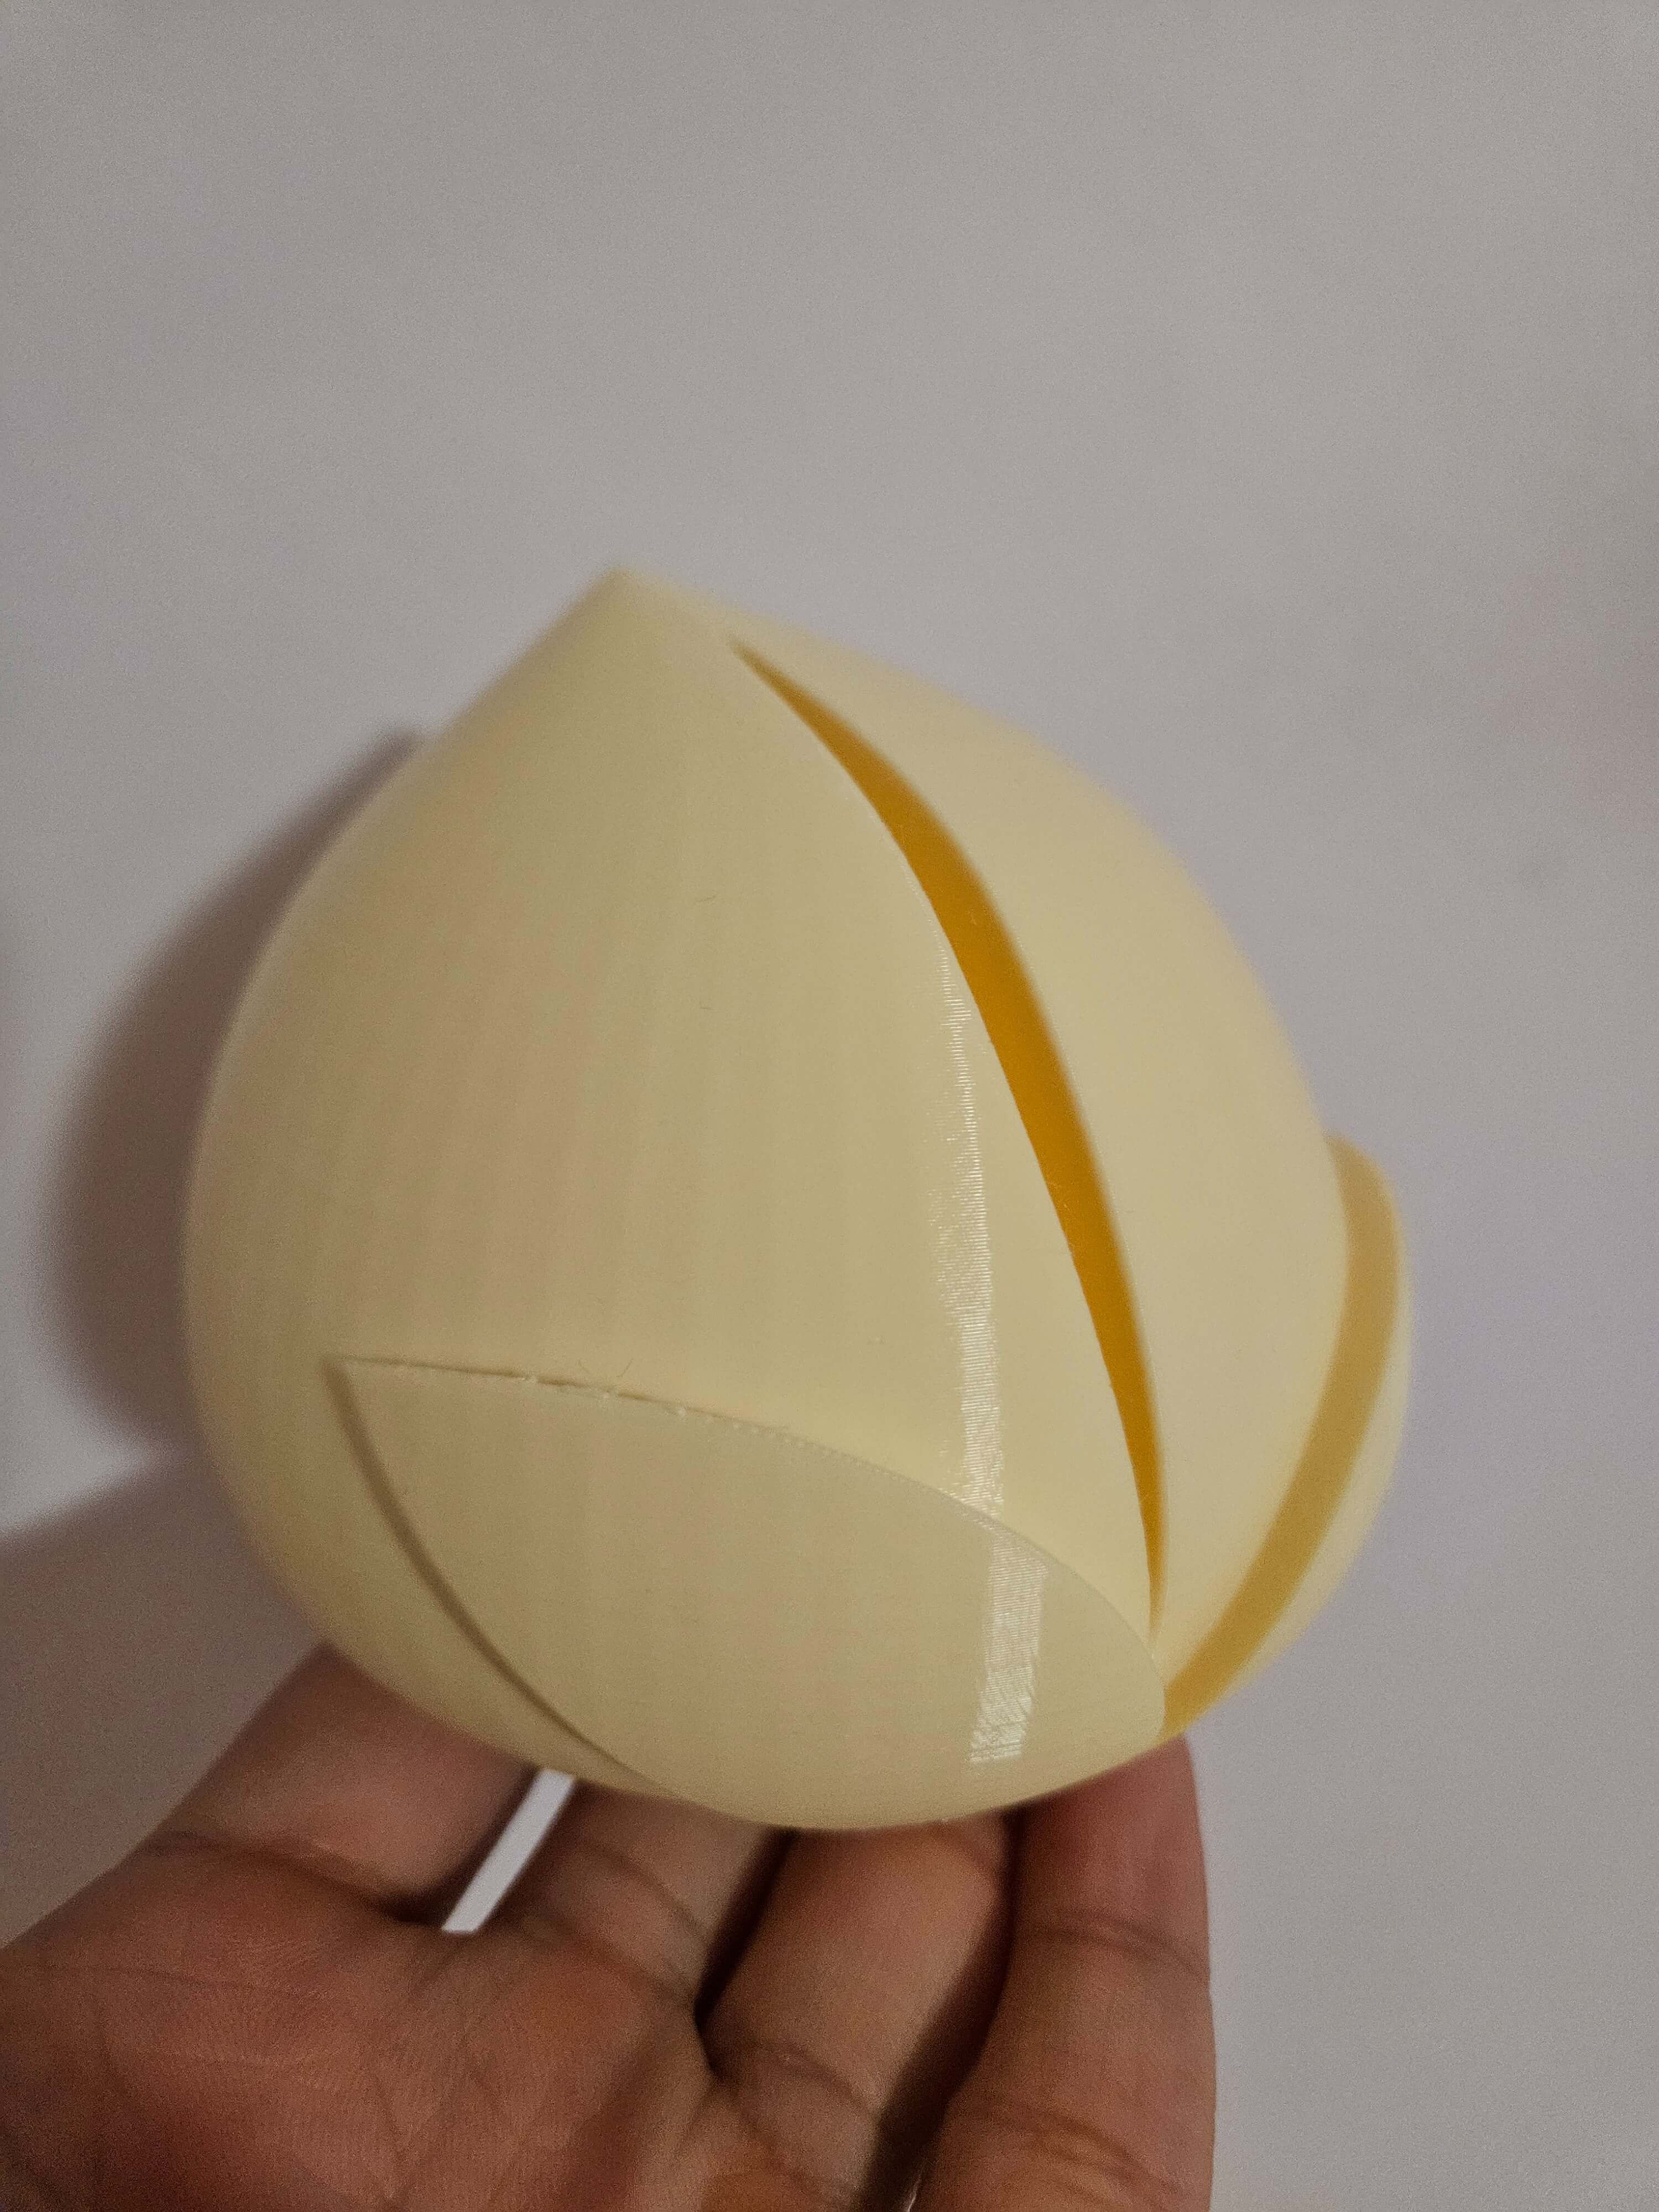
Sony Camera Body Lens Cap
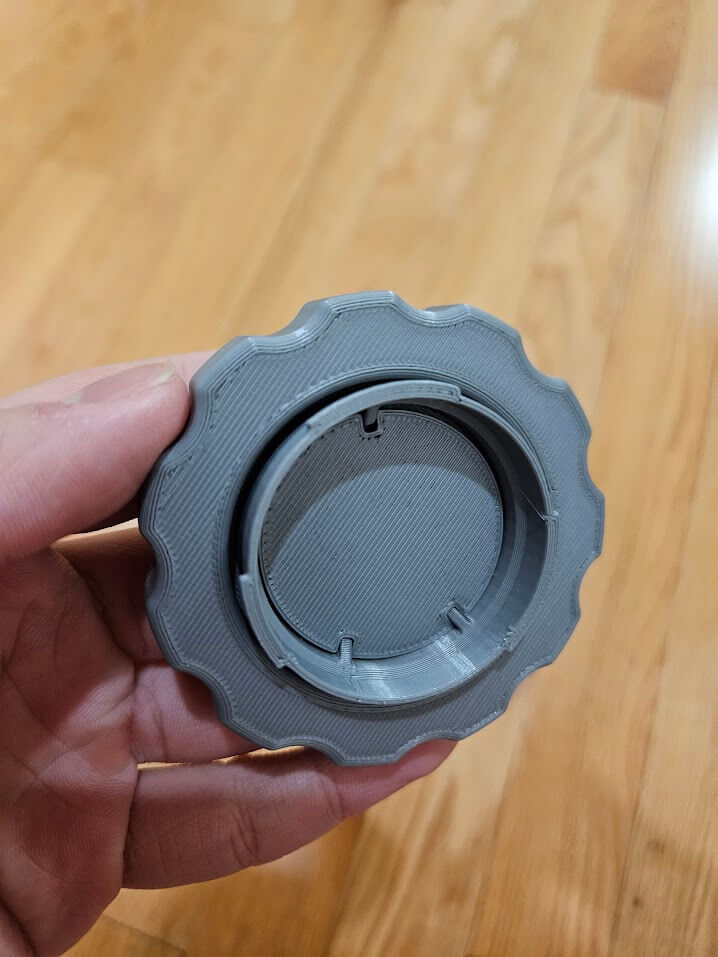
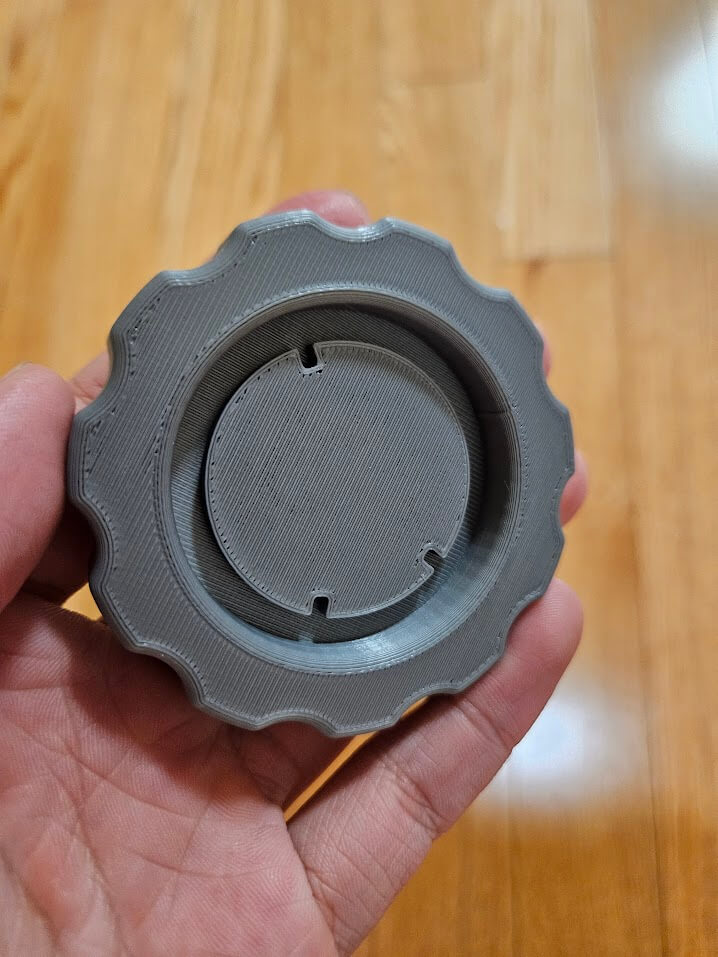
Body lens cap for my Sony A6600 camera. I lost mine on a trip recently and decided to design and print one for myself instead of buying it. The body lens cap is similar to a lens cap except it goes on the camera body itself in order to cover and protect the camera sensor when transporting. This is an important tool for cameras that have interchangeable lenses as a feature, since I am often not sure which lenses I want to bring with me, so I like to carry them around separately in protective cases.
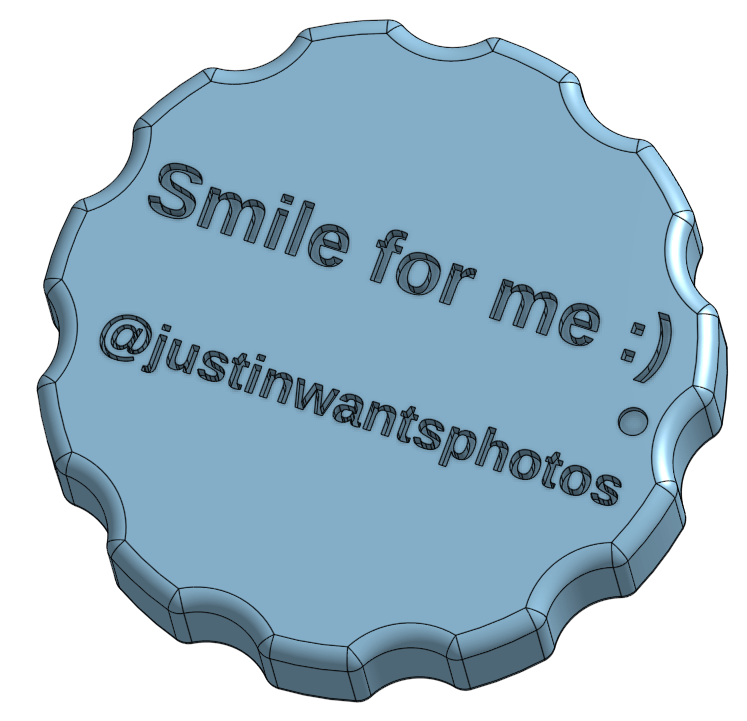
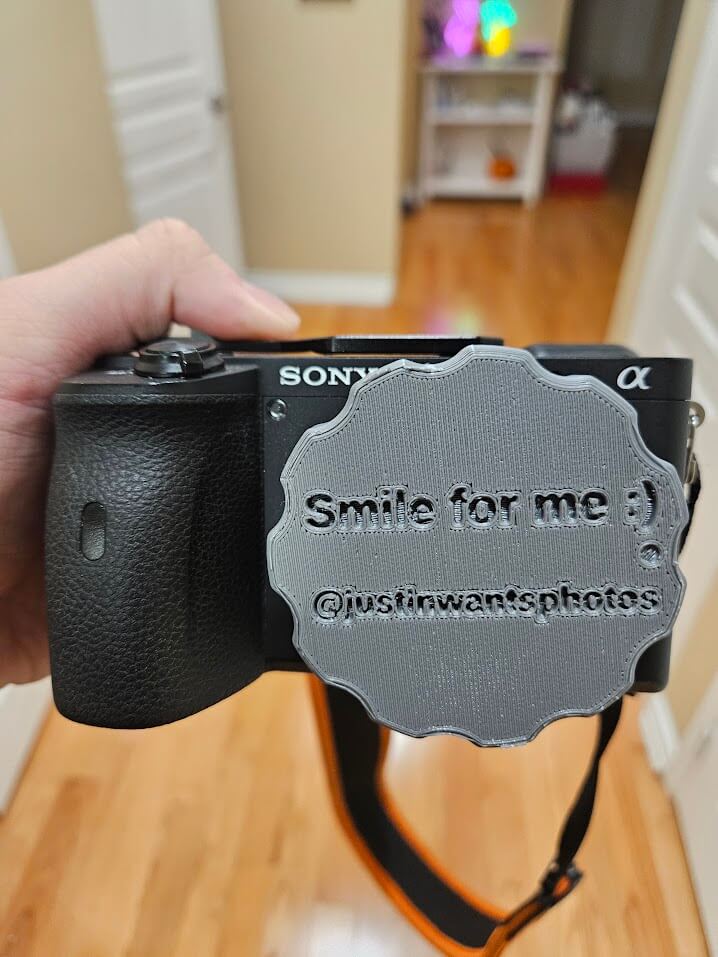
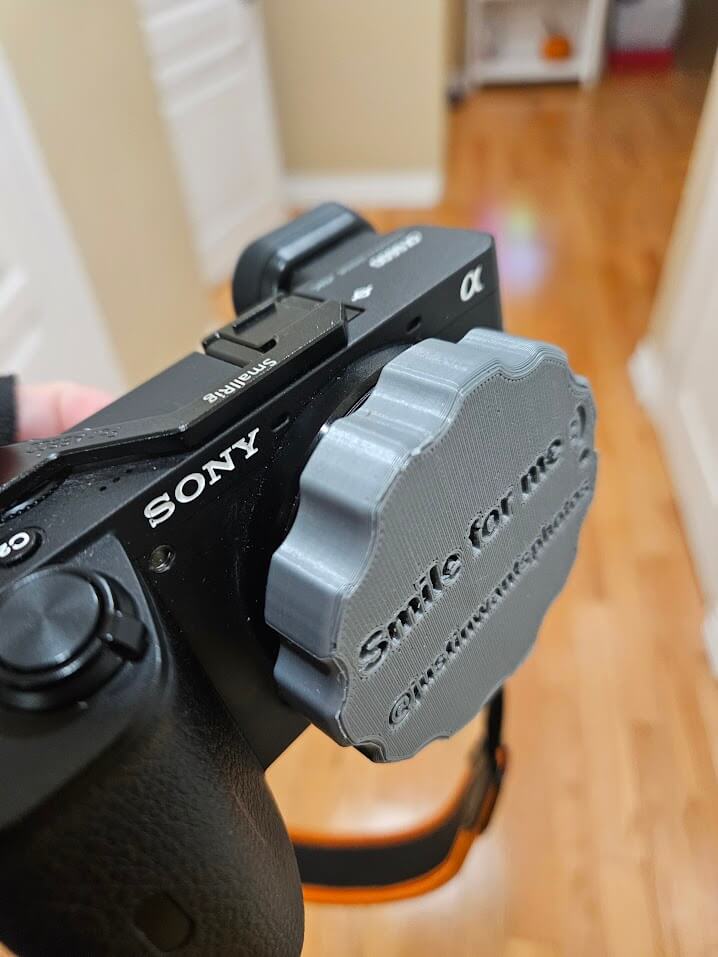

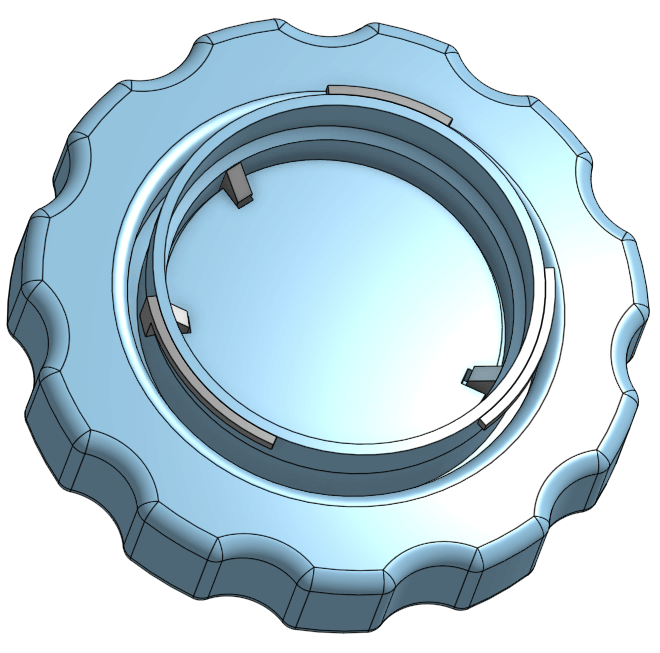
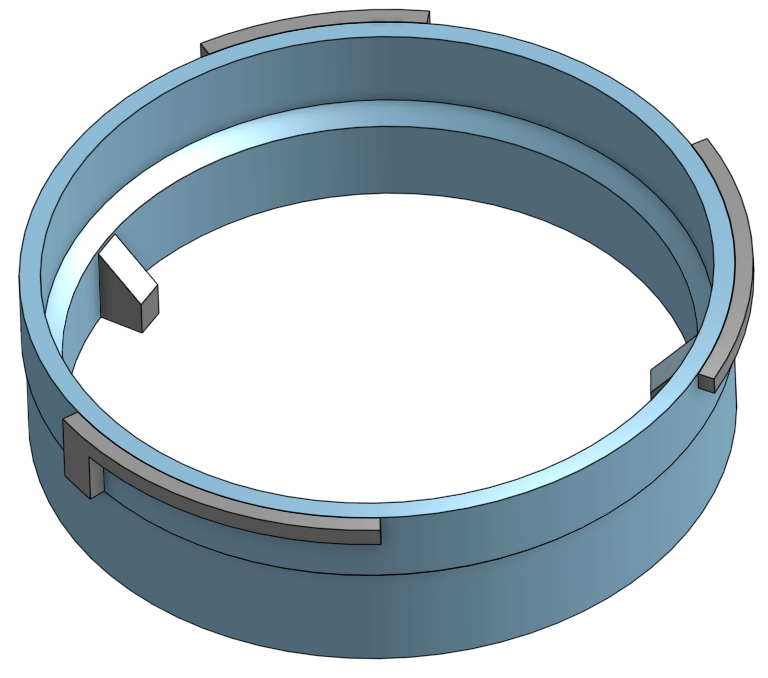
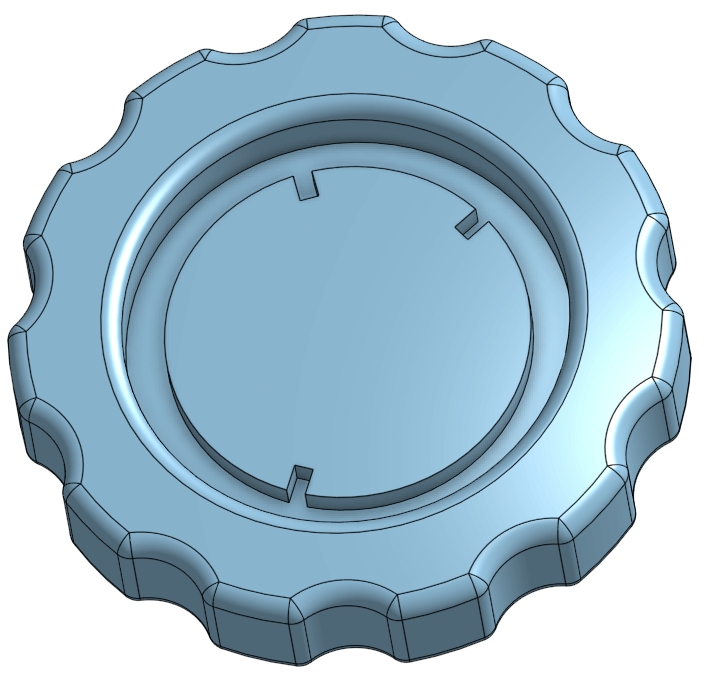
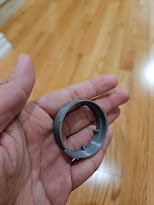
The design involves two separate parts that can be easily printed, fit together snugly, and glued together for use. The lens cap fits onto the camera body easily via three notches that protrude from the inner diameter of the camera body. Also, this part was designed specifically for the Sony E-Mount, but if I ever use other types of mounts in the future, having the two parts separate allows me to just change one part and then glue it to the other again. Customizable text and has a mark to indicate where the notch is located in order to properly click the lens cap closed (a similar mark is located on the inside of all Sony lenses). Click here to explore the model on my GrabCAD profile!
Rubik's Cube Stand/Cover
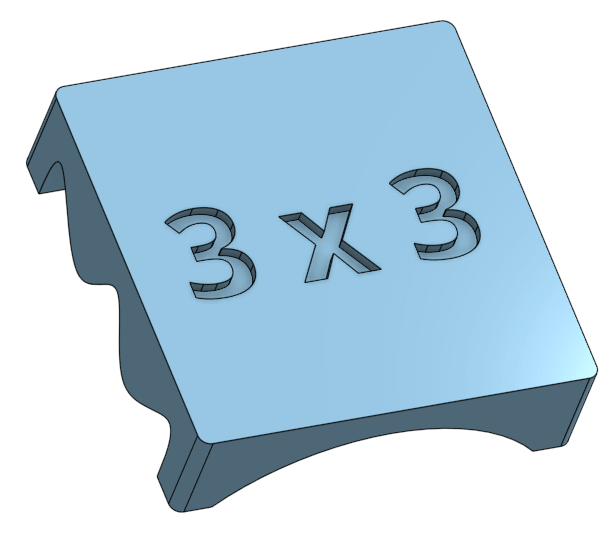
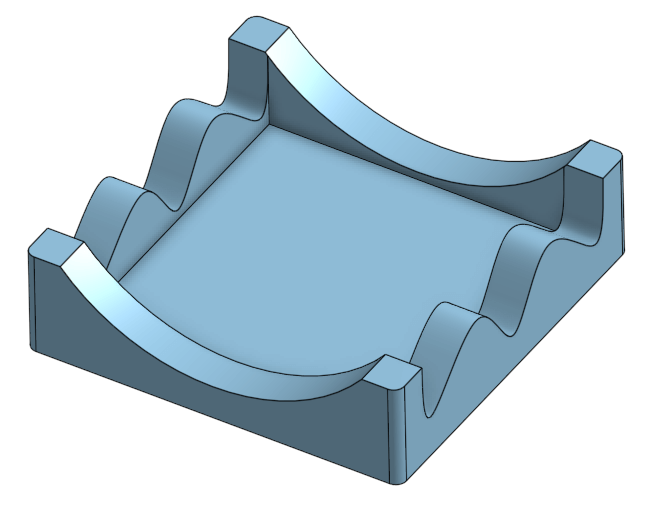
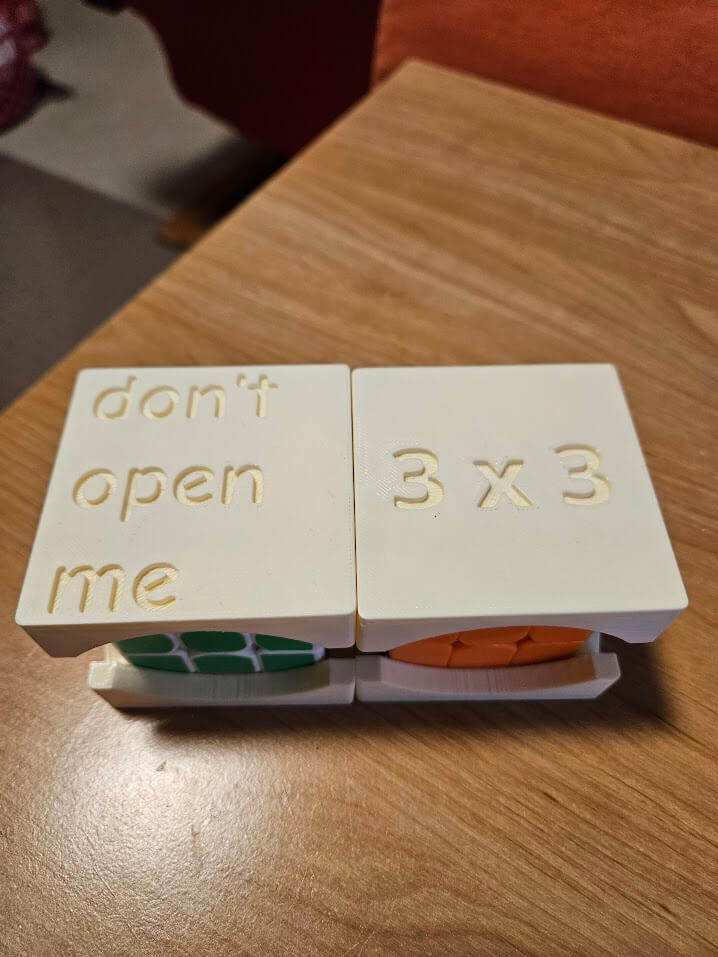
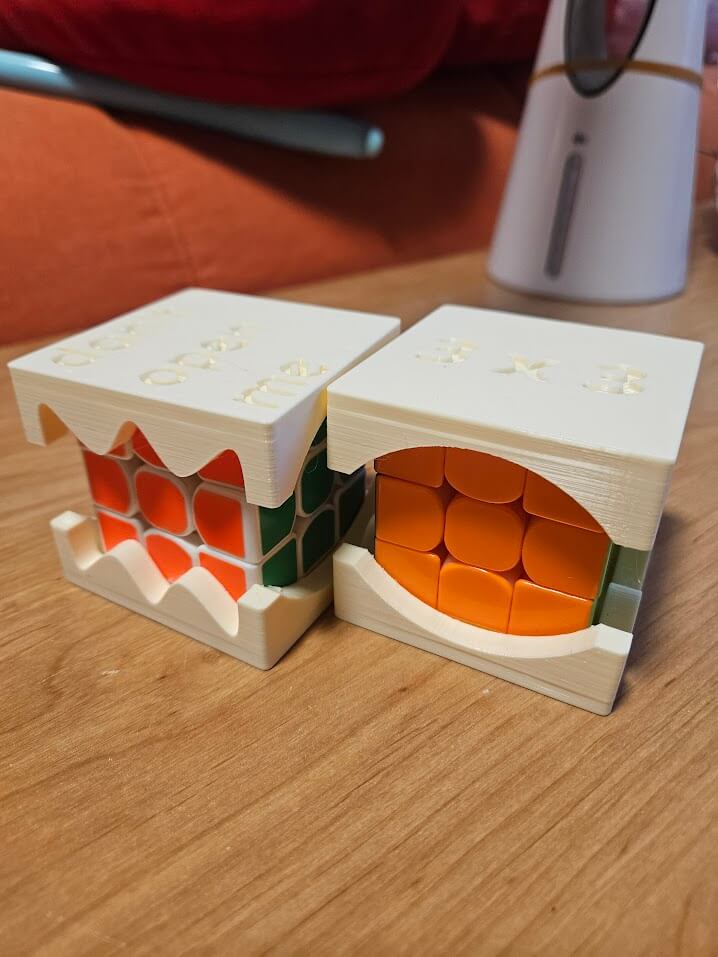
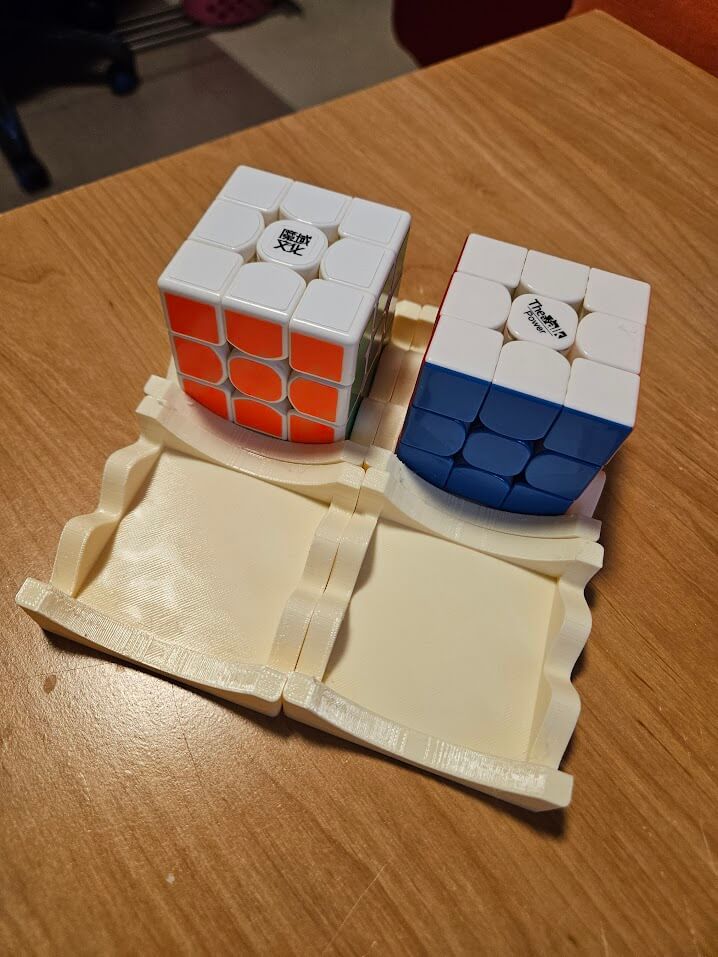
Just a simple stand and cover for your standard sized (55 or 56mm) 3x3 Rubik's Cubes to stylishly display on your desk or wherever to protect it from dust and other things. Can customize the dimensions for other sized cubes as well. Click here to explore the model on my GrabCAD profile!
